How to convert OSGB (oblique photography) files into 3DTiles files?
In GISBox, we provide you with a one-stop conversion method for various GIS file formats. You only need to import local GIS files and tile them, and then distribute them to major GIS platforms or digital twin project building platforms.
Next, we will take the conversion of OSGB files to 3DTiles files as an example to introduce the steps for tiling tilted models:
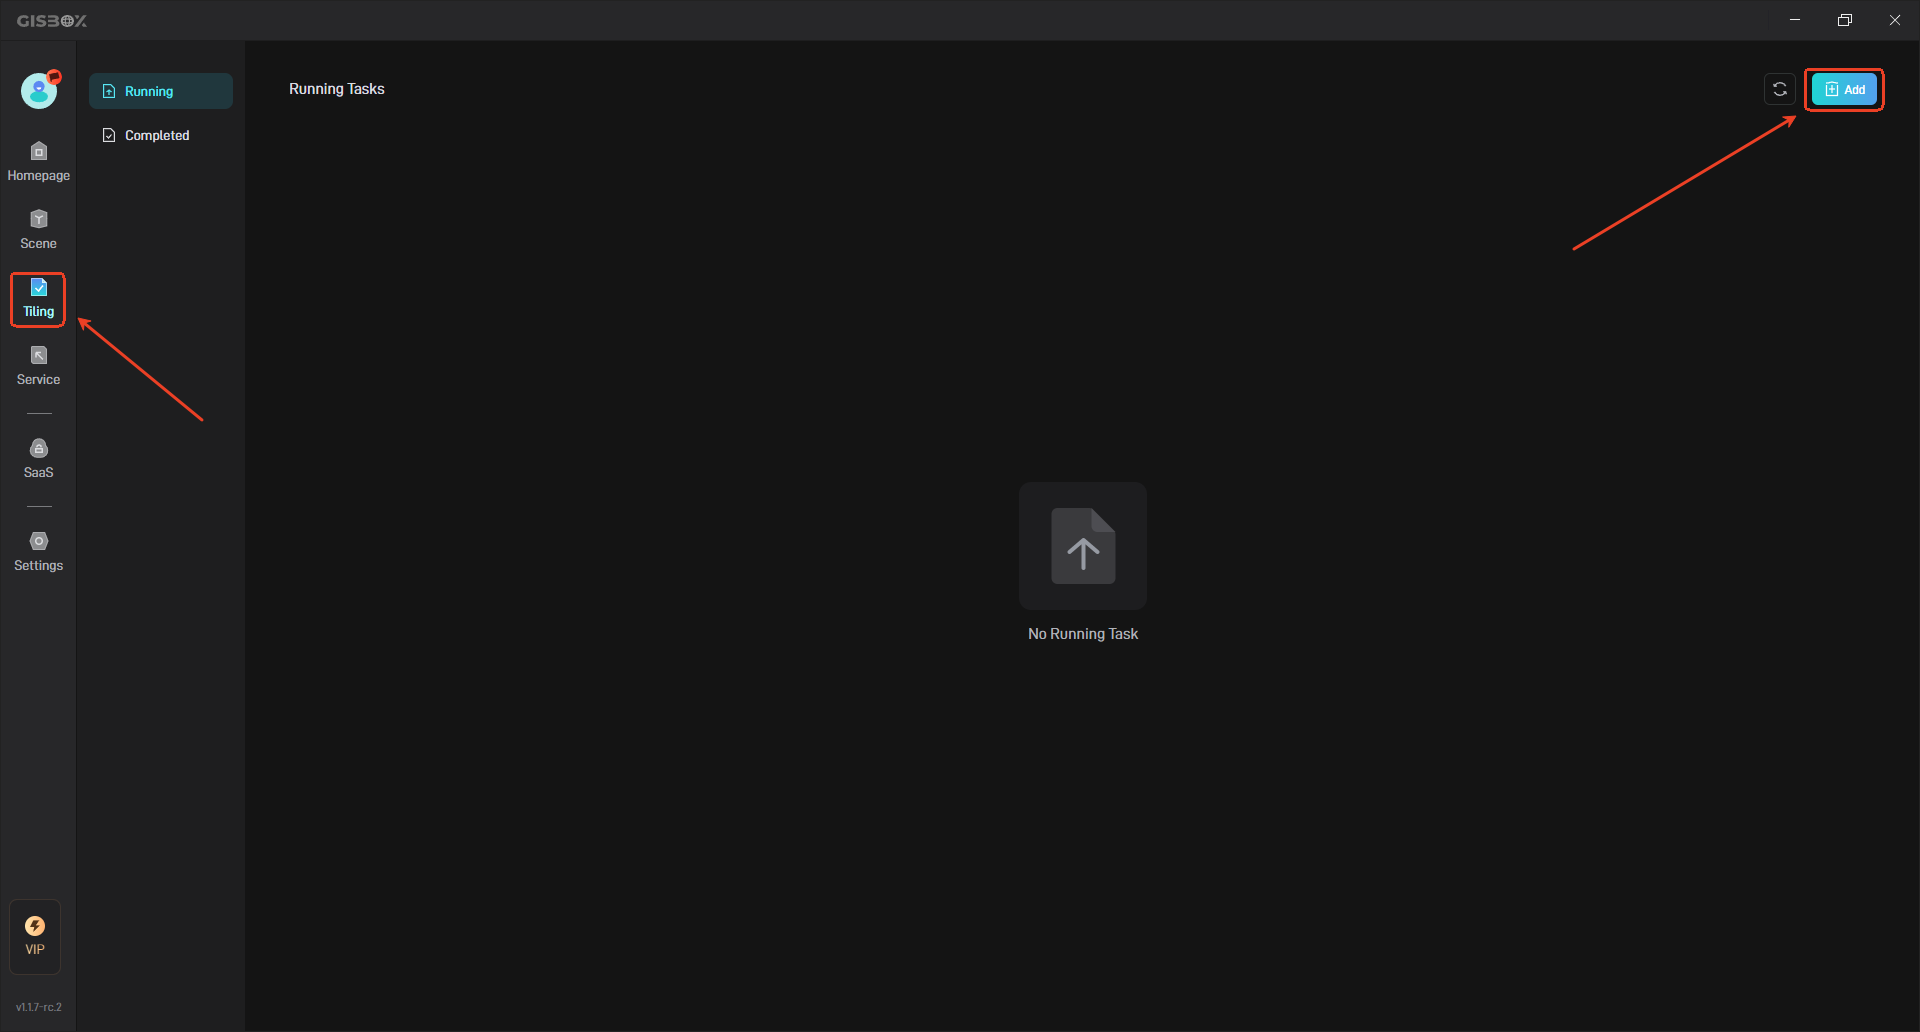
1. Create a New Tiling Task
Click the “Add” button in the “Tiling” option on the left to open the settings for creating a new tiling task.
Select “OSGB” in the left-hand options to begin setting up the tiling task.
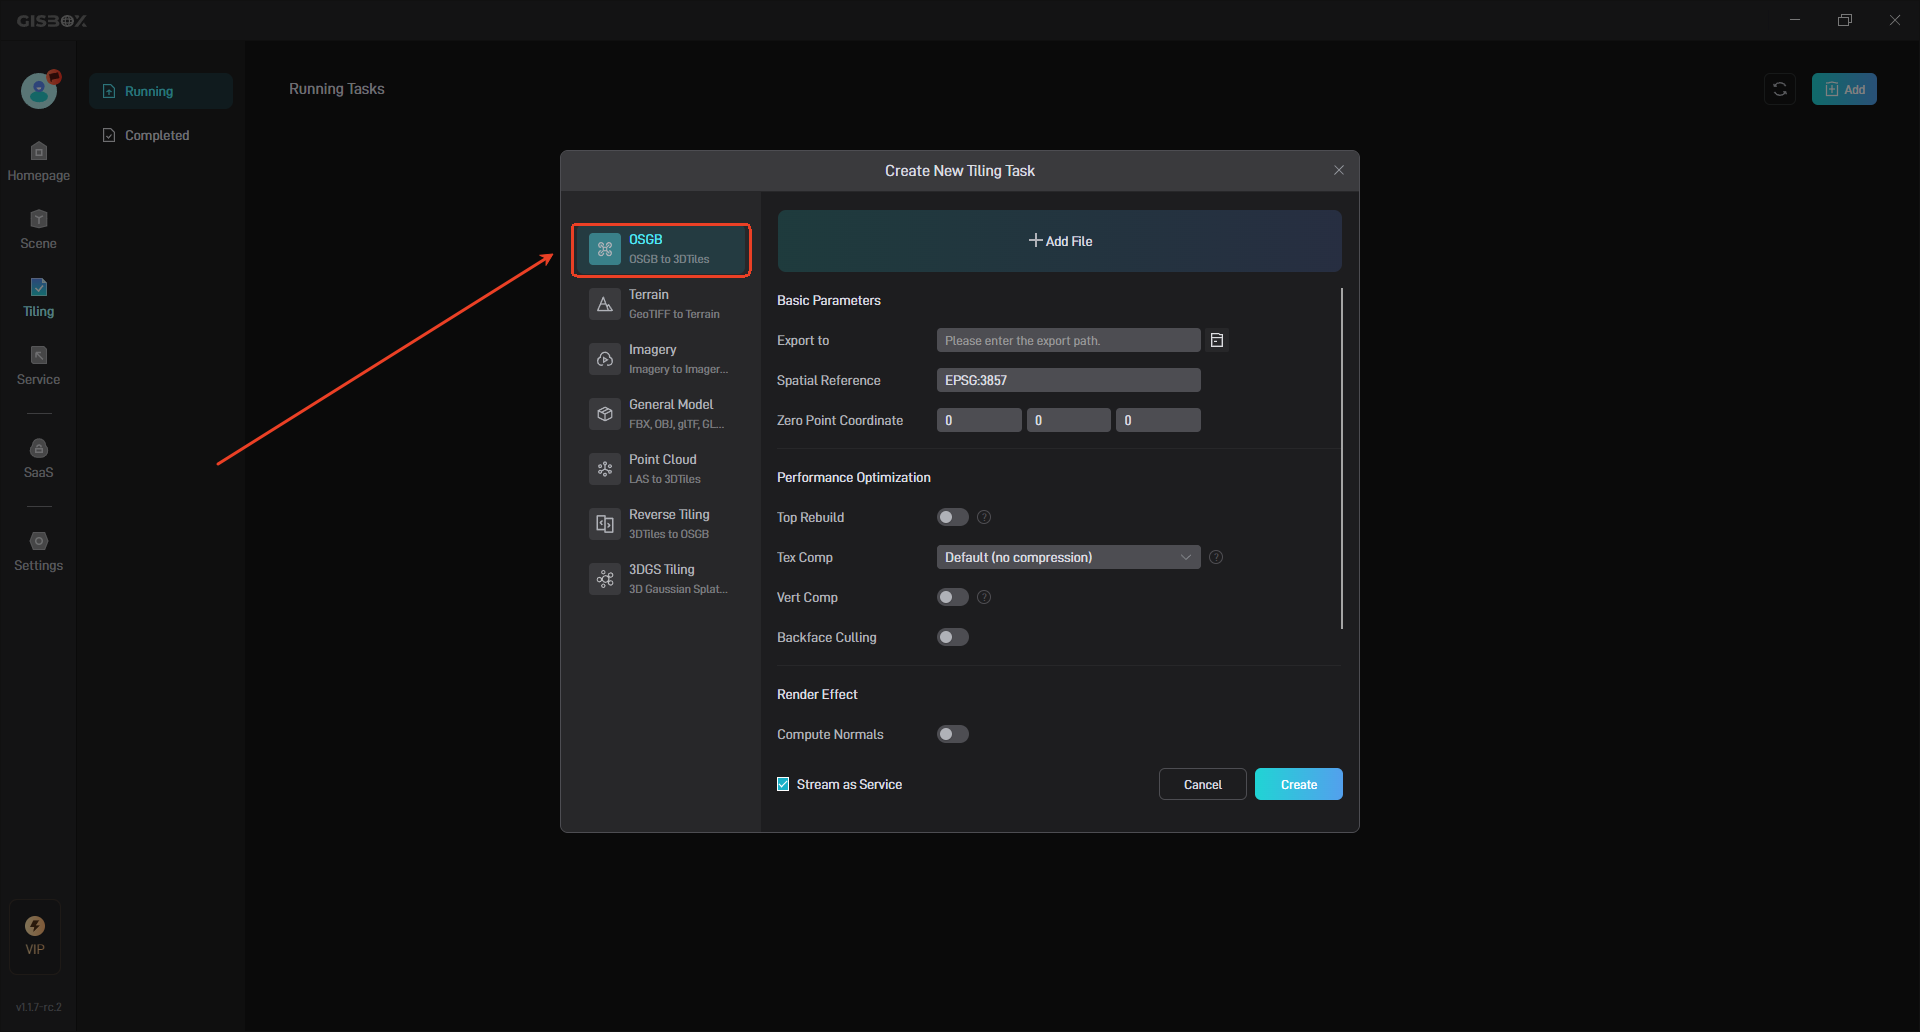
2. Tiling Task Settings
2.1 Add File
In the settings for creating a new tiling task, click “Add File” and select a folder containing OSGB files to add.

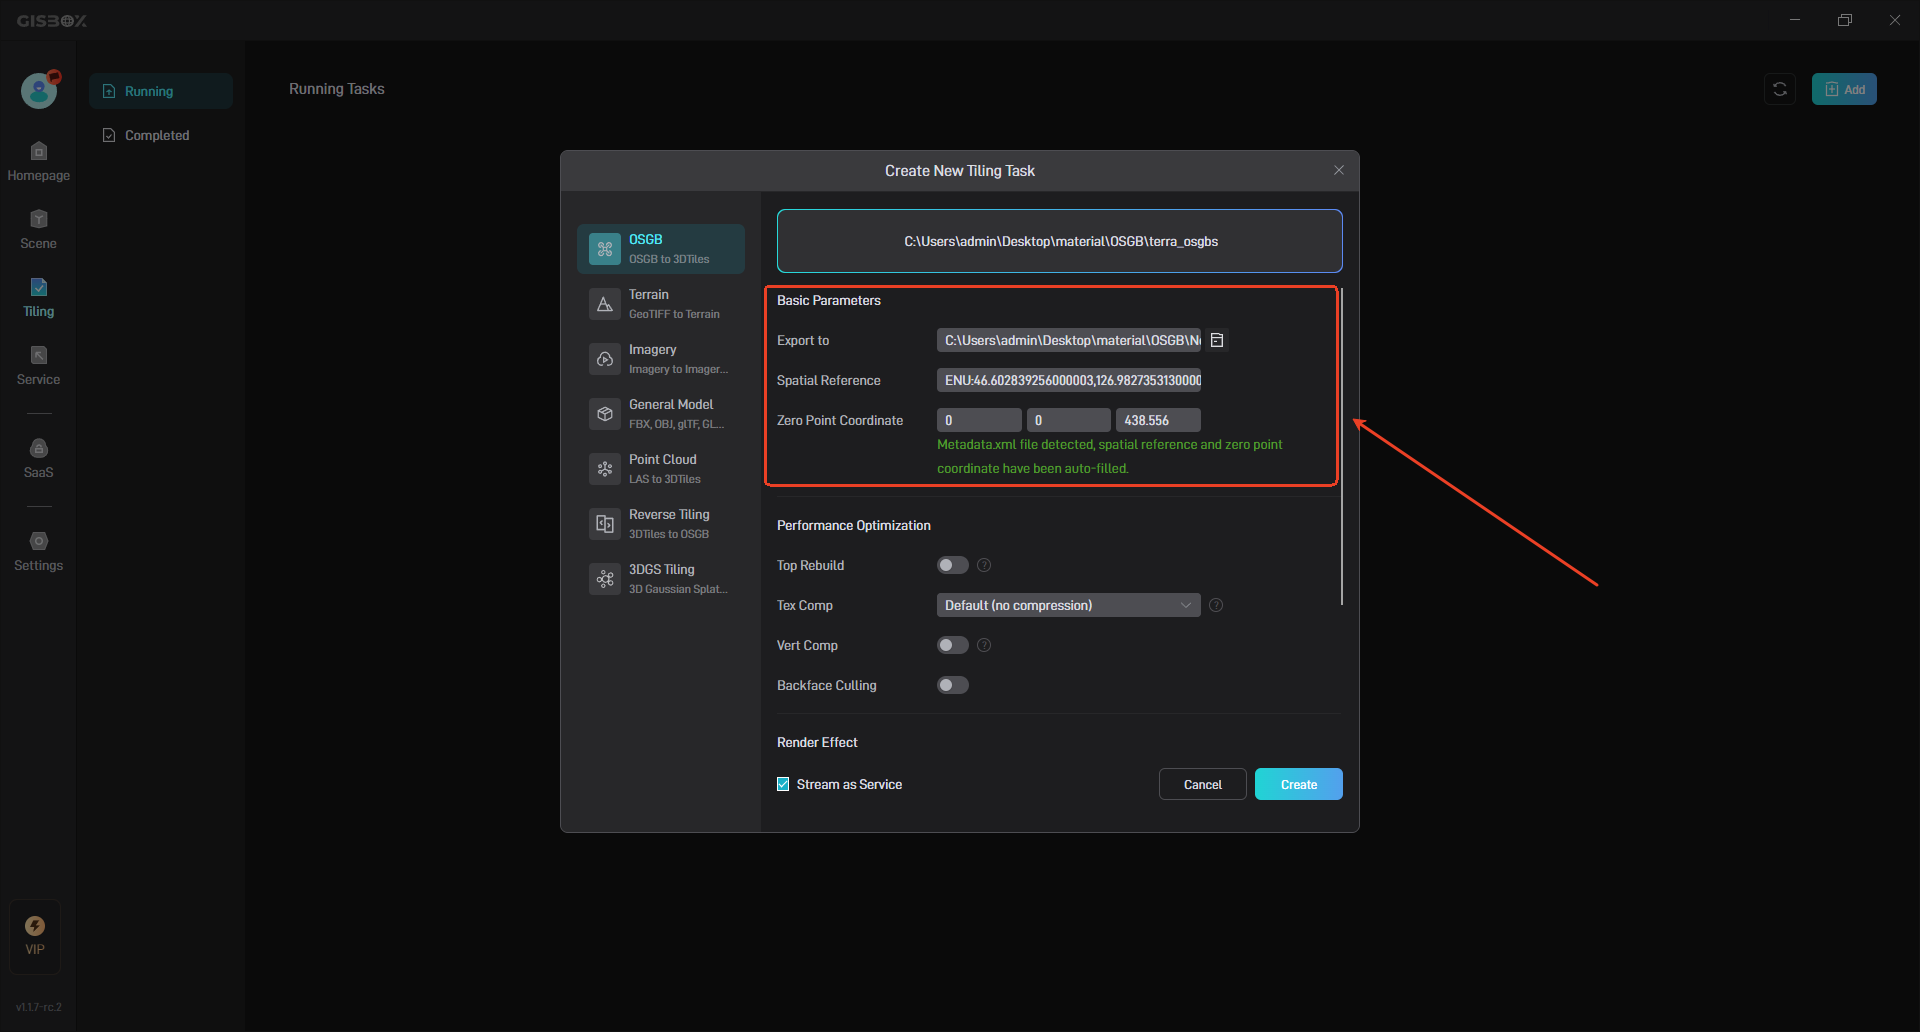
2.2 Basic Parameters
After adding the OSGB folder, you can set the tiling export folder in “Basic Parameters”. The “Spatial Reference” and “Zero Point Coordinates” will be automatically generated based on the “metadata.xml” file in the folder.
2.3 Performance Optimization
| Configuration Item | Description |
|---|---|
| Top Rebuild | The default setting is disabled. When the amount of tilted 3D model data is large, you can choose to turn it on to significantly improve the loading performance and enhance the browsing experience. |
| Max Concurrency | After turning on “Top Rebuild”, the “Max Concurrency” will appear at the same time. It is not recommended to modify this setting item, but if the conversion fails, you can reduce this item by half and convert again. |
| Texture Compression | When “Default” is selected for the texture format, the slicing task will export the texture in jpg format; when “webp” is selected, the storage capacity of the exported webp format texture is about 70% of the default jpg format, which can speed up network transmission, but it can only be used under Chrome and will not reduce the video memory usage. Selecting “KTX2-uastc” can save 60% of the video memory, and selecting “KTX2-etc1s” can save 80% of the video memory. |
| Vertex Compression | The default setting is disabled. The Draco compression algorithm is used to compress fixed-point data. When enabled, the storage amount of fixed-point data can be reduced. |
| Compression level | The compression level is divided into “Low”, “Medium” and “High”. The higher the compression level, the greater the compression ratio. When the compression level is “High”, the data precision loss will be relatively large, so it is recommended to use “Medium“. |
| Backface Culling | The default setting is disabled. When it is enabled, invisible faces will be automatically culled, reducing the rendering burden and avoiding visual errors. |

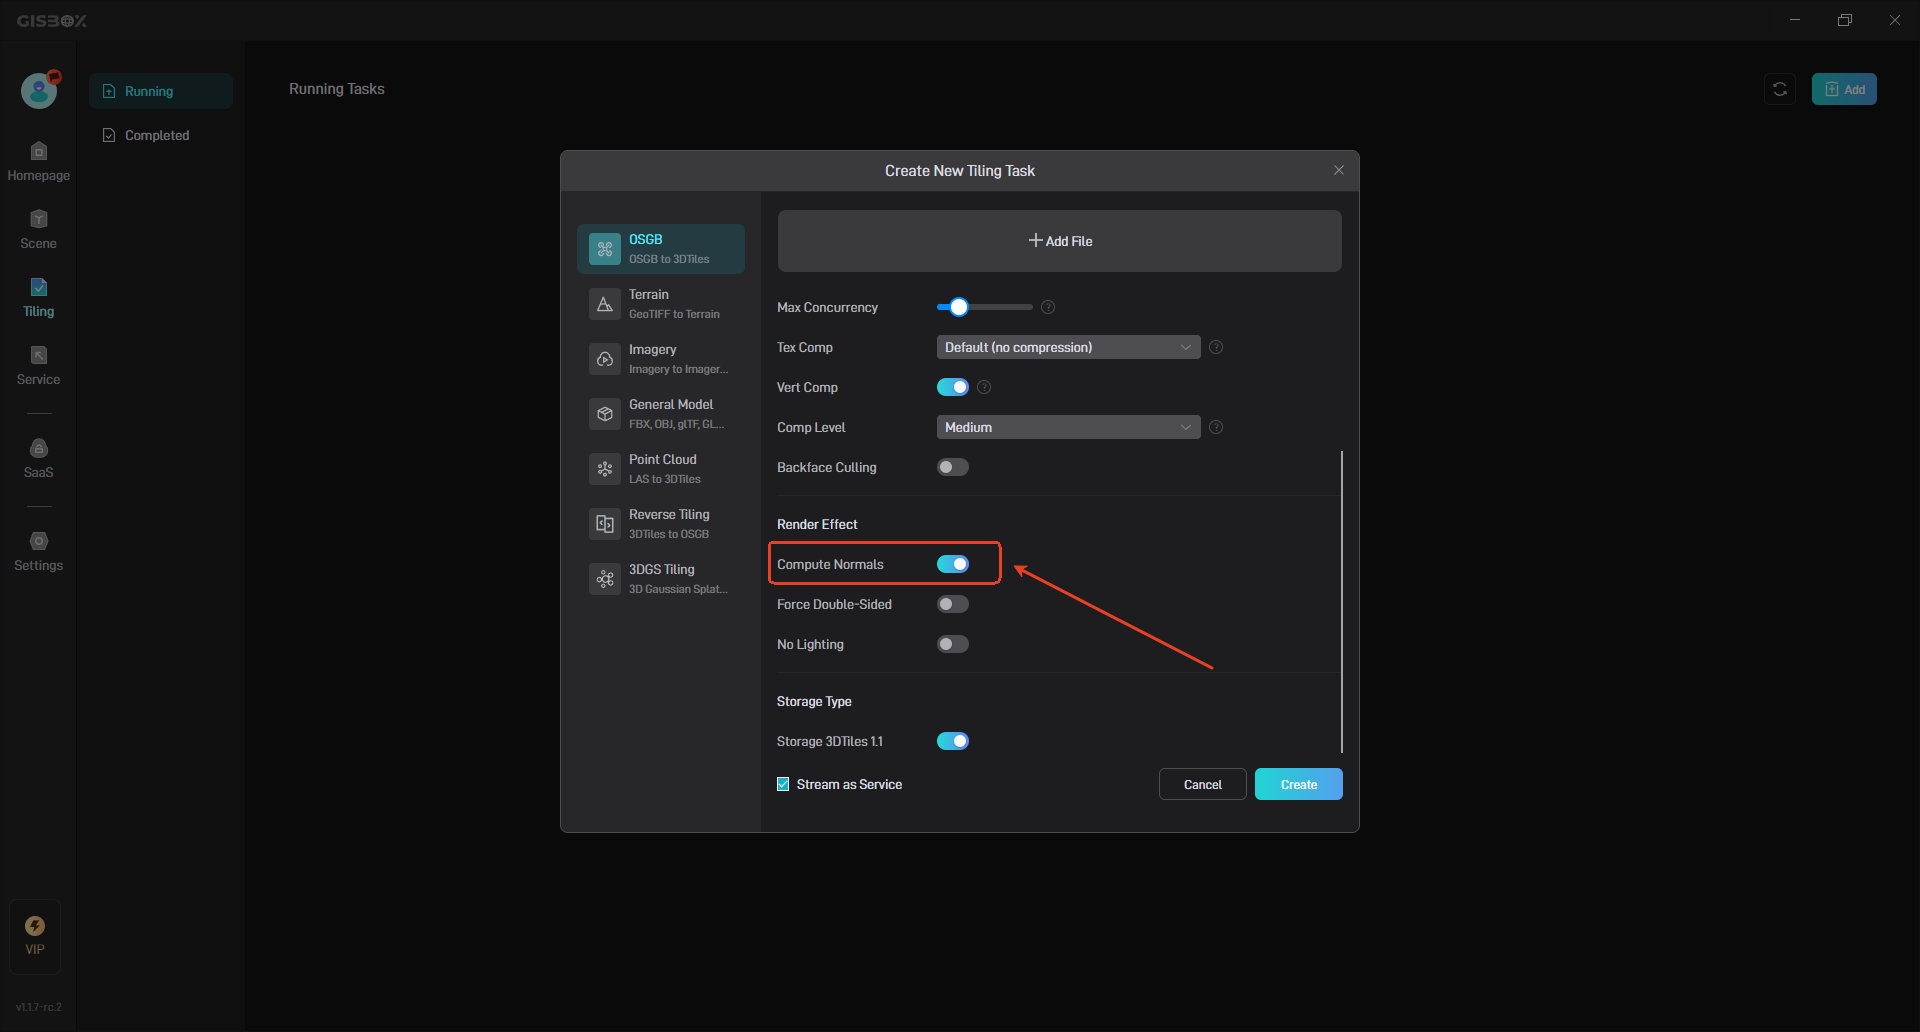
2.4 Rendering Effects
After enabling “Calculate Normals,” the system can automatically generate normal vectors based on the sliced 3D model data.
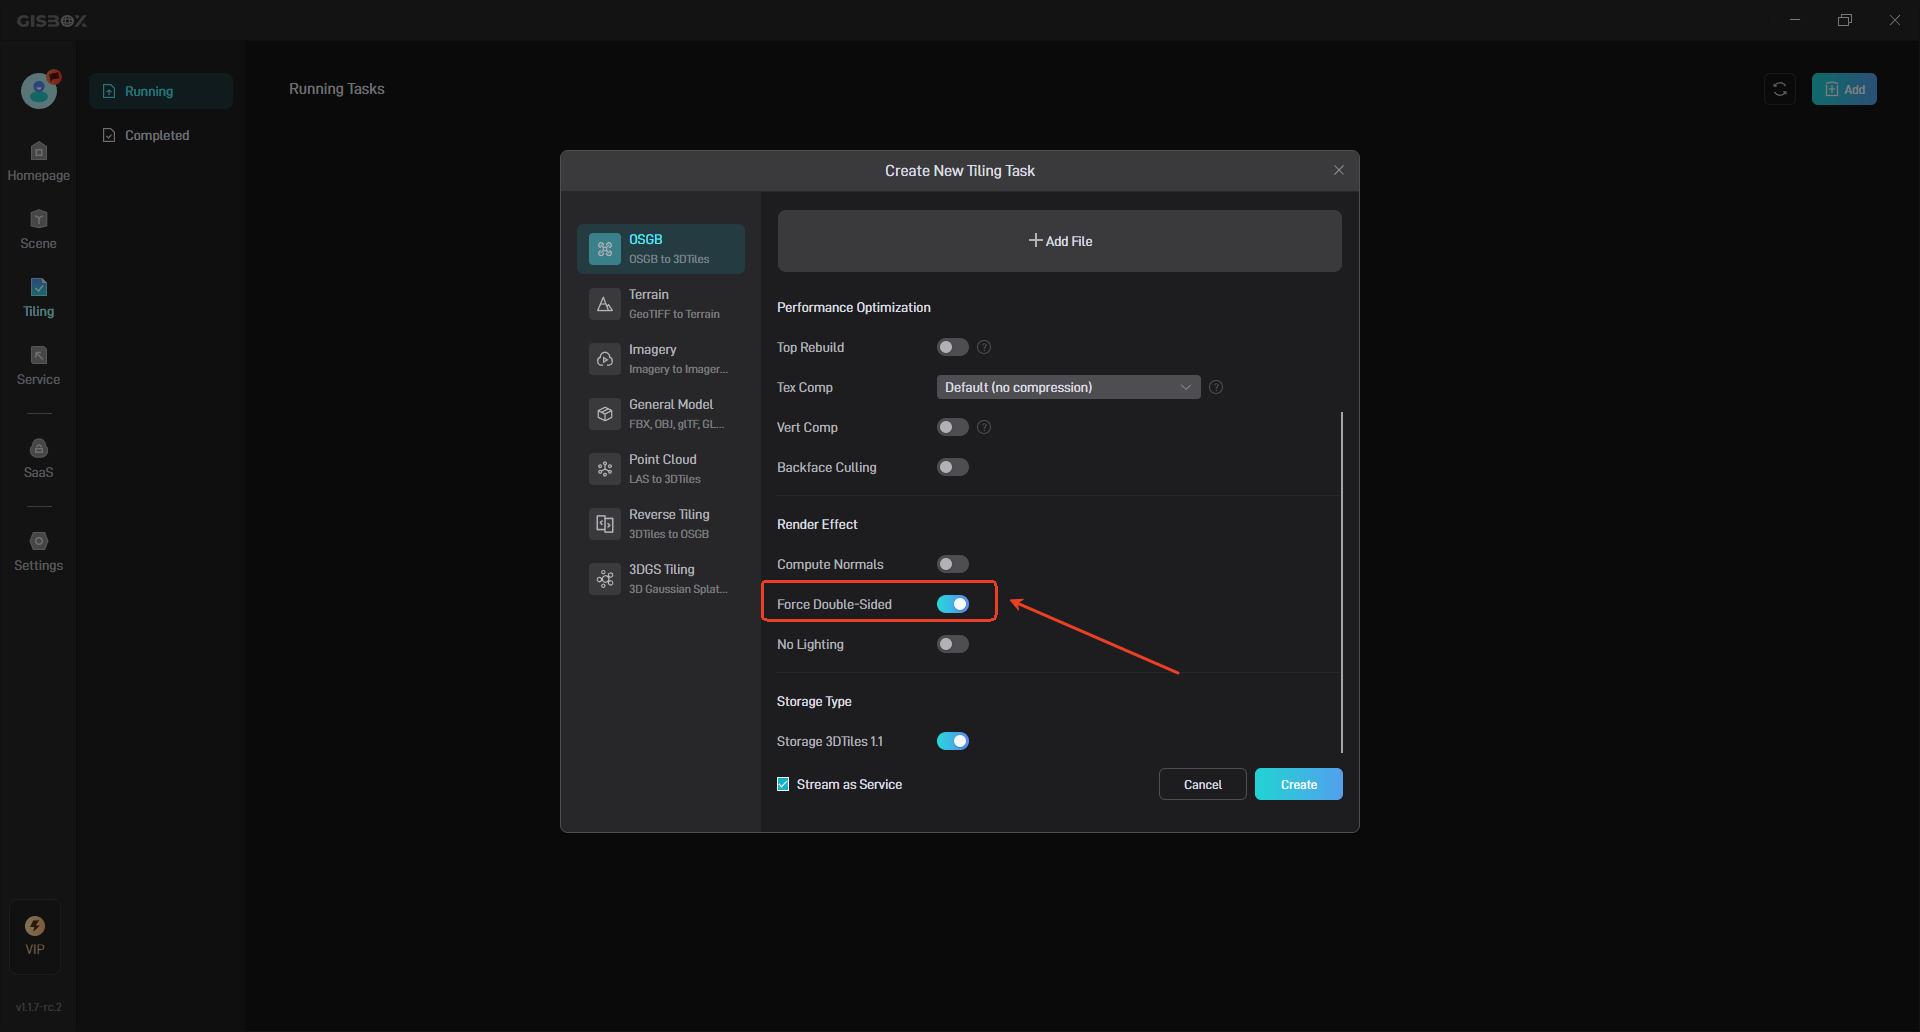
“Forced Double-Sided” usually does not need to be enabled, but for some abnormal data, such as holes caused by front and back cropping, you can try to enable this option to achieve the purpose of double-sided rendering.
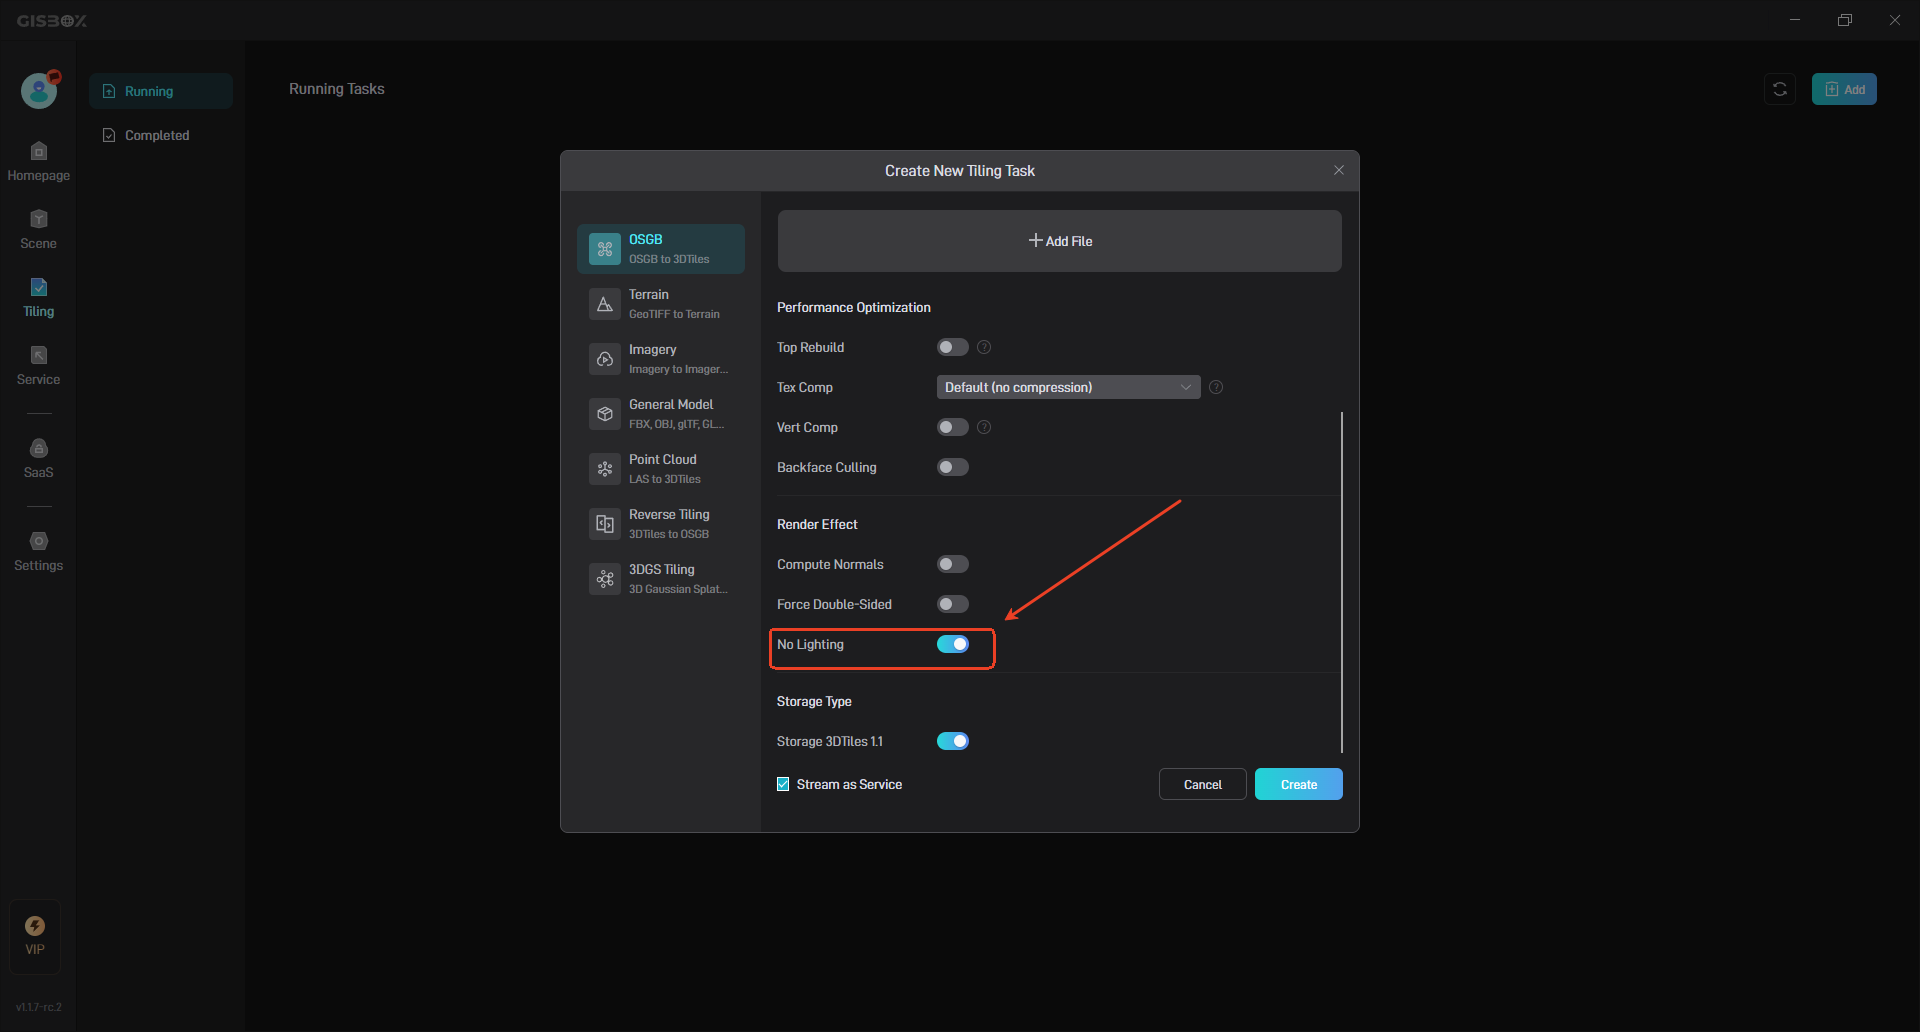
When “No Lighting” is enabled, the rendered portions of the tilted model will not participate in Cesium engine’s default lighting calculations, enhancing the realism of the scene.
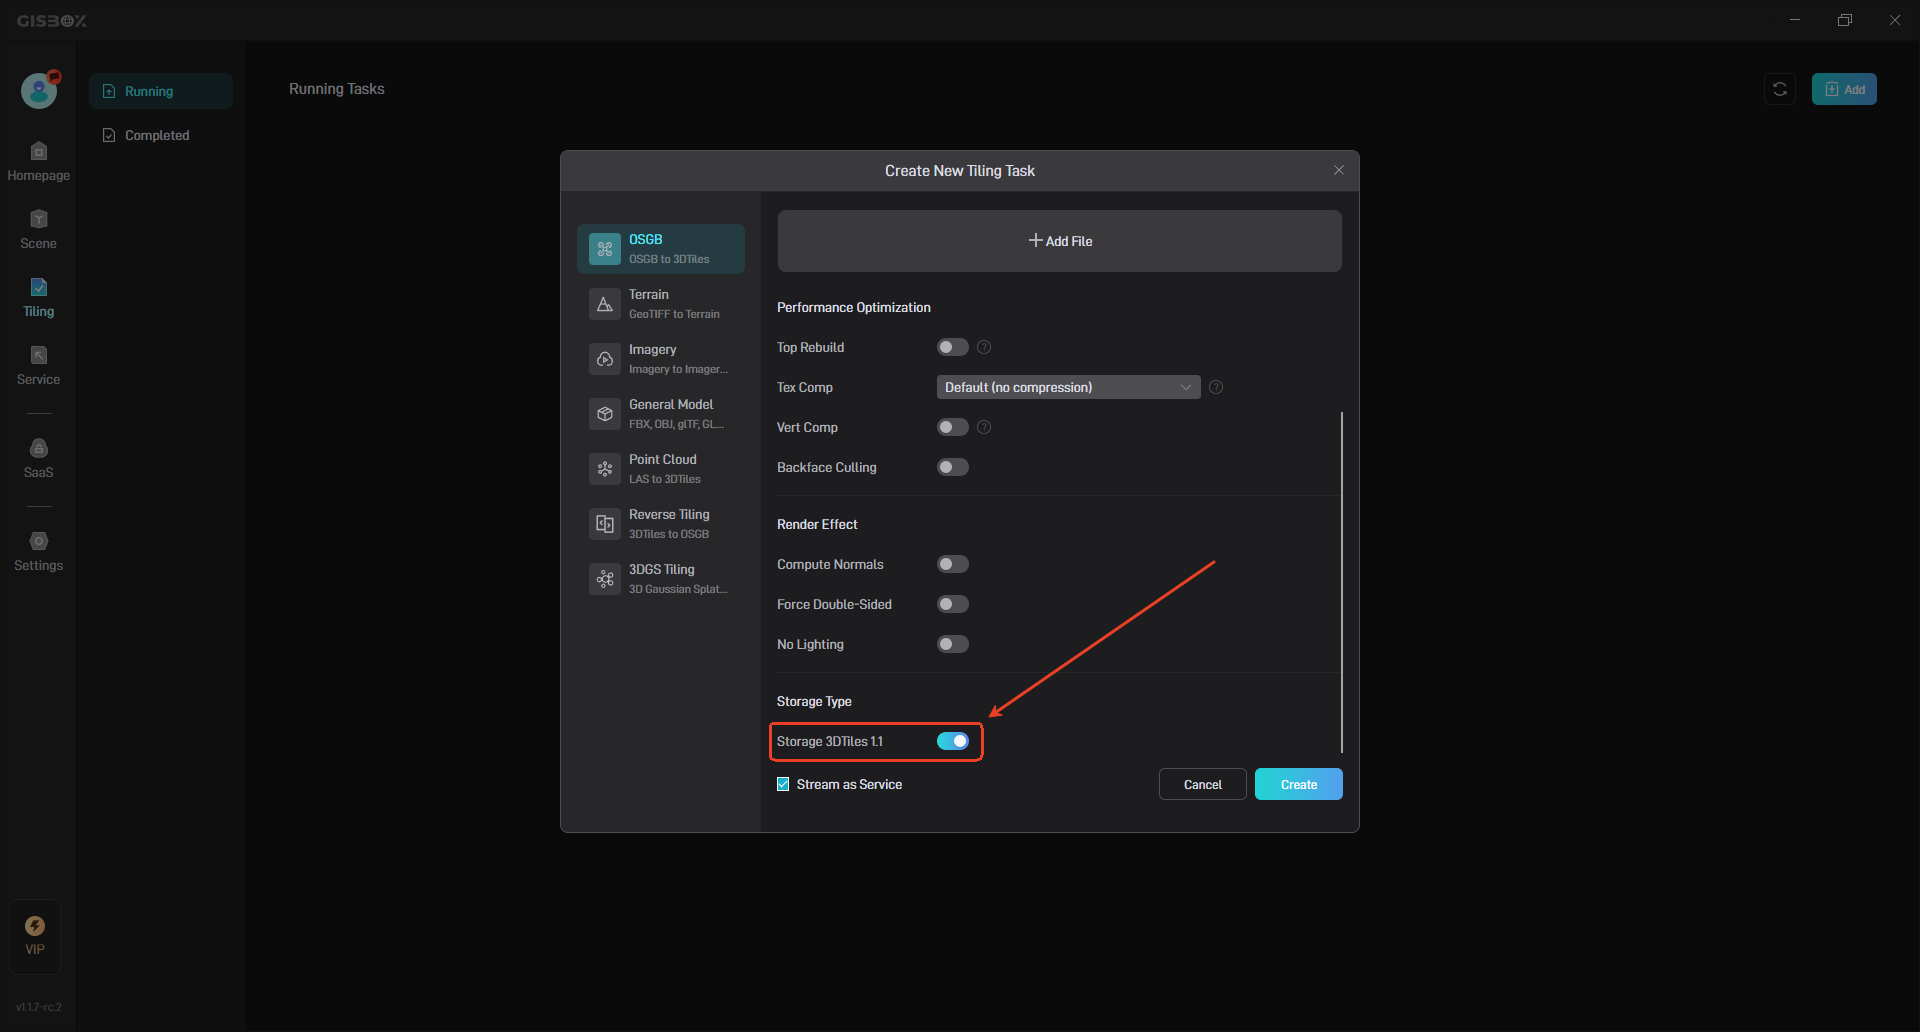
2.5 Storage Type
In “Storage Type”, “Store 3DTiles 1.1” is enabled by default. When enabled, the model files in the OSGB folder will be exported in glb format. When disabled, they will be in b3dm format.
3. Streaming Settings
When “Stream as Service” is enabled, the created tiling task will automatically add a corresponding type of service in the “Service” section.
3.1 Stream as Service Simultaneously
When “Stream as Service” is enabled, a corresponding type of service will be added in “Service” after tiling is completed. For example, a tiling task for OSGB files will automatically add a service in the “Model Service” option of “Service”.
3.2 Stream as Service Separately
When “Stream as Service” is disabled, no corresponding type of service will be added in “Service” after tiling is successful, and it will need to be added manually.
After adding the exported JSON file, click the “Add” button.

4. Edit Files
4.1 Jump to Service List
After the tiling task is processed, click the “Jump to Service List” button on the right to view the corresponding service.

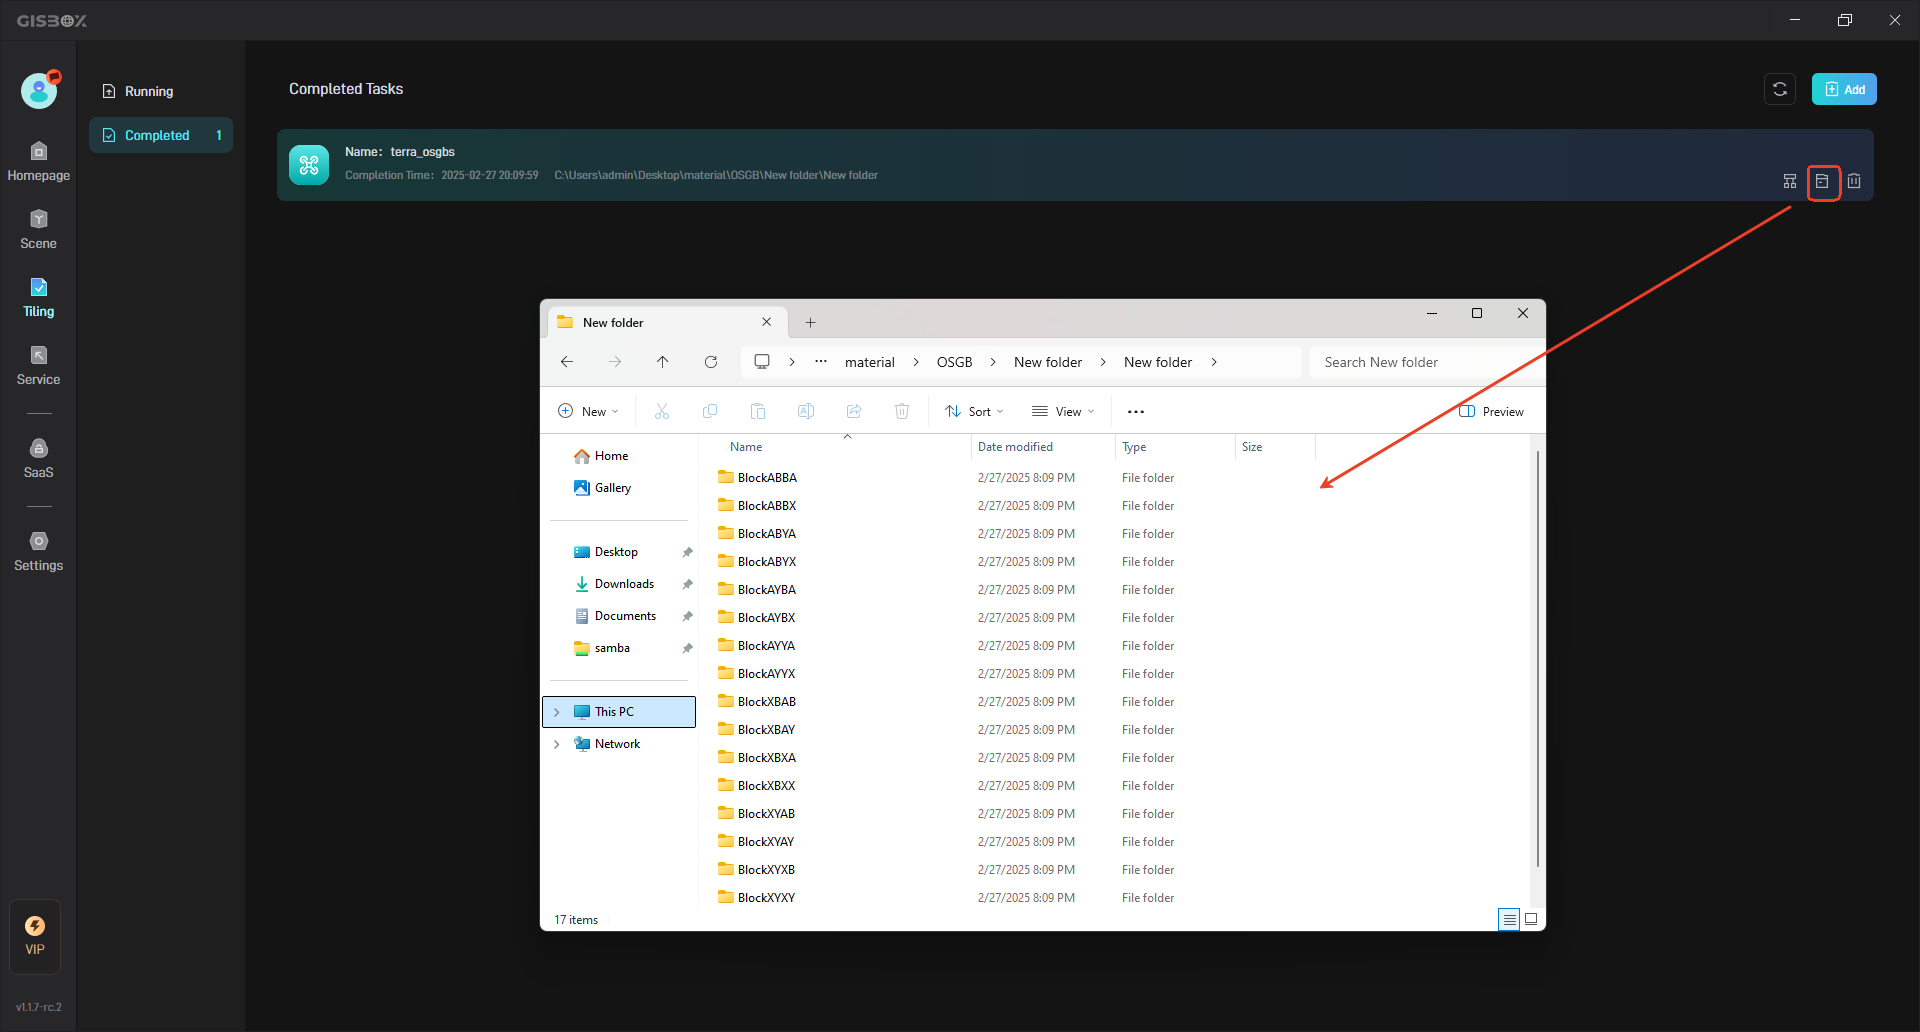
4.2 View Files
After the tiling task is completed, click the “Open Folder” button on the right to view the converted 3DTiles files.
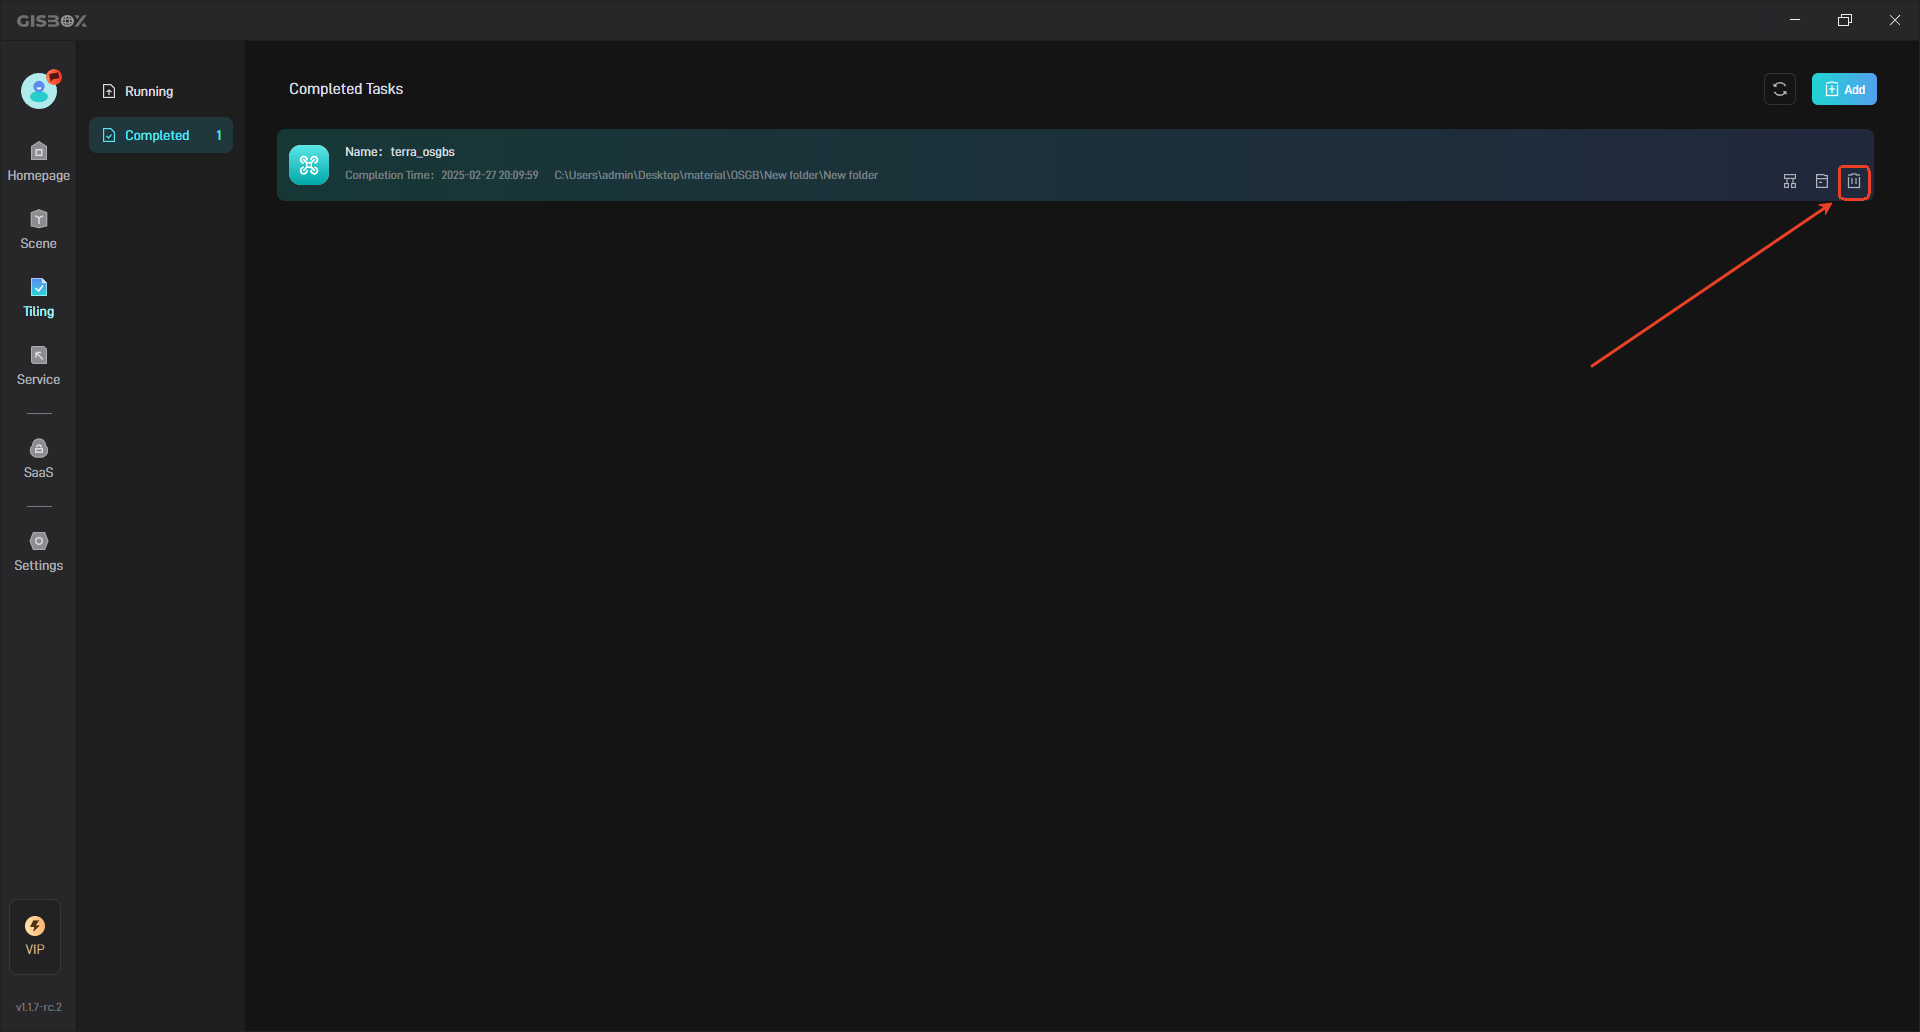
4.3 Delete Files
Click the “Delete” button on the right to delete the converted files.
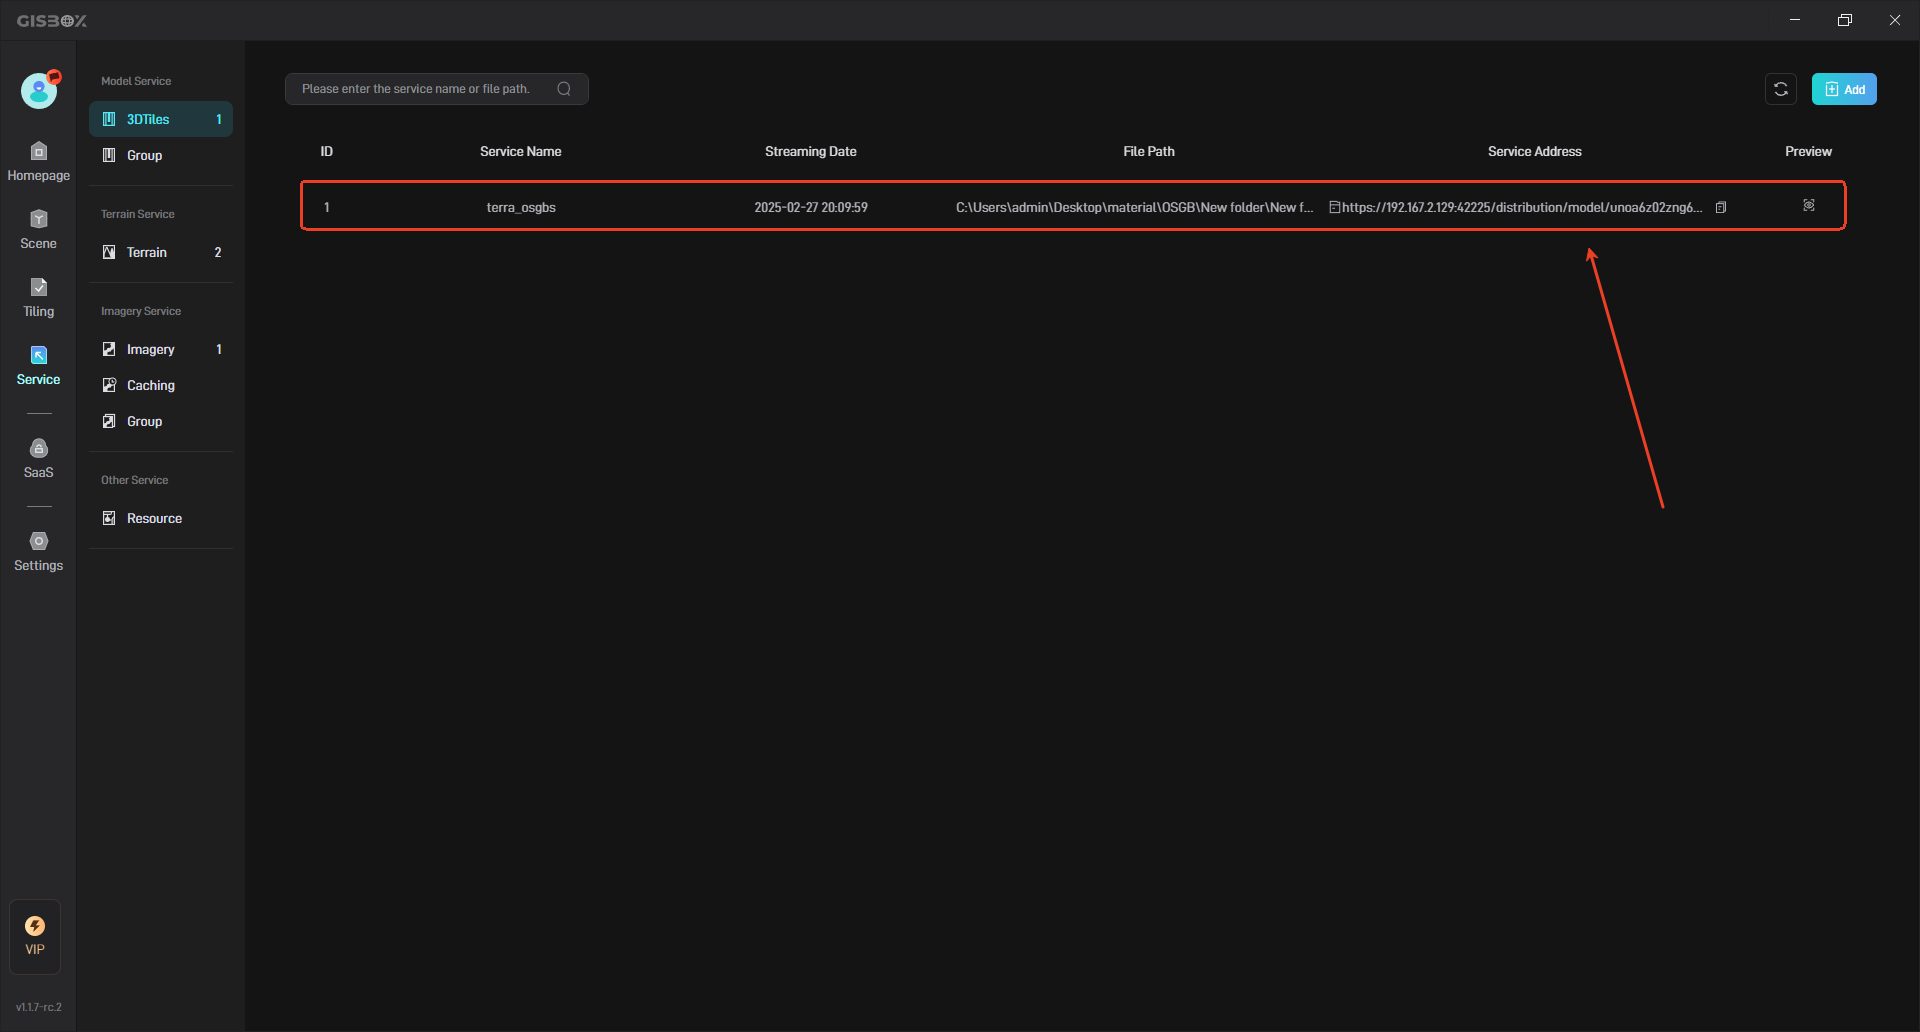
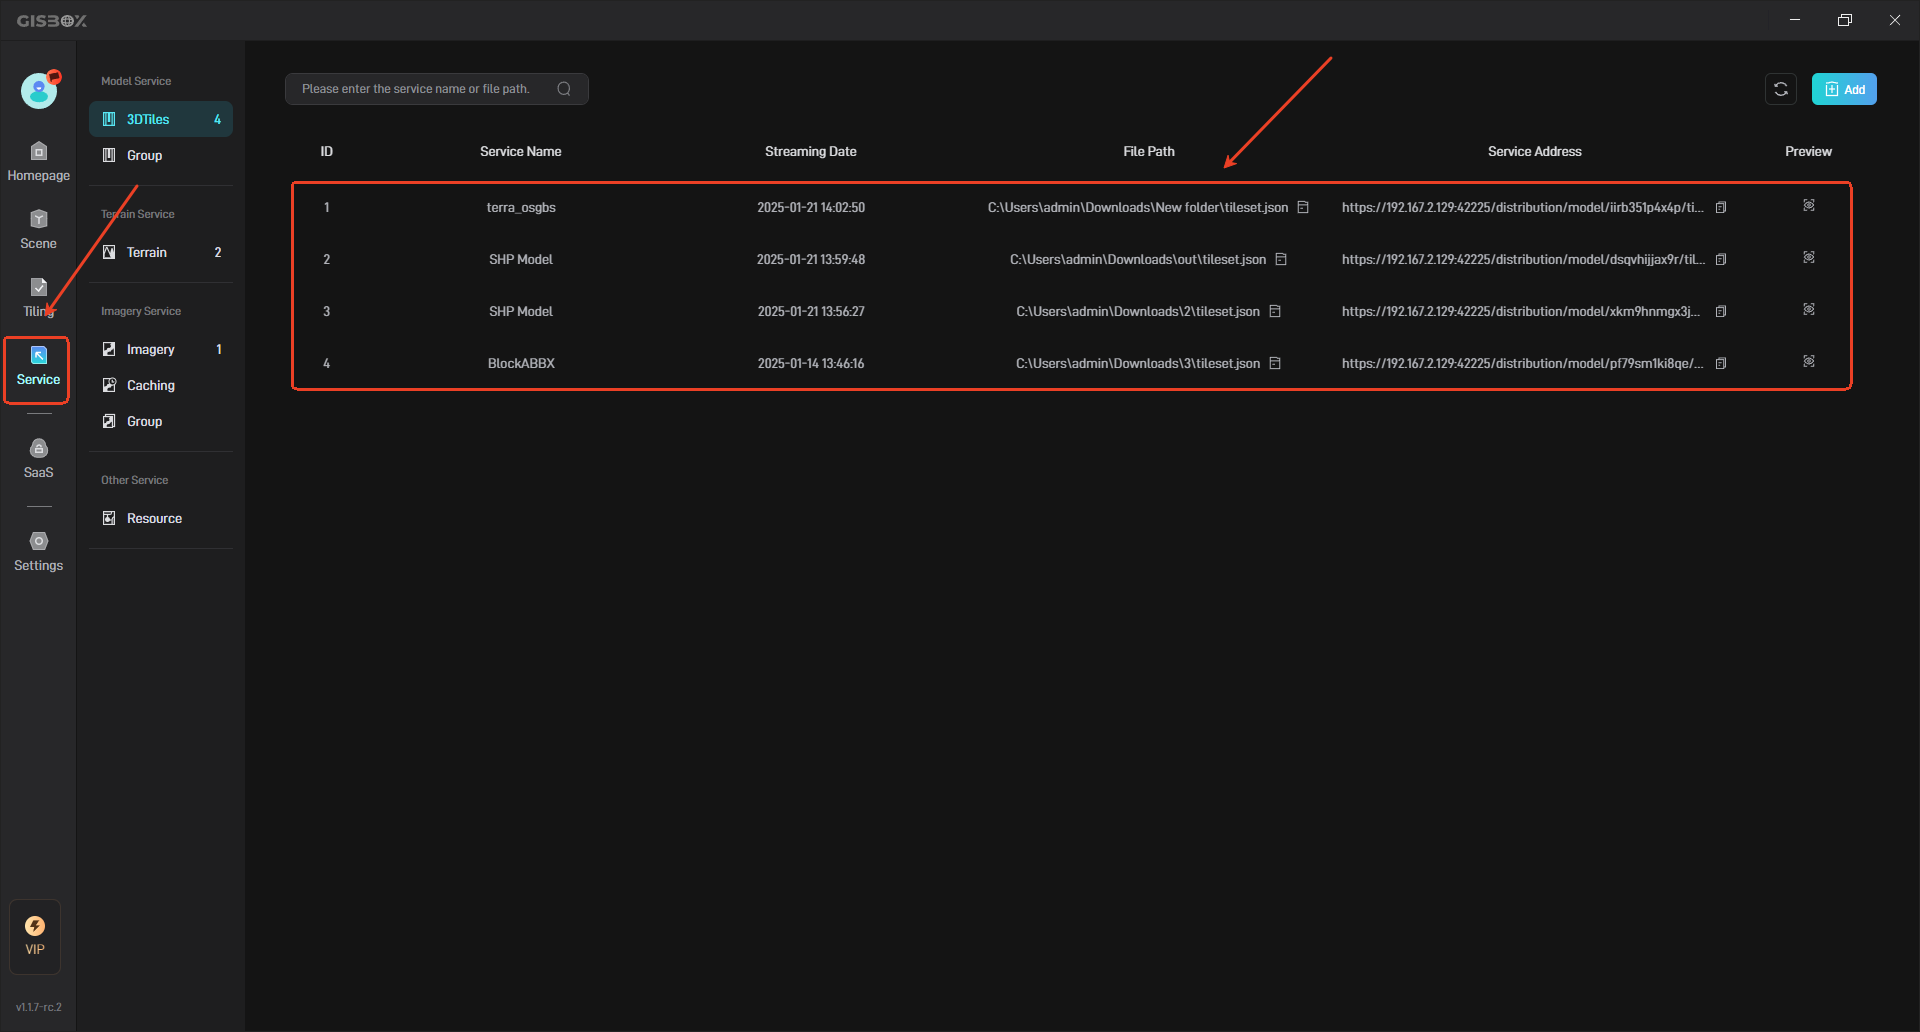
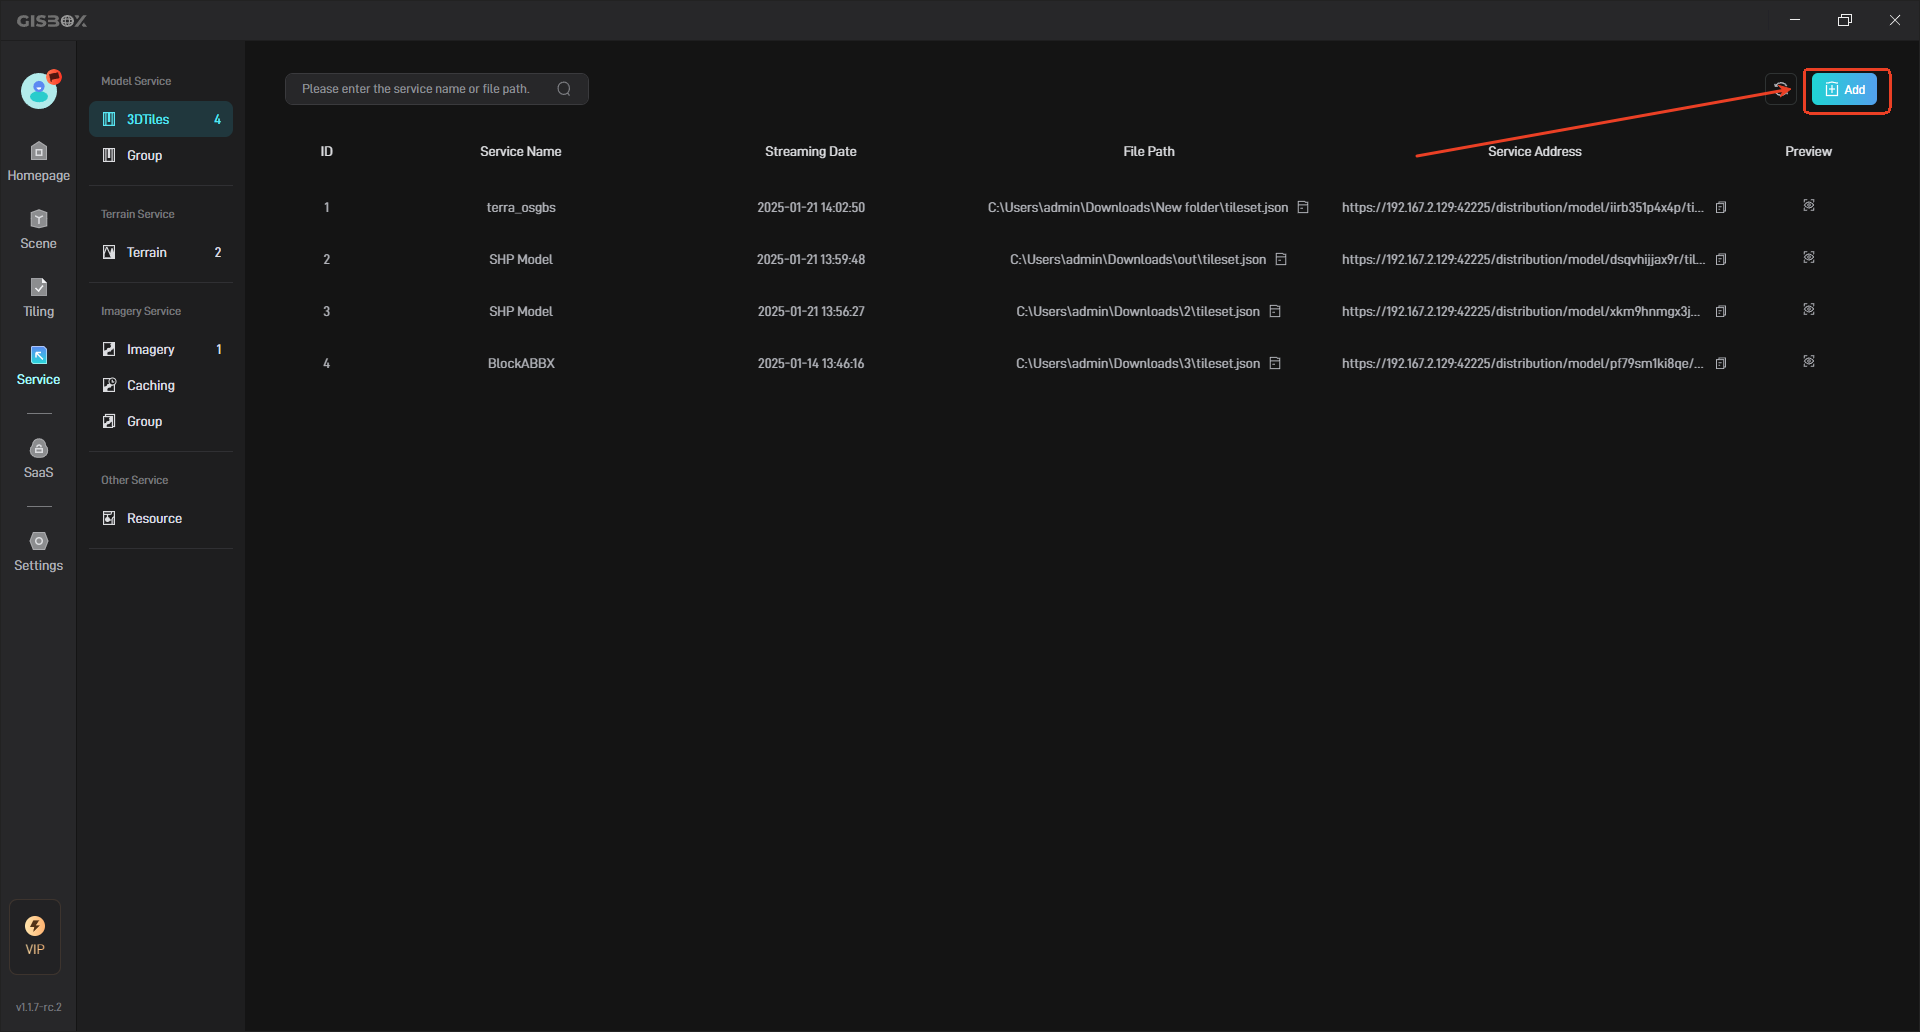
5. Use Service Address
If you check “Stream as Service” in the settings of the tiling task, the model will be automatically distributed after tiling is successful (the corresponding service address will be generated). We can click to open the corresponding service list, as shown in the figure below: (For more details, please refer to the tutorial: Model Service)
The generated service address can be applied to GIS platforms such as Cesium, and can also be applied to some digital twin project building platforms, such as Wings Engine.