Overview of GIS Tiling
1. Overview
In GISBox, you only need to import the local GIS file into the software, and then perform the tiling process. The software will automatically generate standardized tiling data. Currently, GISBox supports various types of GIS data, such as OSGB, terrain, imagery, general models, point clouds, Gaussian splashing, etc. After the tiling is completed, we can distribute the converted files. Click here to view the service tutorial.
2. Create a New Tiling Task
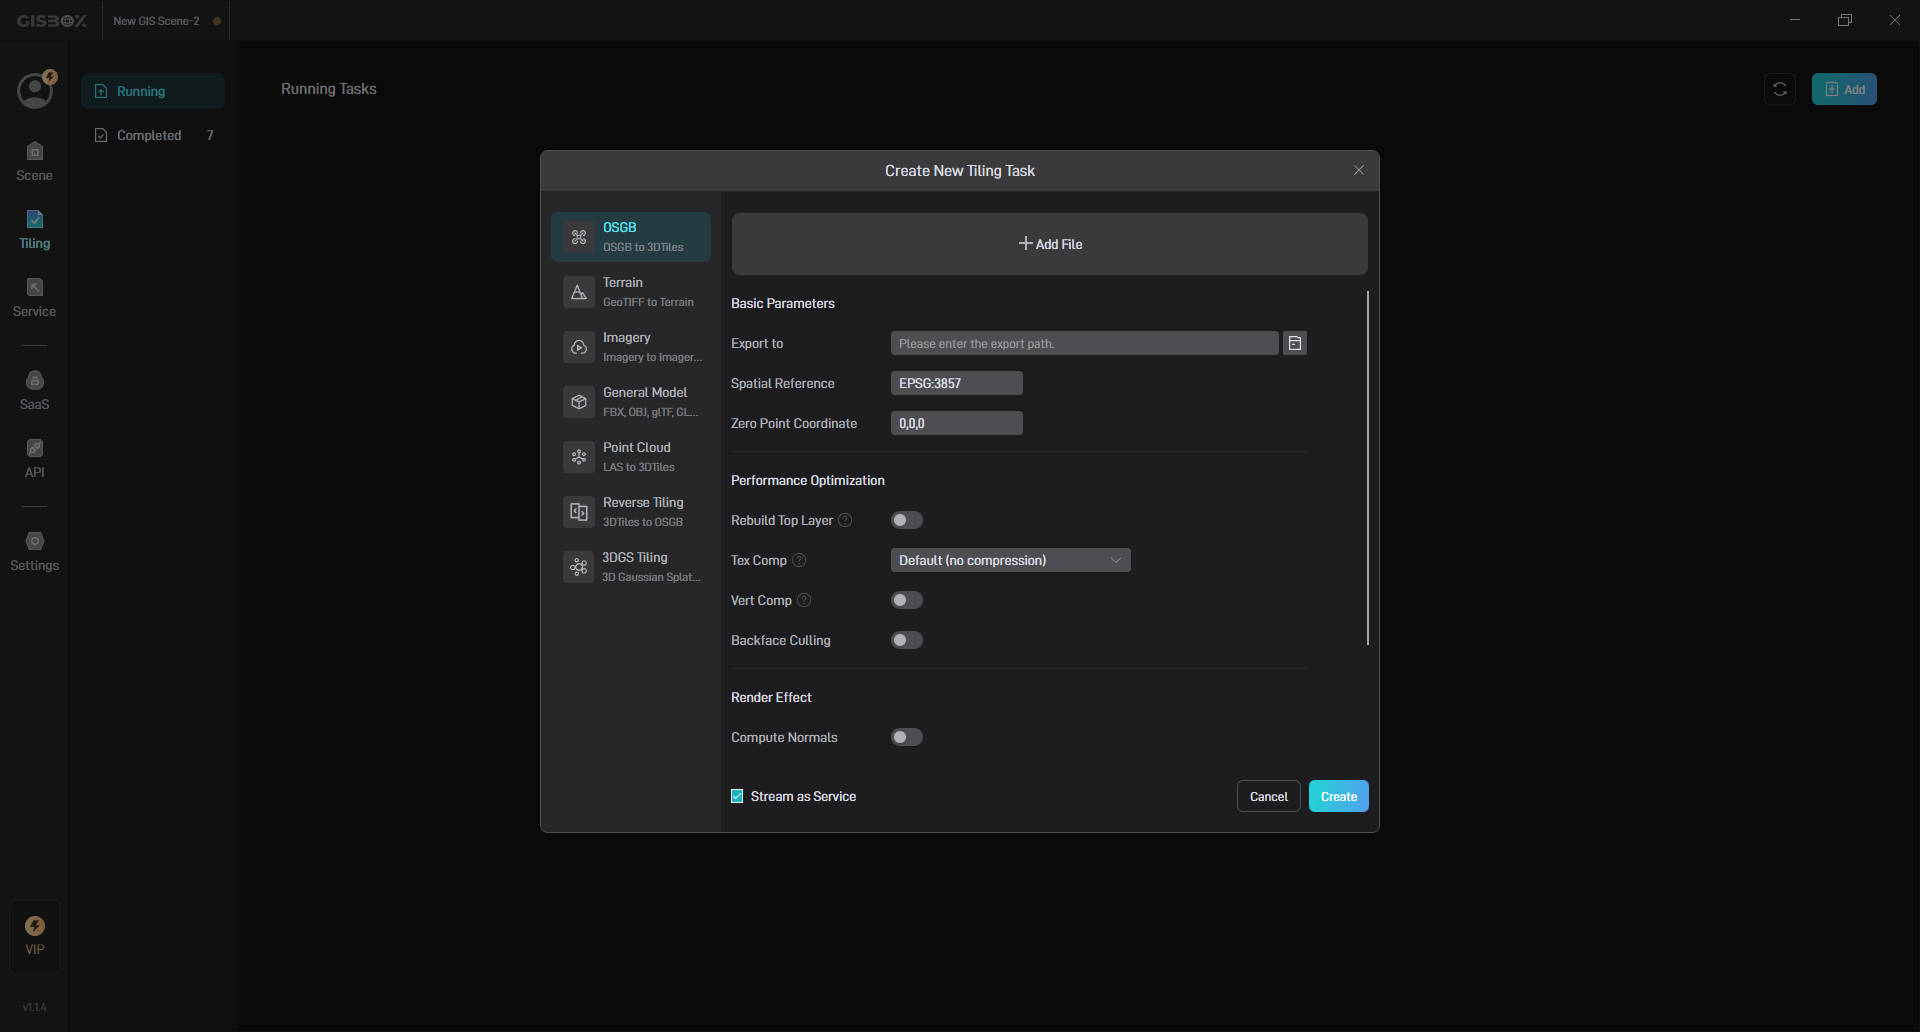
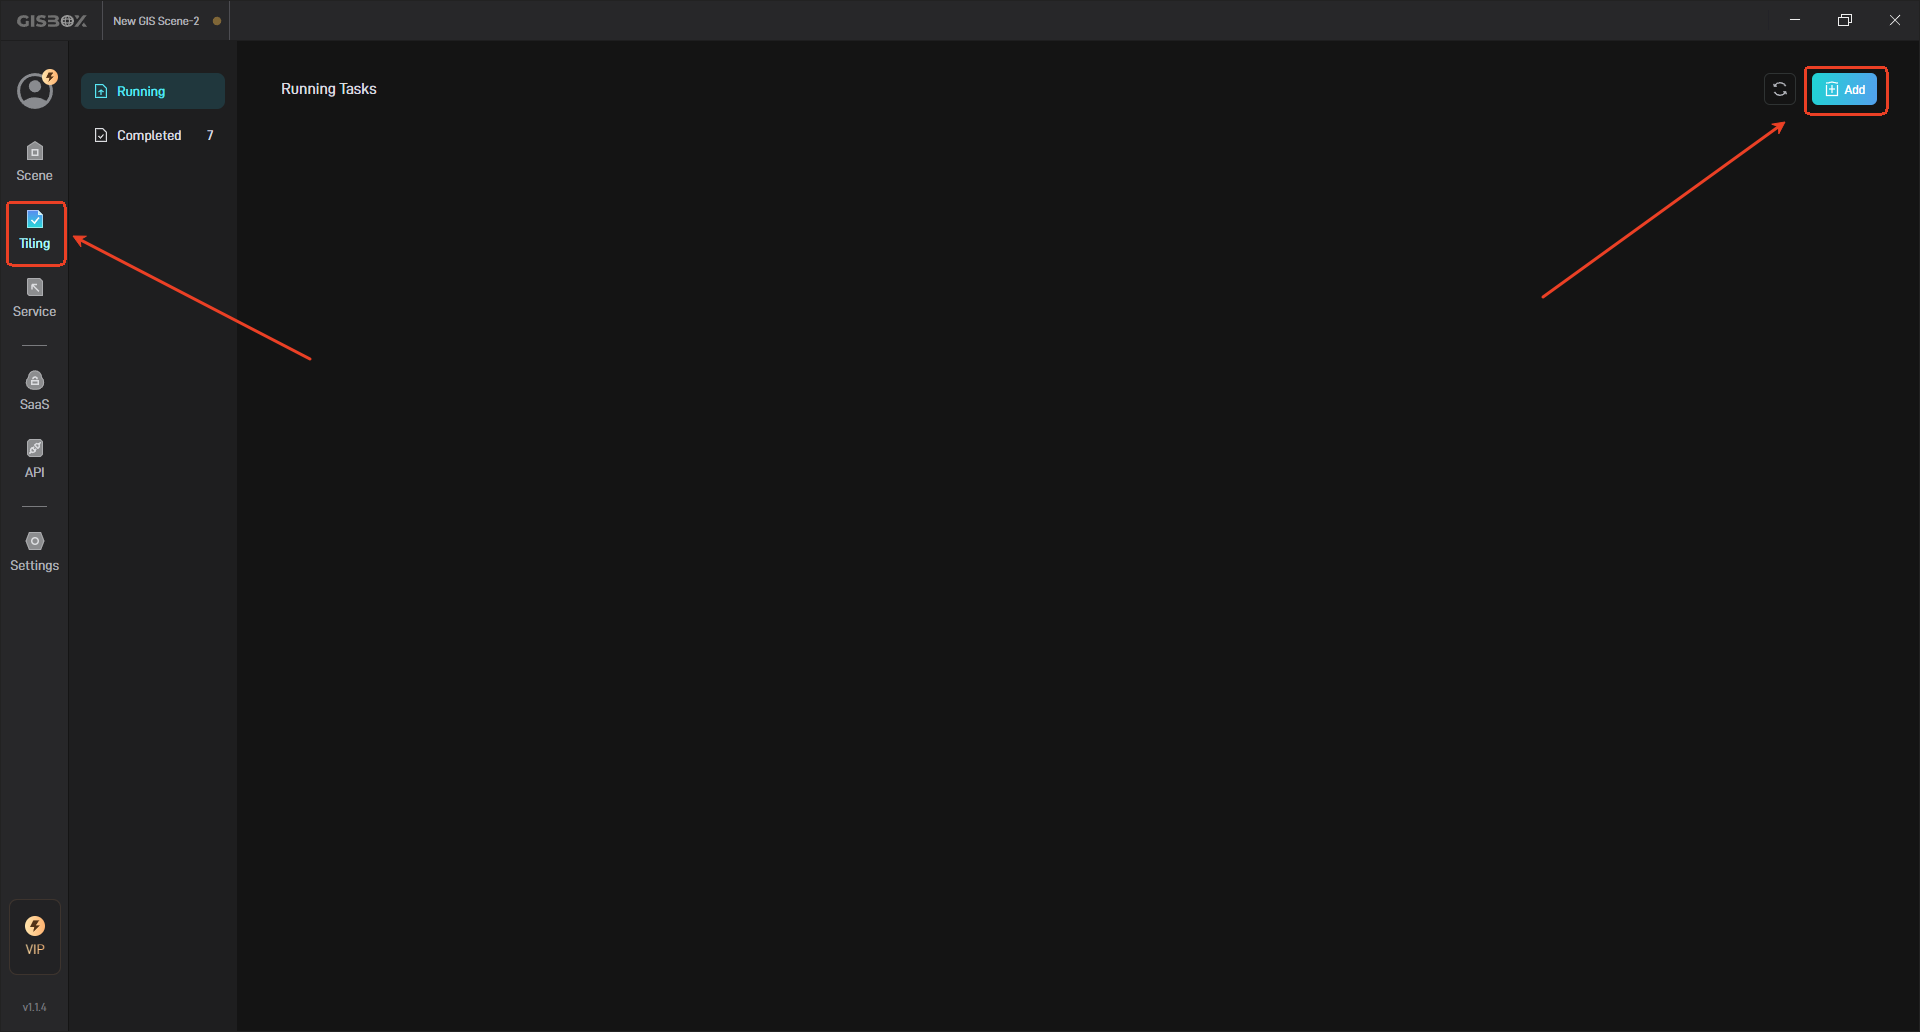
After starting GISBox, select the “Tiling” option and click the “Add” button in the upper right corner to open the “Create New Tiling Task” window.
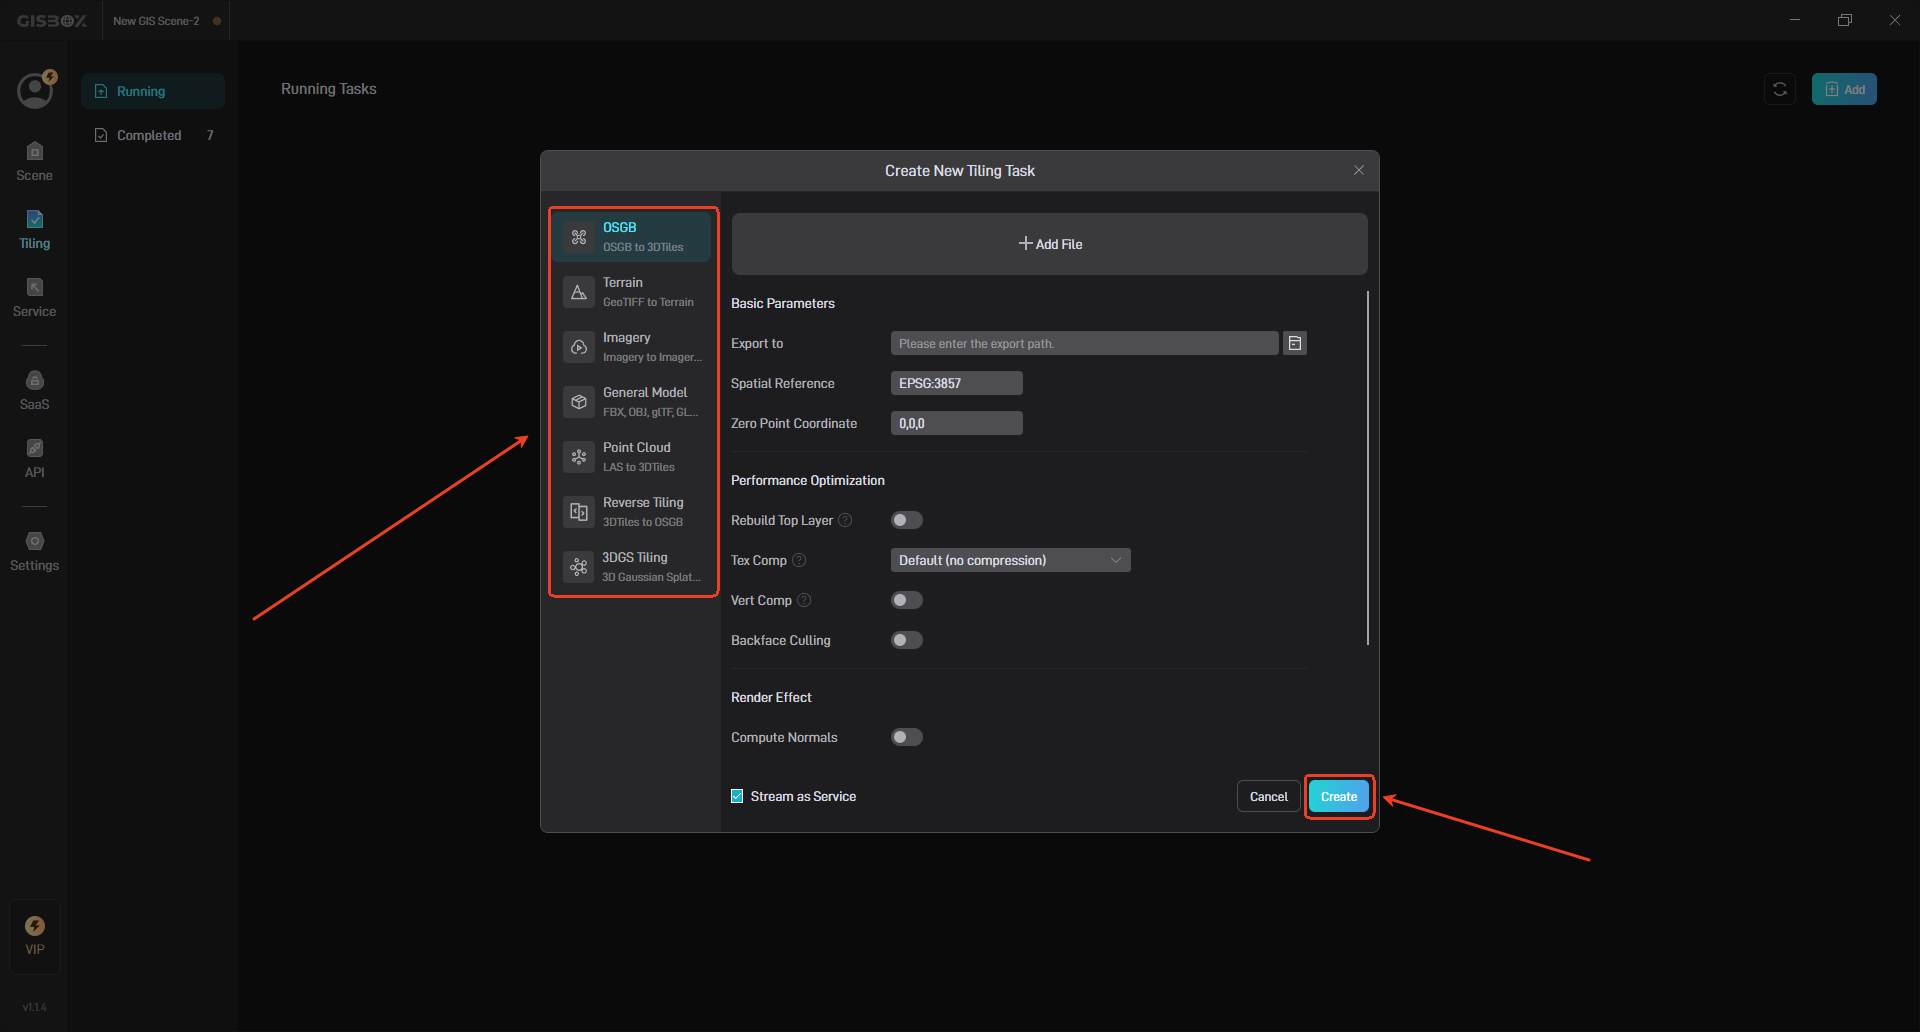
Select the tilcing type on the left side of the window, add files and make tiling settings on the right side, and click “Create” to start the slicing task.
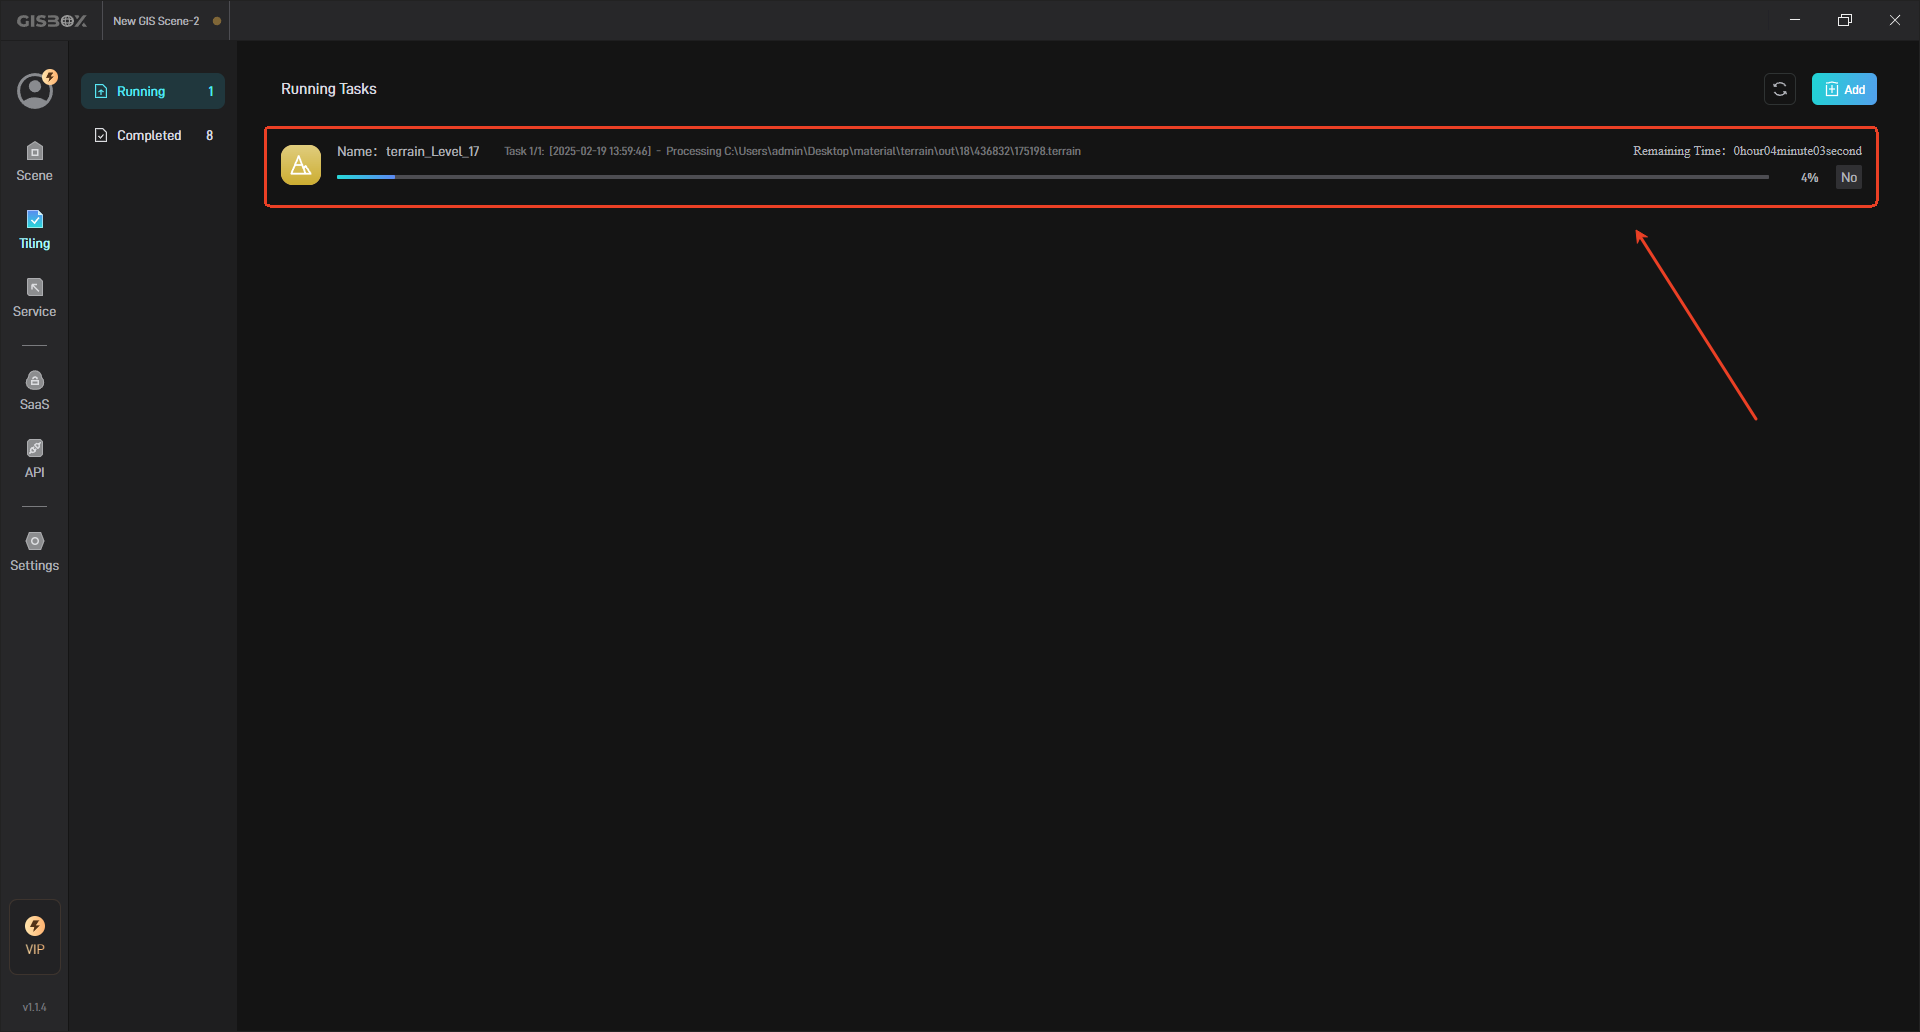
The tiling process takes some time; please be patient while it completes.
3. Tiling Task Management
3.1 Jump to Service List
After the tiling task is processed, click the “Service” button on the right to jump to the service list to view the corresponding service.

3.2 View Files
Click the “Open Folder” button on the right to view the processed tiling files.

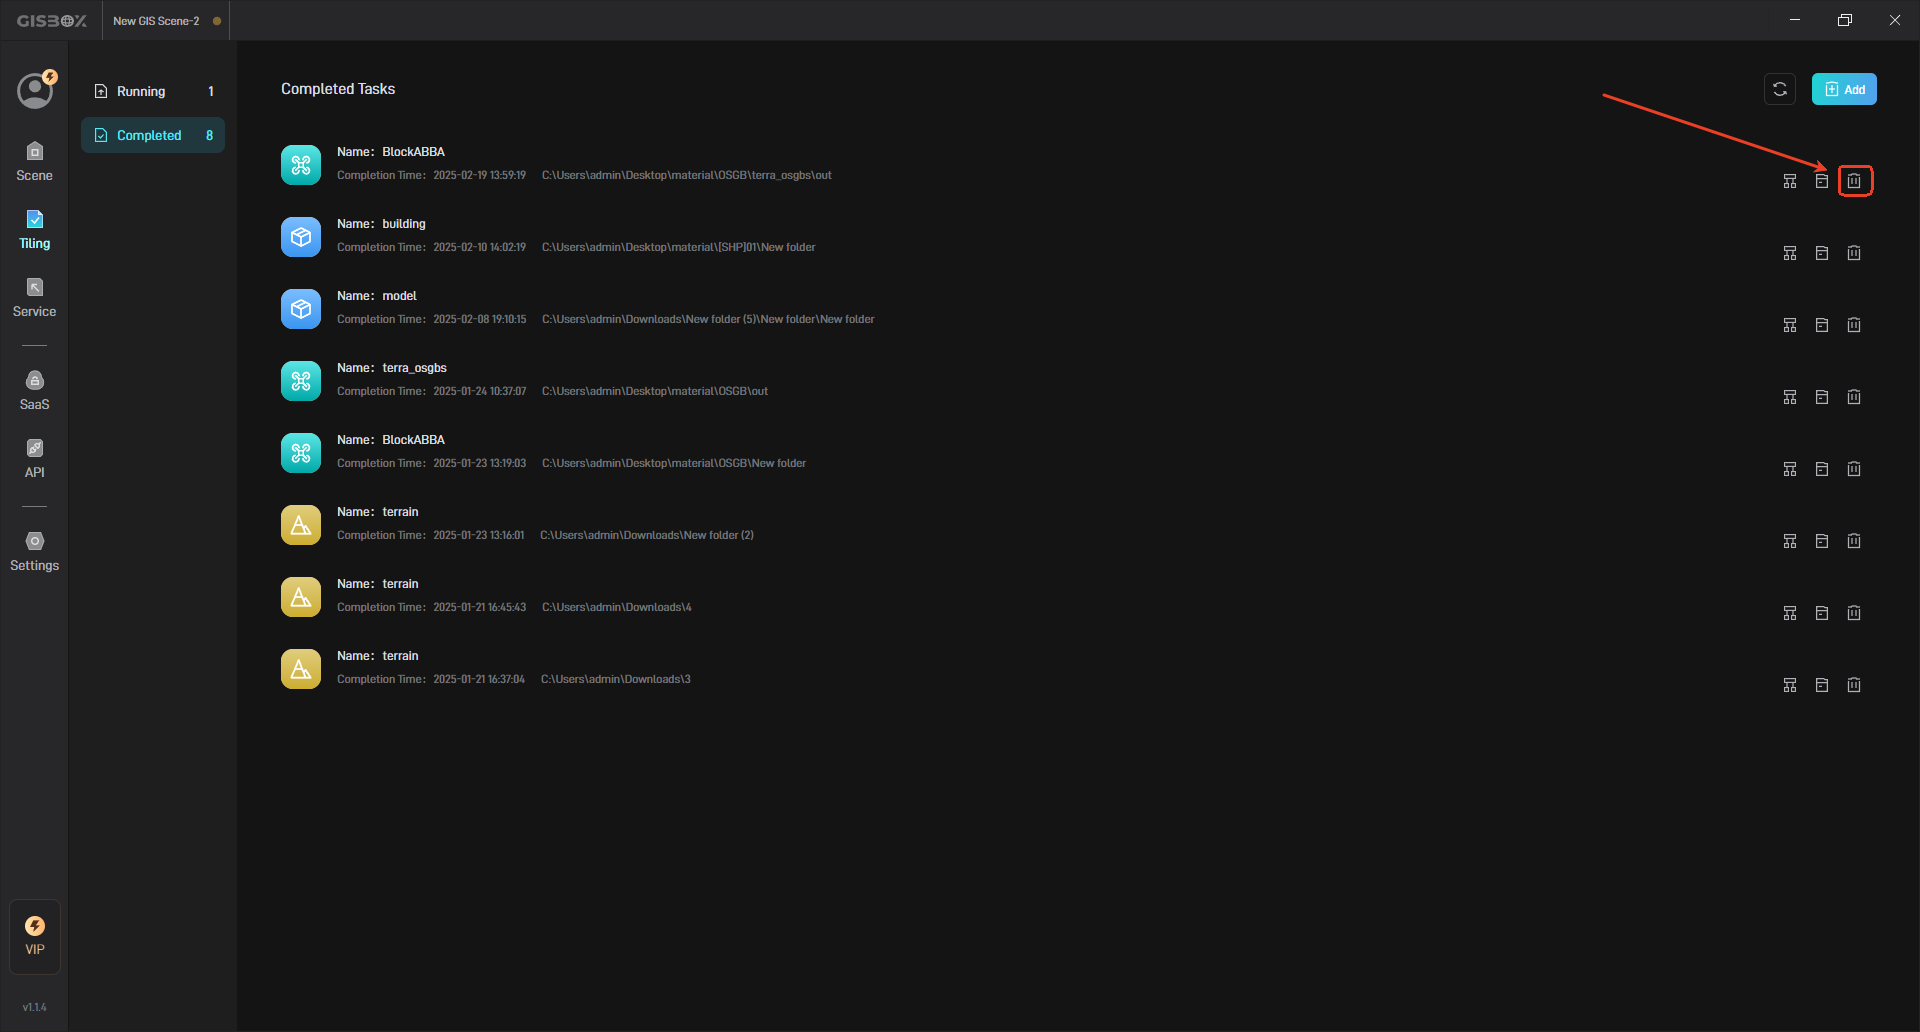
3.3 Delete Files
Click the “Delete” button on the right to delete the converted files.