
Windows Version
This article explains how to install and launch the Windows version of the client.
Before starting to use the software, please download and install the GISBox client that is suitable for your system. GISBox supports Windows, Linux and Mac systems, and we can download it on the GISBox official website.
1. Download the Installer
First, visit the official GISBox website and download the installer from the location shown in the image below.

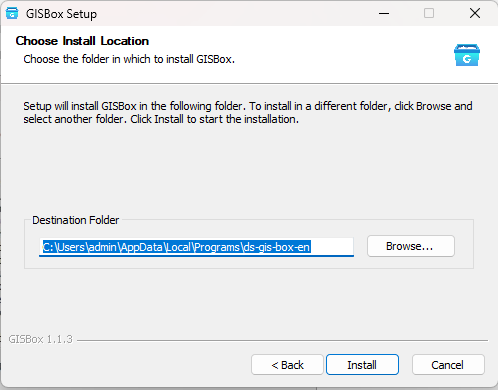
2. Installation Settings
After the download is complete, open the installer and click “Browse” to select the installation destination for GISBox. Once the settings are complete, click “Install” to start the installation.
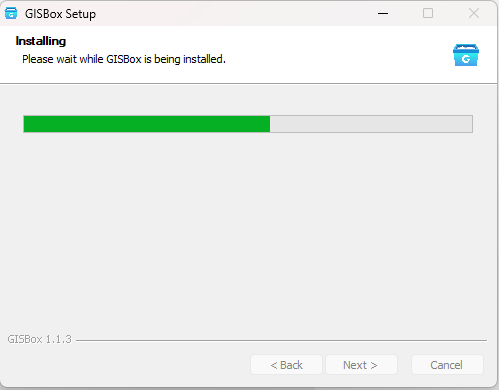
Depending on your PC’s performance, the installation may take some time, so please be patient.
After installation is complete, click “Finish” to exit the installation wizard.
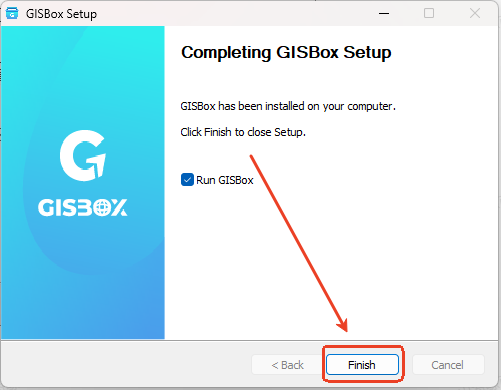
Once the installation is successful, an icon for the software will appear on your desktop.

3. Launch the Software
After double-clicking the GISBox icon to start the software, you can log in via email.
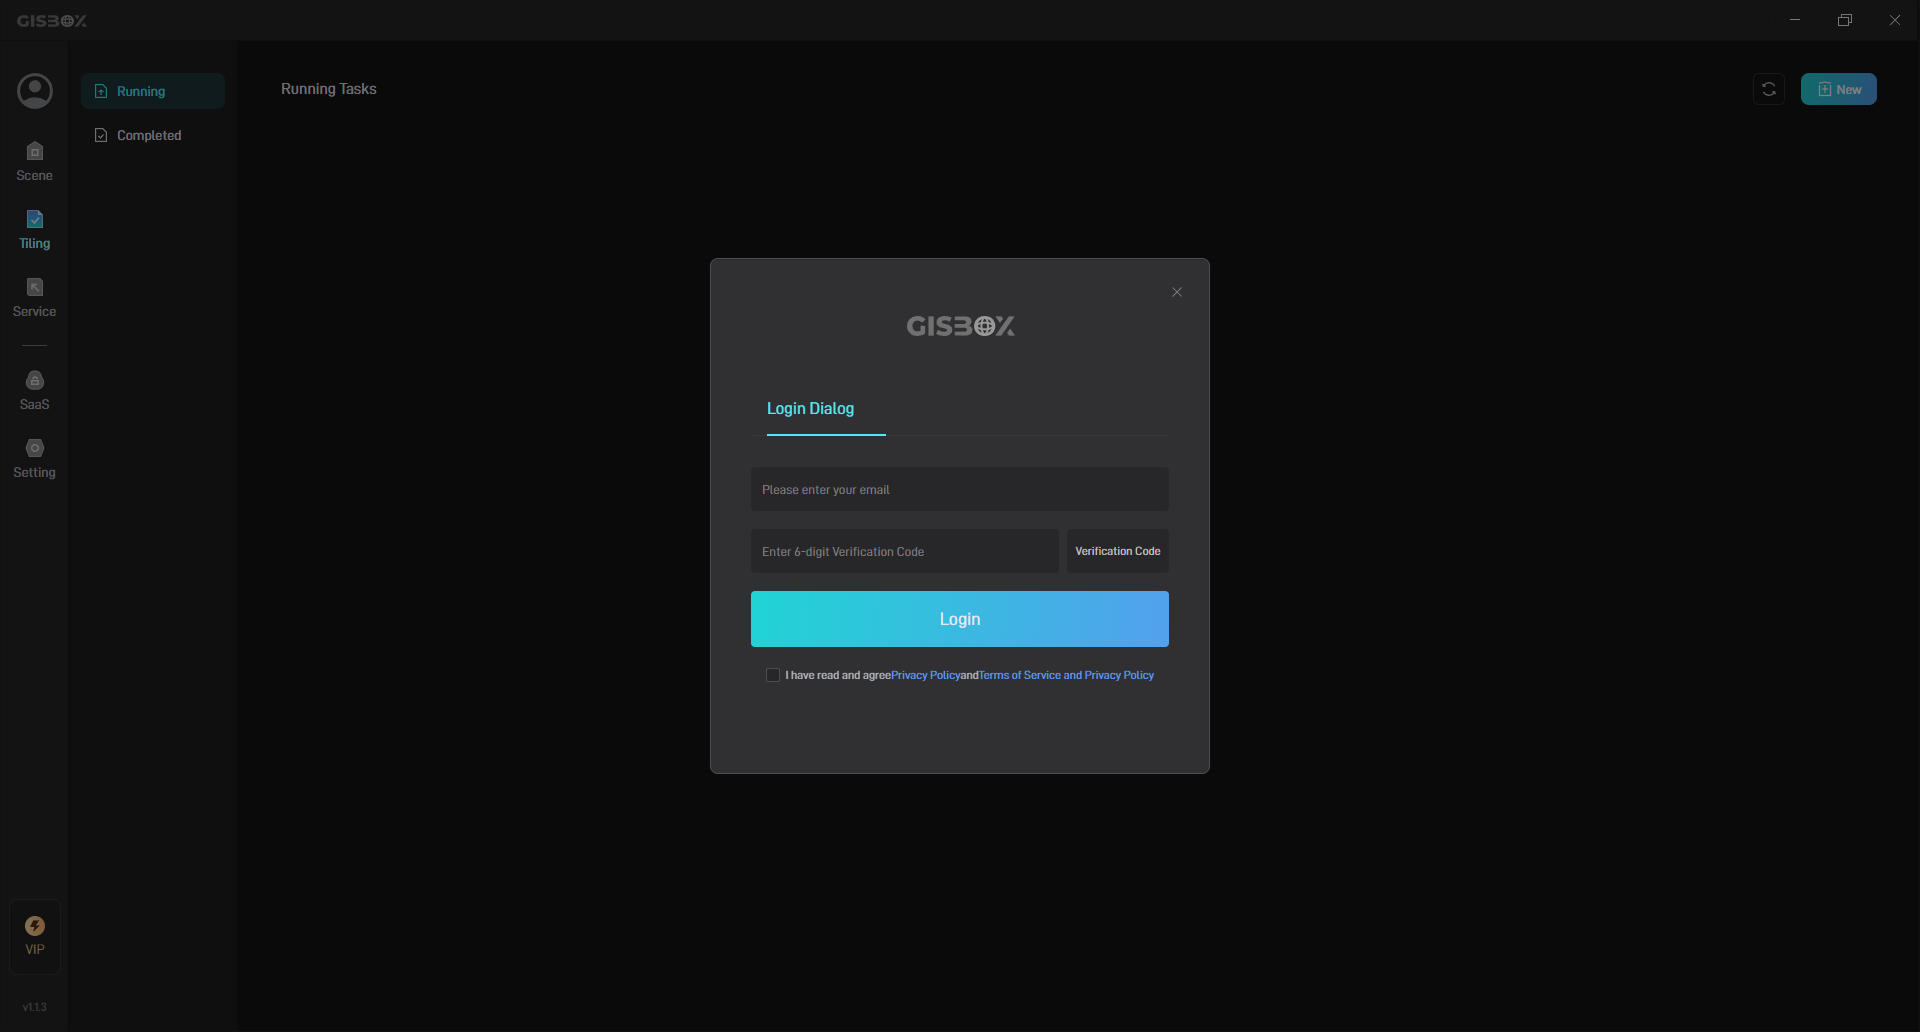
Once logged in, you can start using the GISBox software.
