Model Service
GISBox supports converting formats such as OSGB to 3DTiles format and publishing them. (Click to view the tutorial on OSGB Tiling)
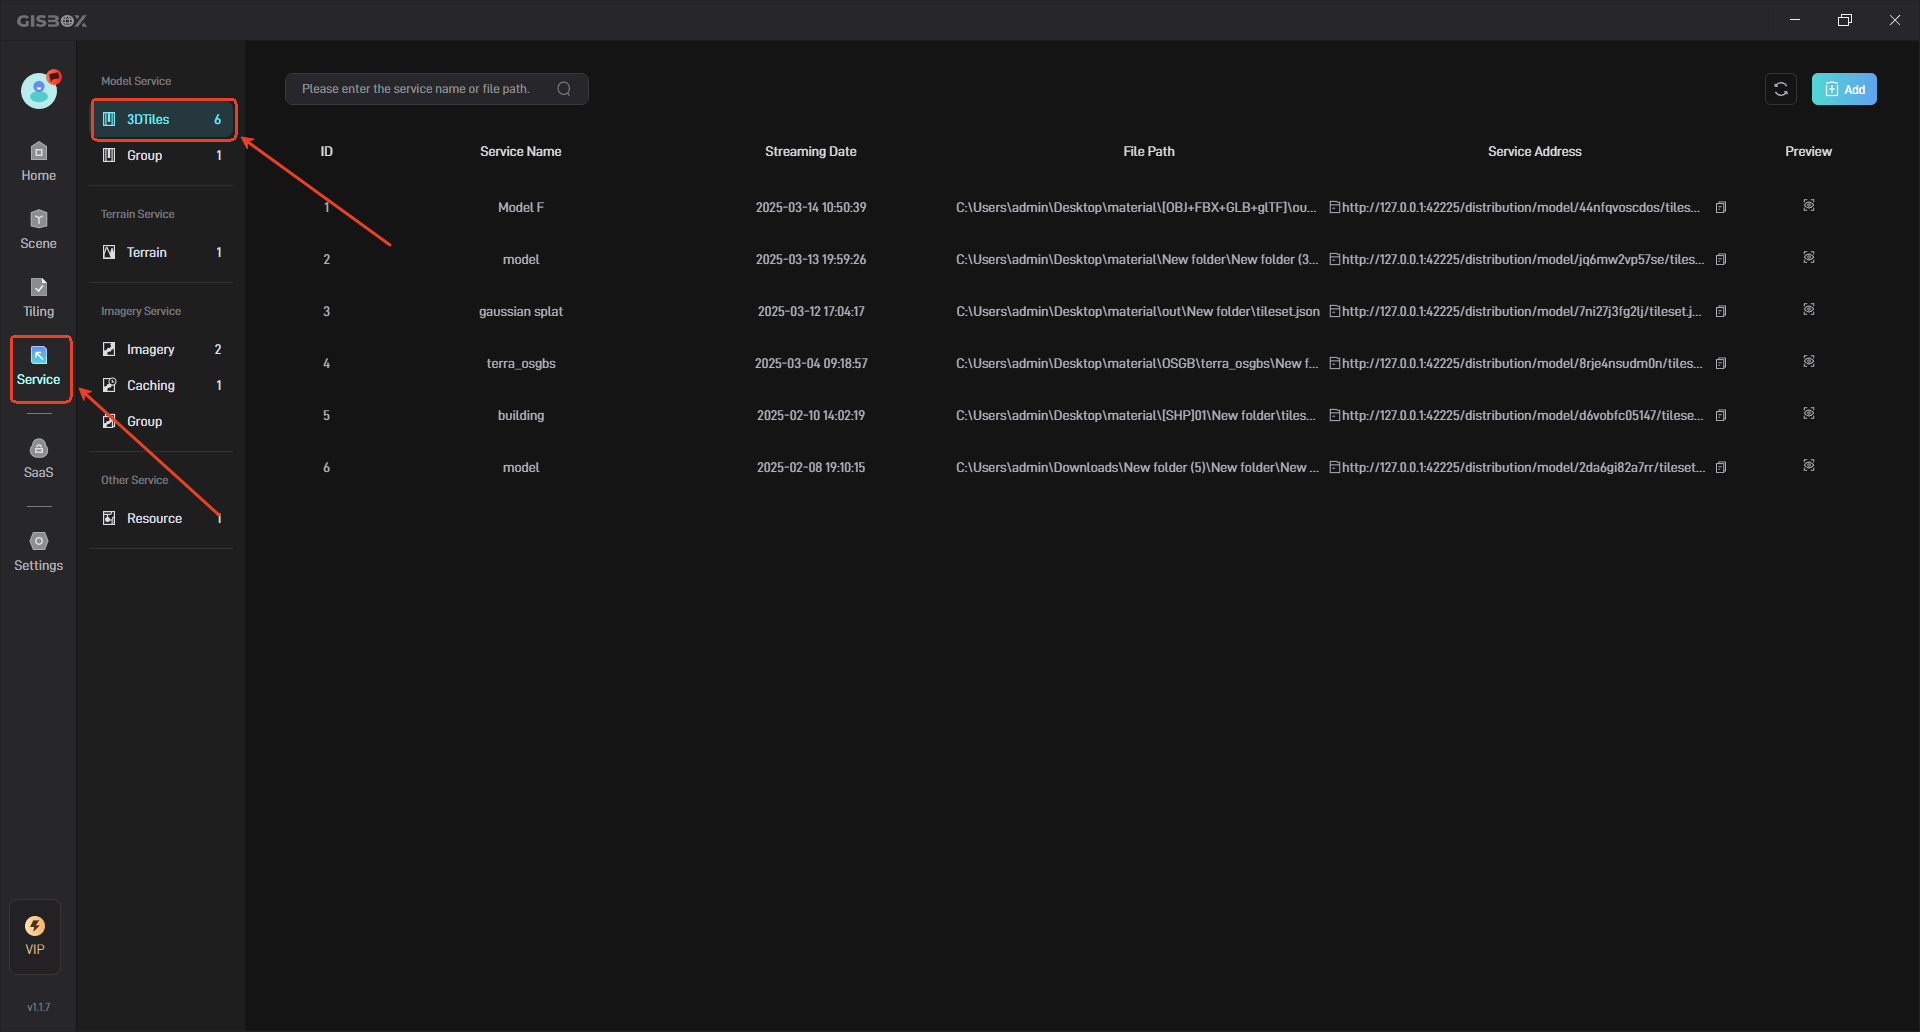
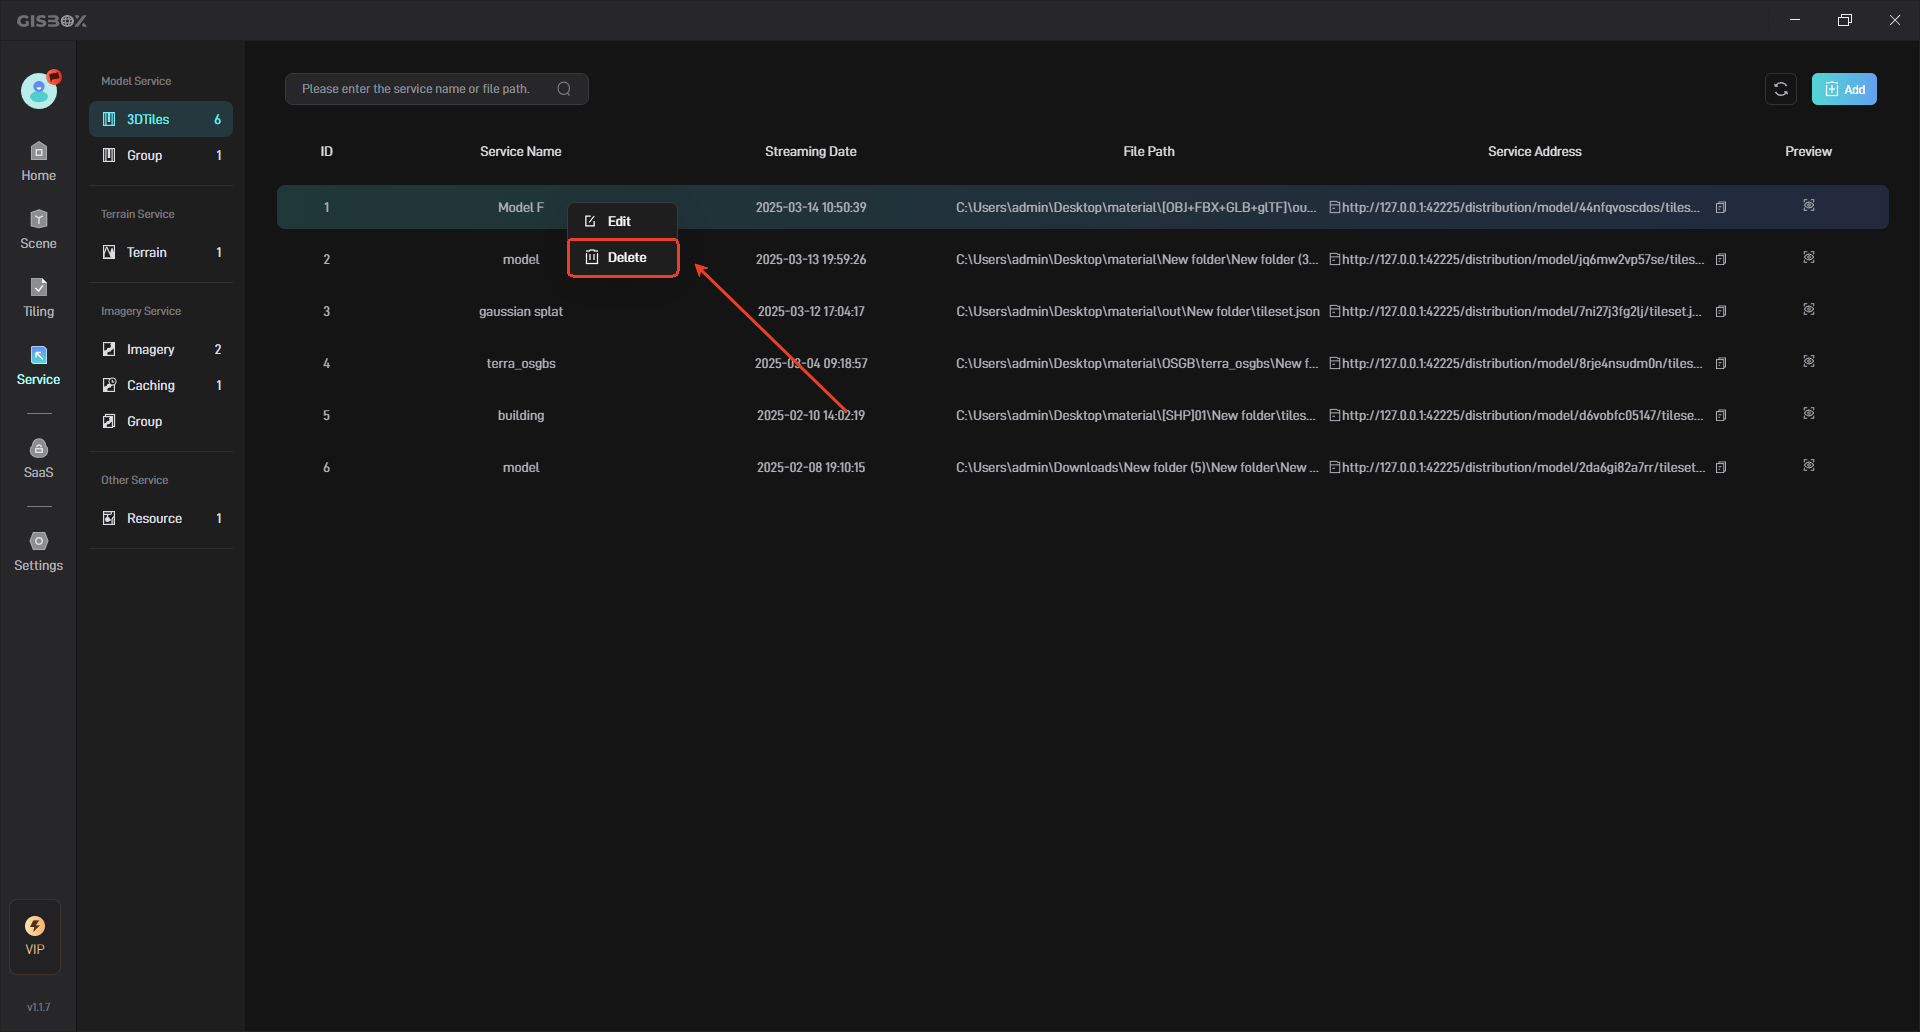
The generated model service can be viewed in the “3DTiles” in the “Service” interface, as shown in the following figure:
1. Add Model Service
There are two methods to add terrain services.
One is to enable the “Stream as Service” setting during terrain tiling. Upon completion of the terrain tiling task, the corresponding terrain service will be automatically generated.
The other one is to manually add the terrain tile data and then generate the corresponding terrain service.
1.1 Stream as a service at the same time
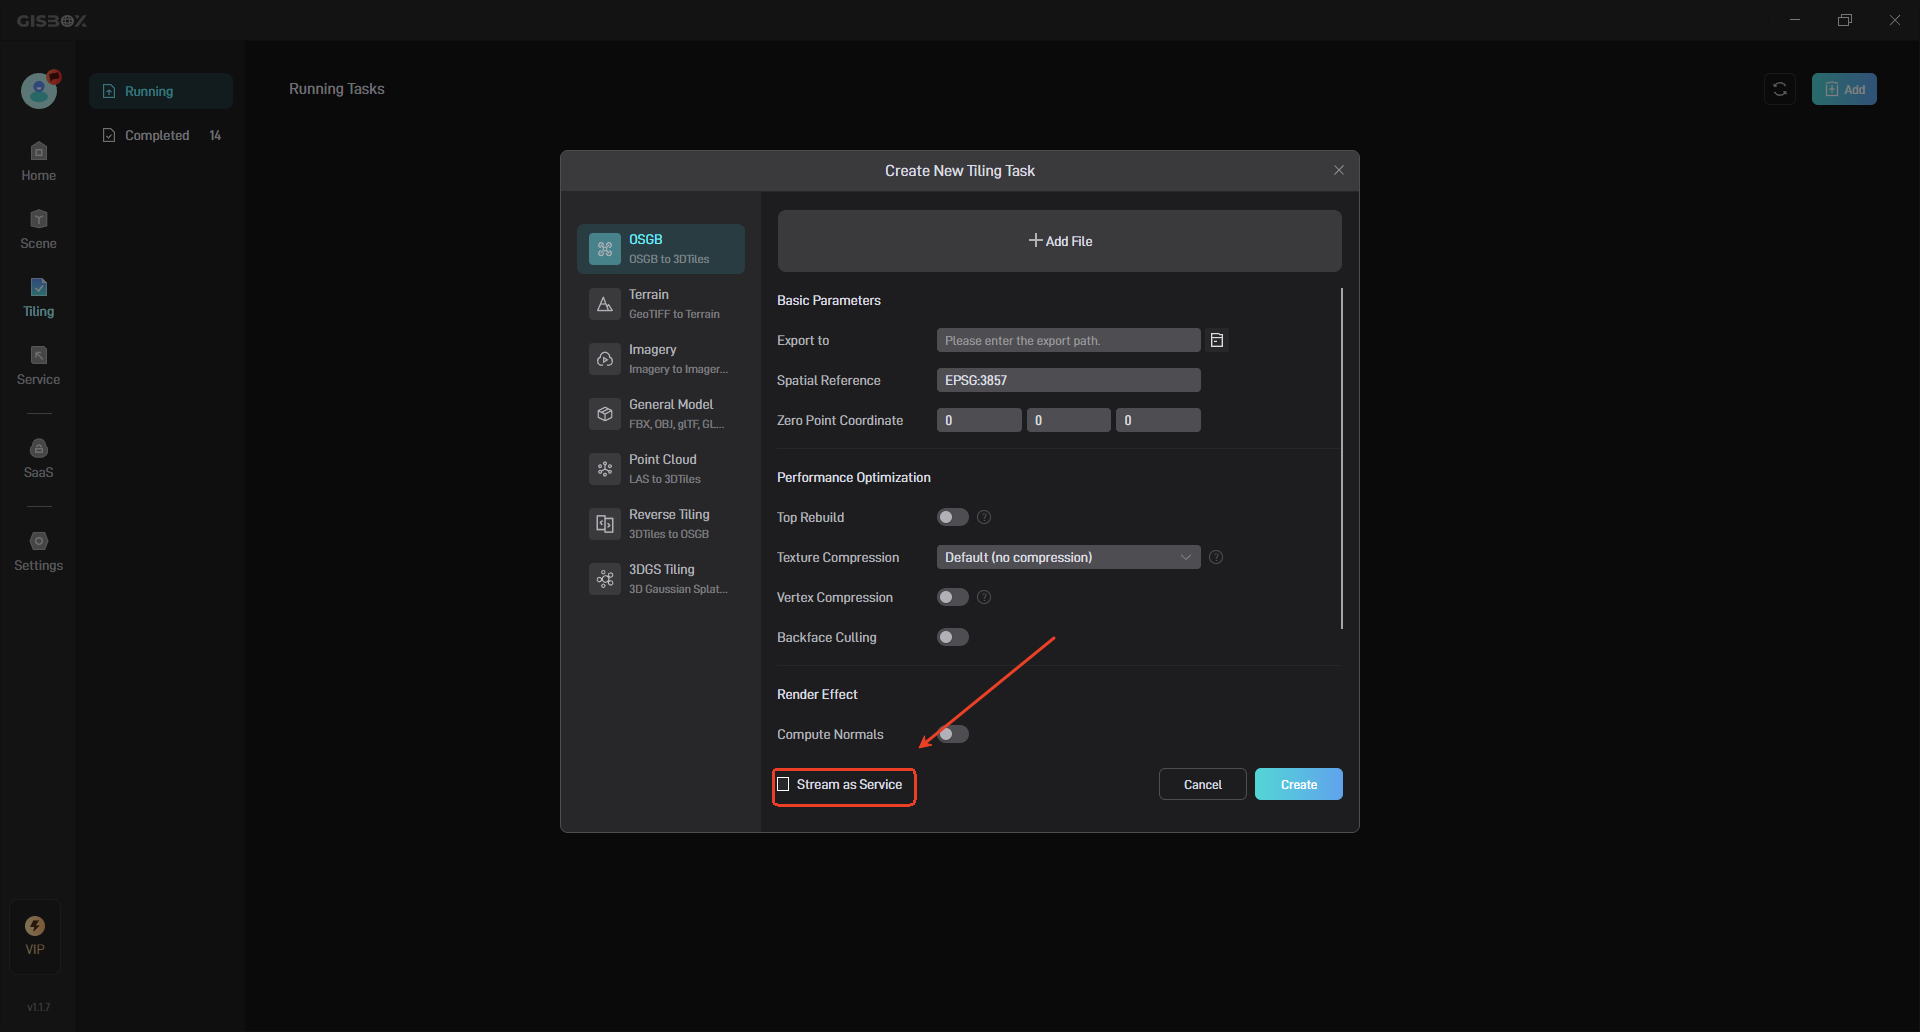
When tiling a model file, you can publish it as a service at the same time, as shown in the following figure:

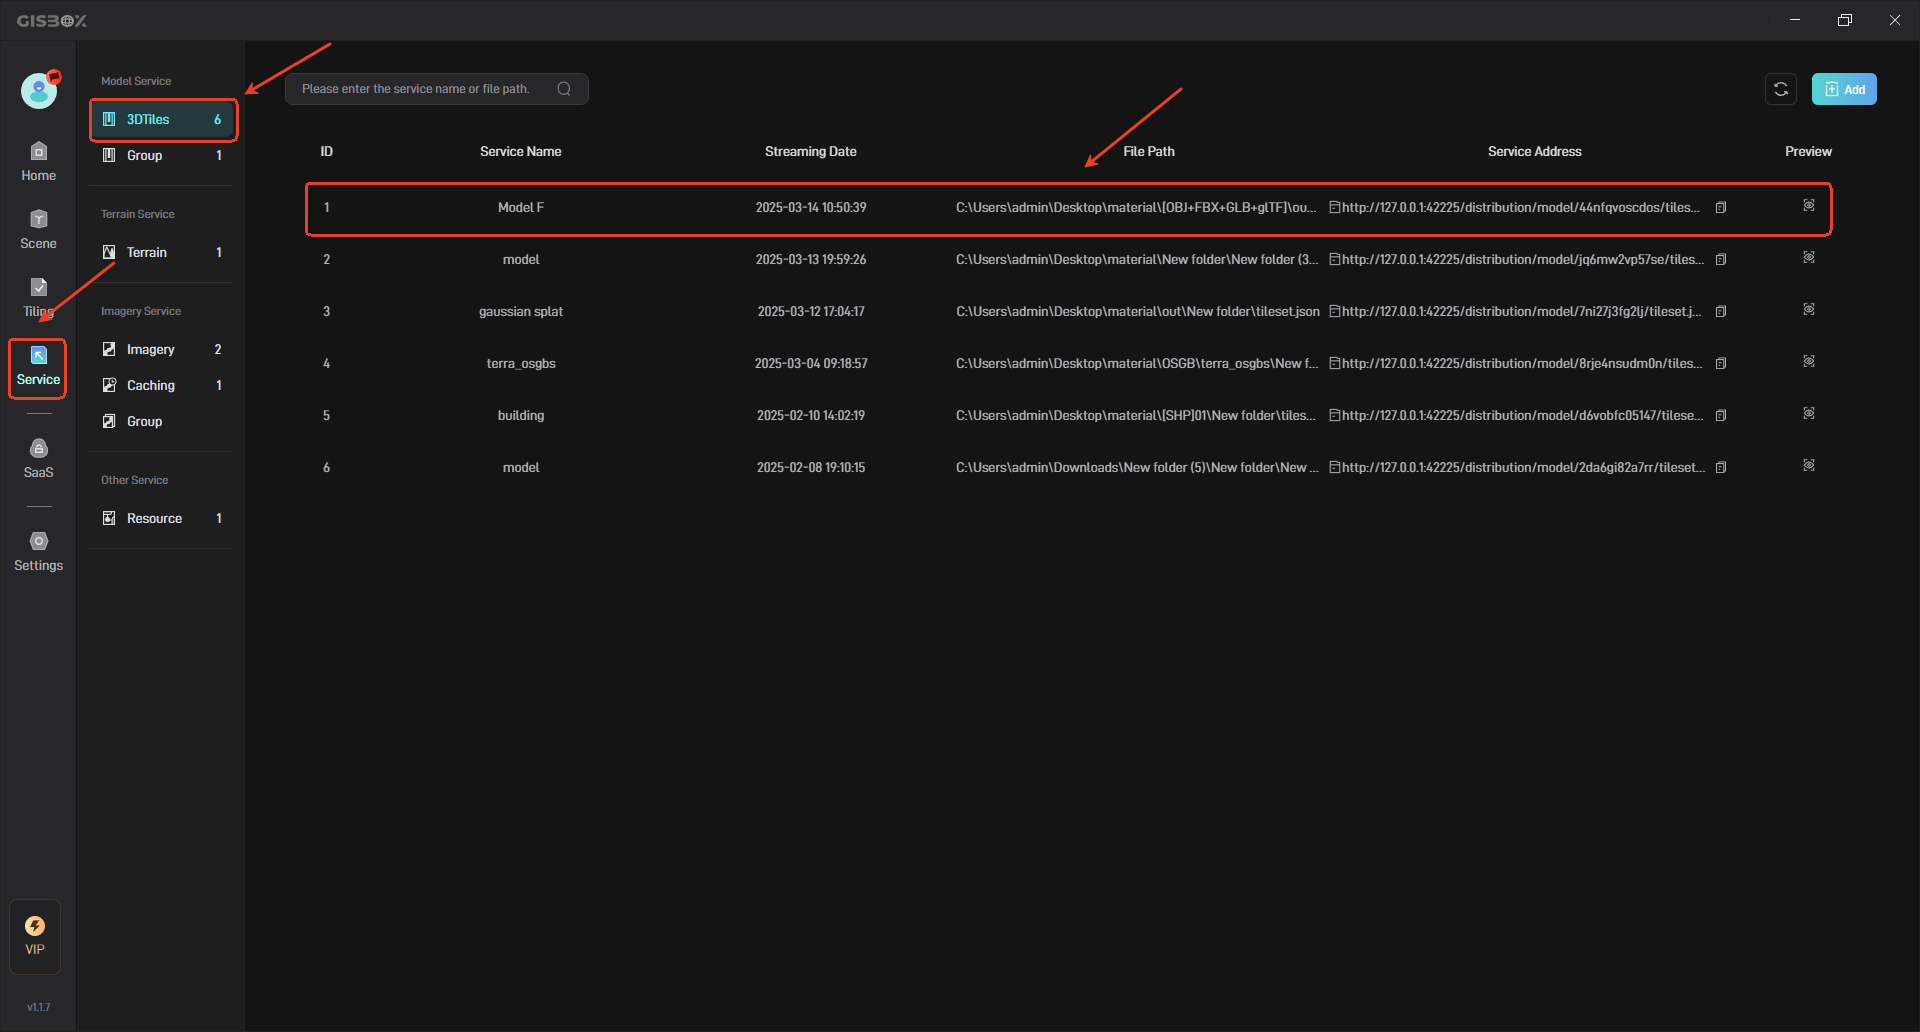
Click “3DTiles” in the “Service” on the left to see the automatically generated model service, as shown in the following figure:
1.2 Add Manually
When tiling a model file, if the “Stream as Service” setting is not checked, you need to manually add the general model data and then generate the corresponding model service.
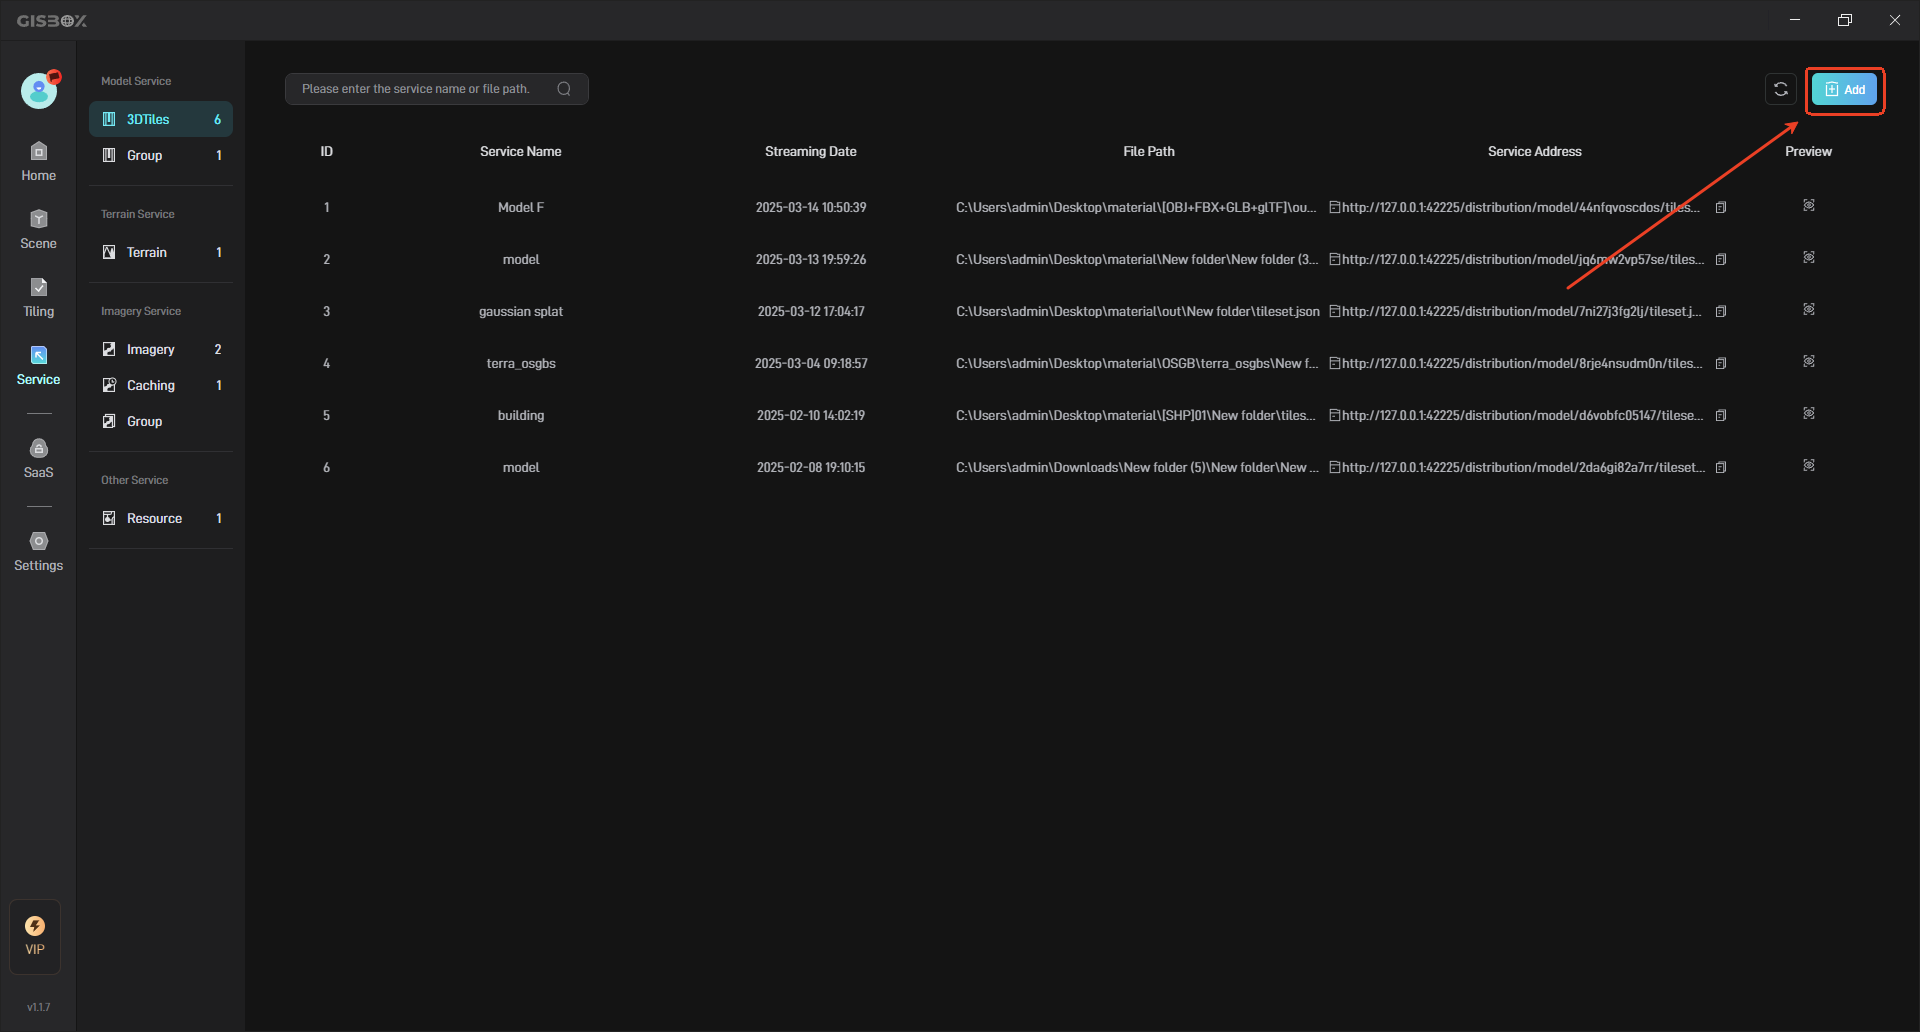
In the “3DTiles” interface, click the “Add” button in the upper right corner, as shown below:
In the pop-up “Add 3DTiles”, select the local model data file, as shown in the following figure:
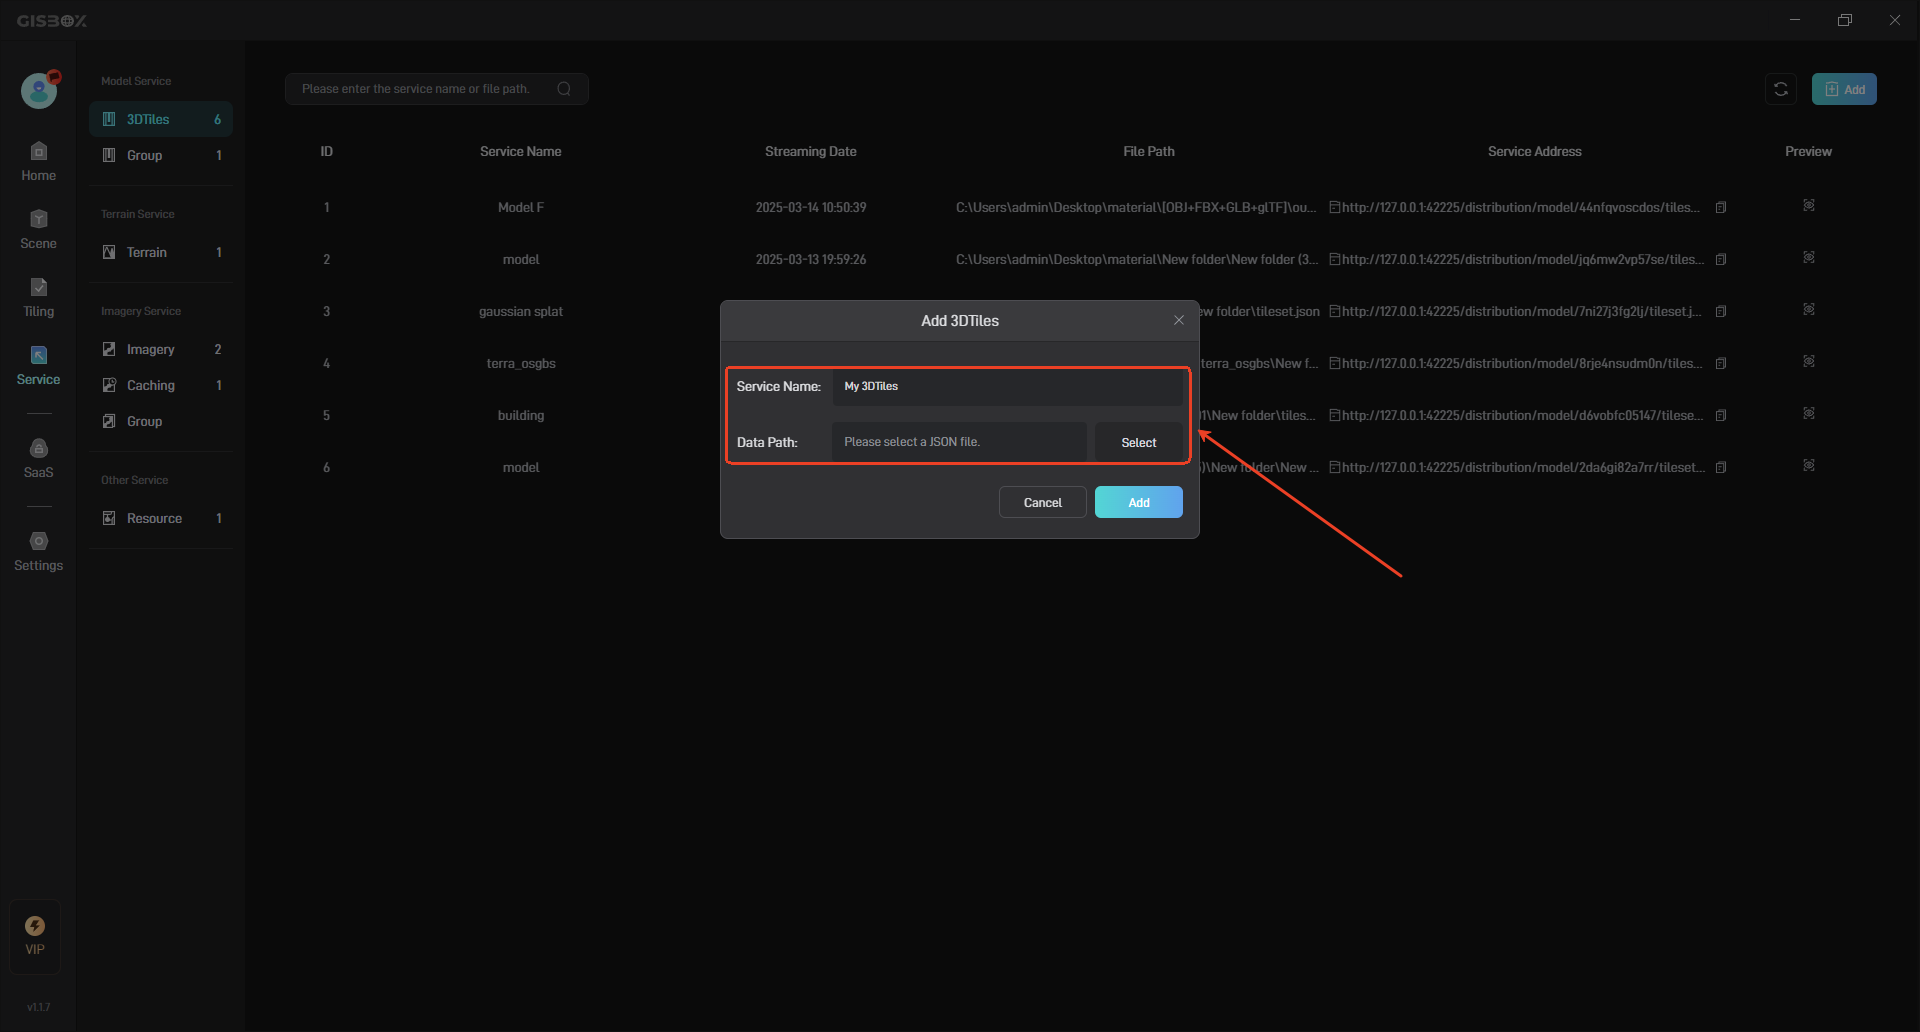
Then click the “Add” button, and the corresponding model service will be generated in the general model.
2. Manage Model Services
2.1 Configuration Item Description
| Configuration item | Description |
|---|---|
| ID | Each added terrain service will have its own number and will be sorted in the order of release time. The earlier the release time, the larger the number. |
| Service Name | You can customize the service name. The default service name is the name of the file imported when the terrain is sliced. |
| Streaming Date | Indicates the time when the terrain service is released. |
| File Path | Indicates the file path where the terrain service is saved locally. |
| Service Address | The service address generated by GISBox can be applied to GIS platforms such as Cesium, and can also be applied to some digital twin project building platforms, such as Wings Engine. |
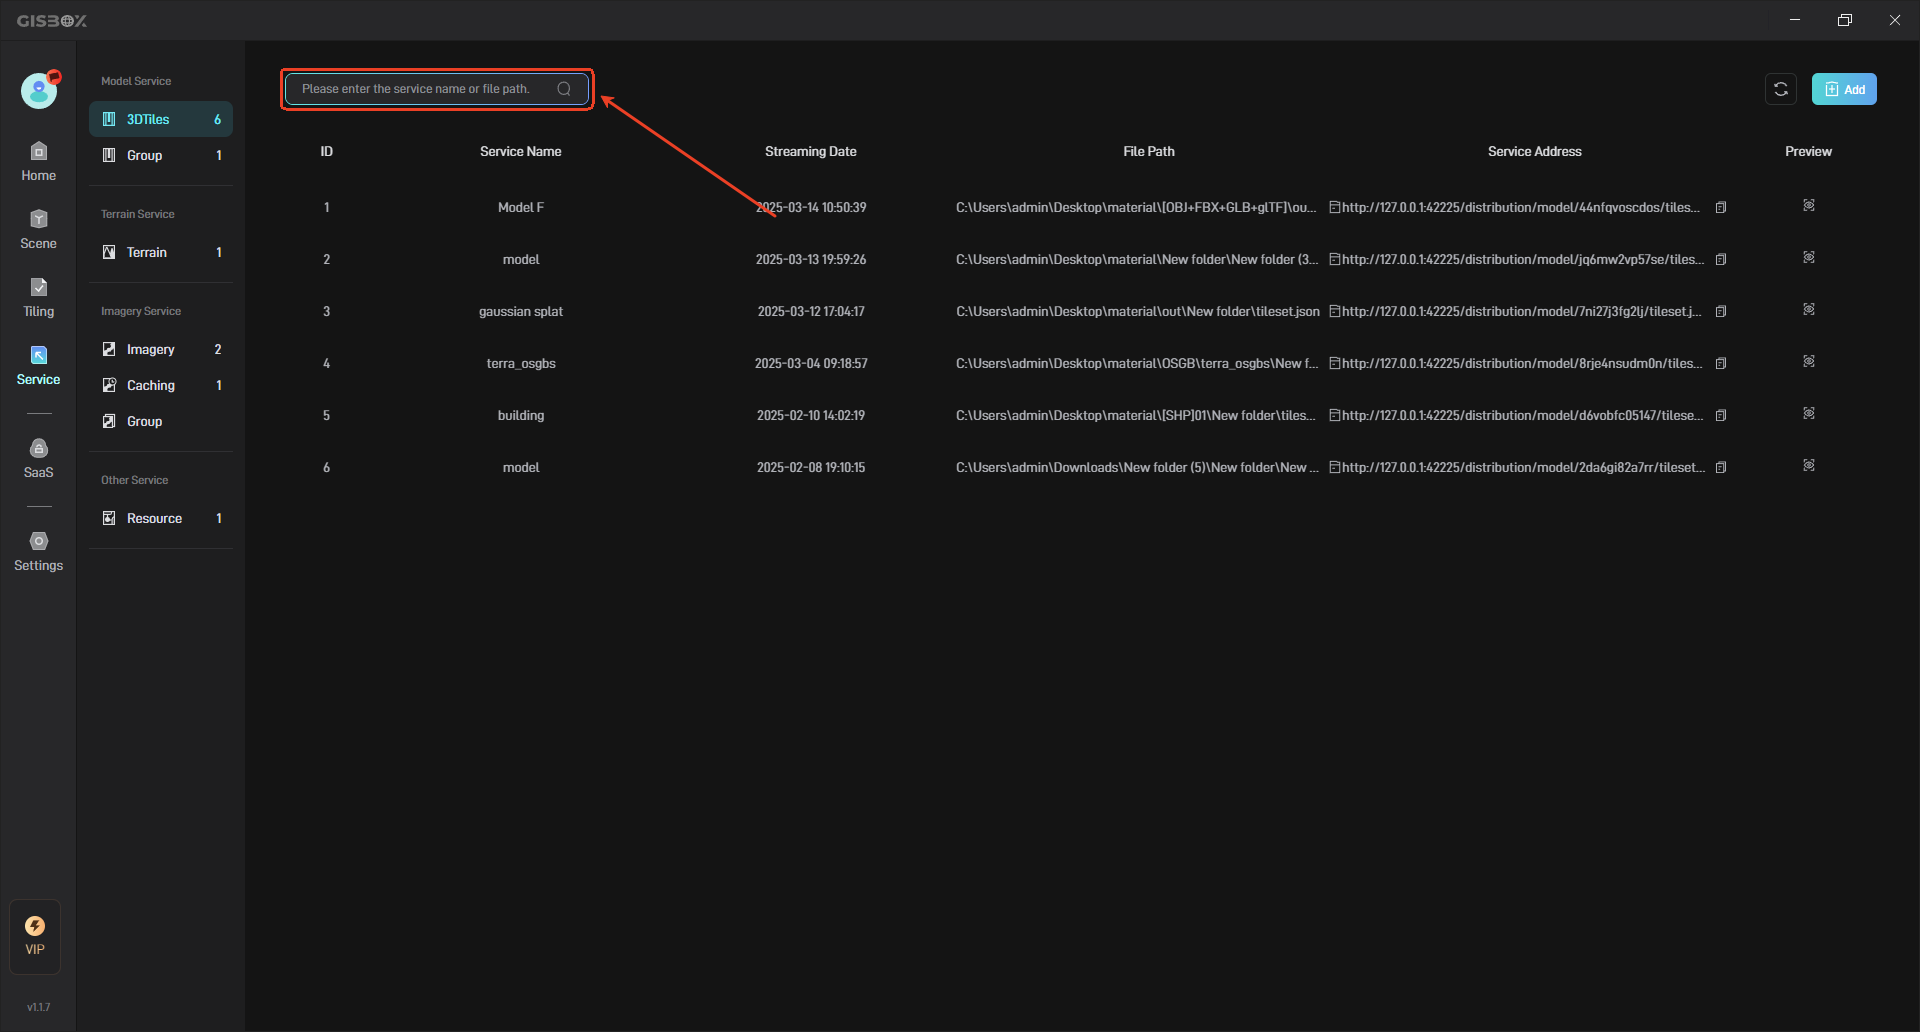
2.2 Search Terrain Service
You can enter the service name or file path in the search bar to search.
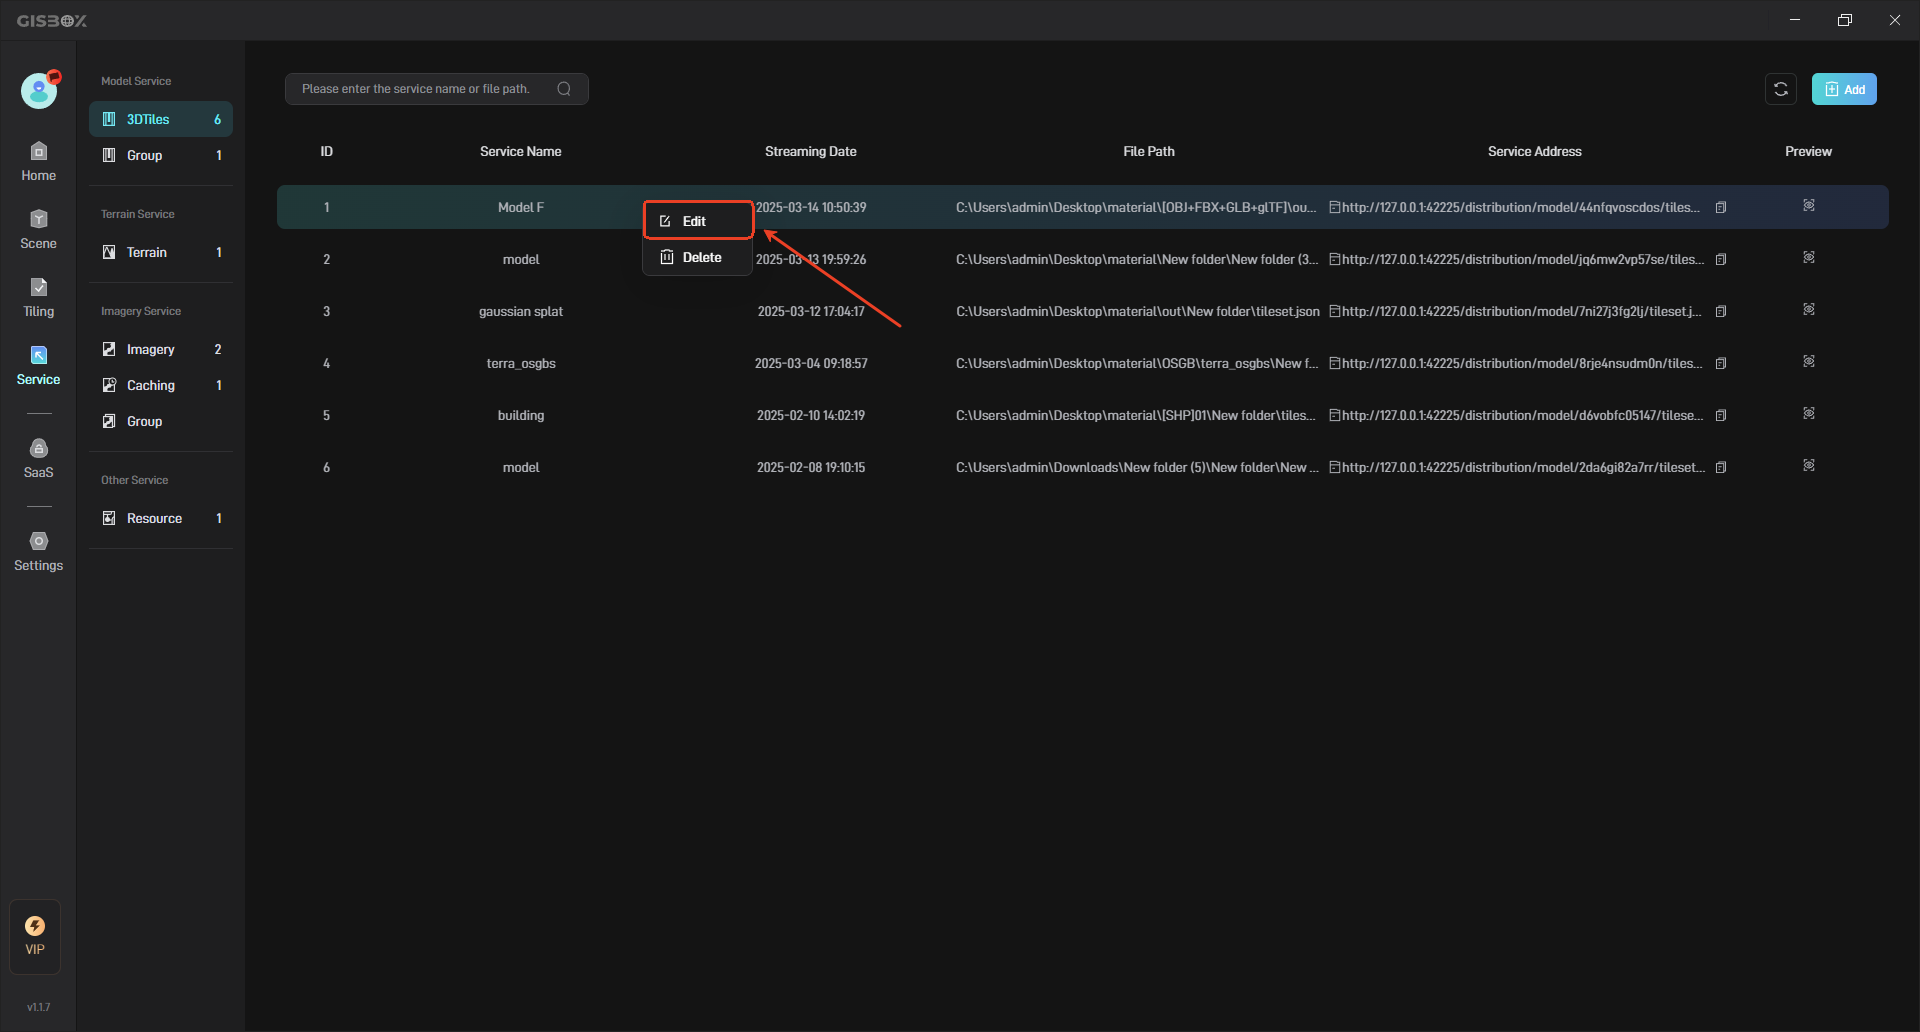
2.3 Rename Model Service
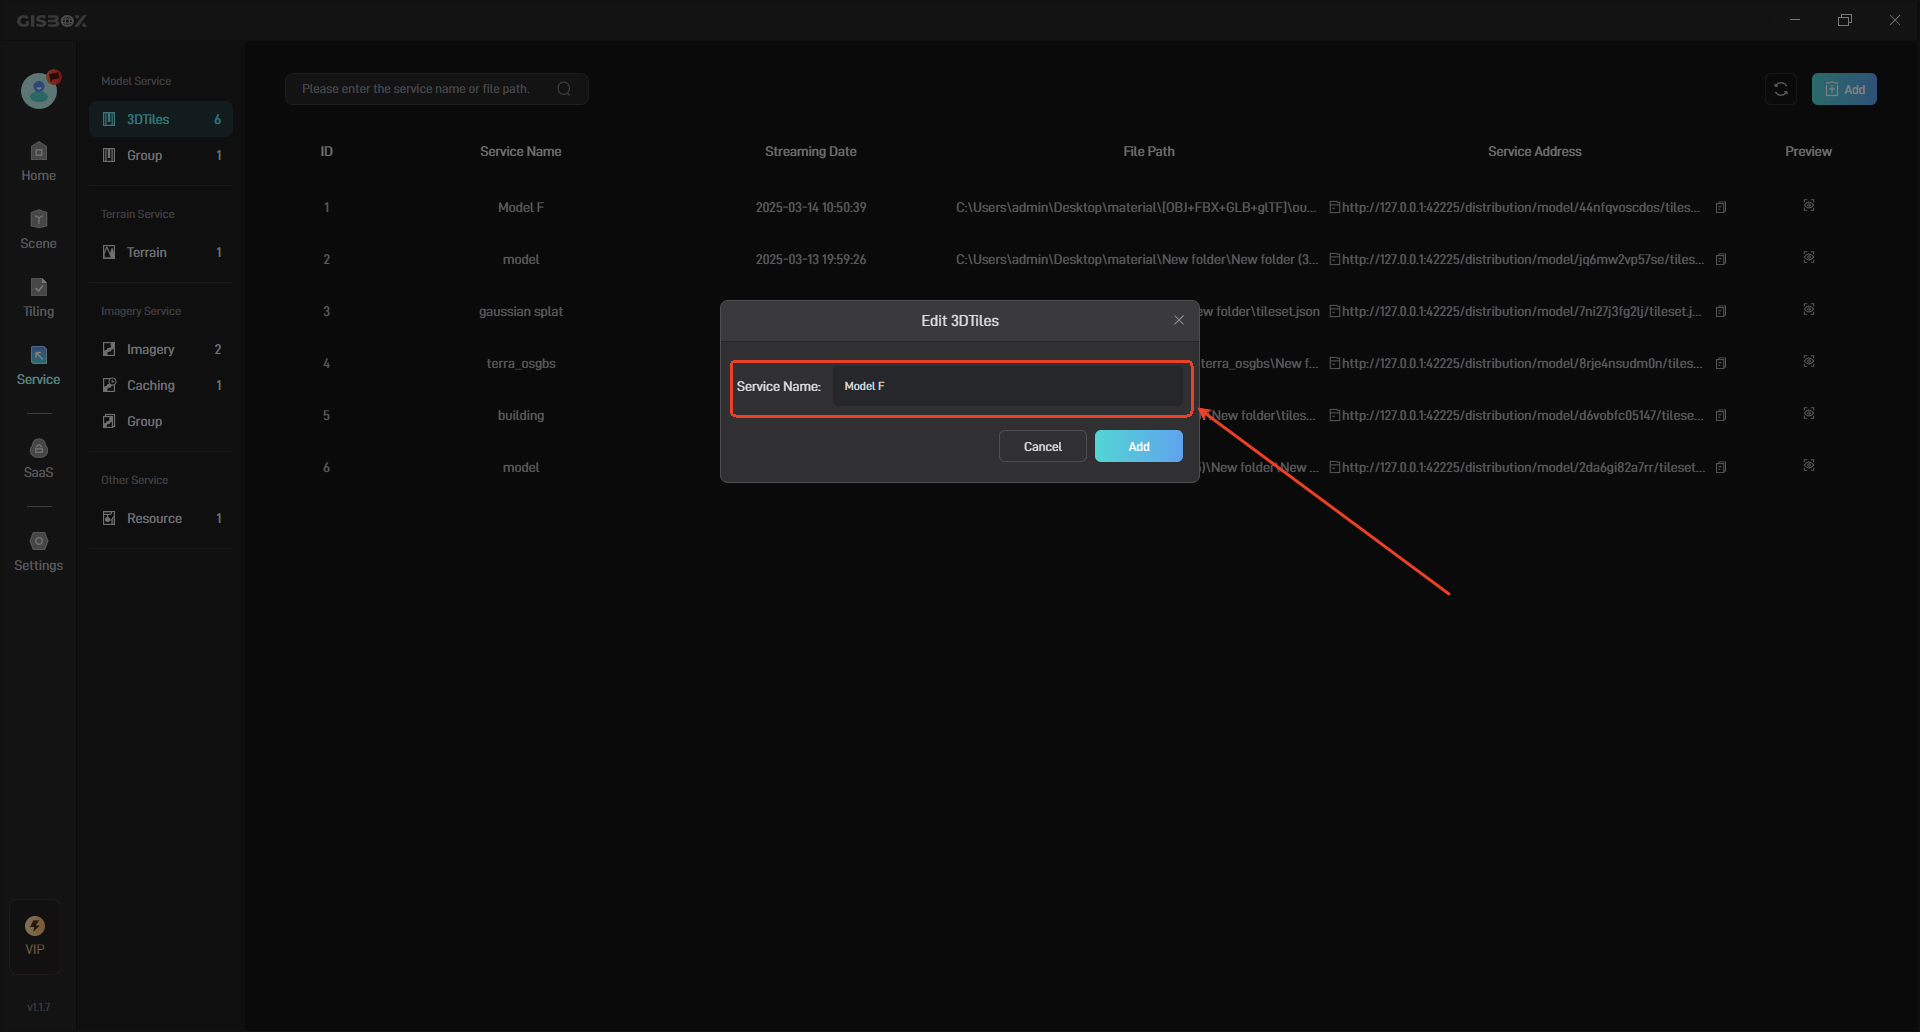
Move the mouse to the model service that needs to be renamed, right click, and then click “Edit” to rename the model service.
Enter a new name and click the “Add” button to complete the renaming, as shown below:
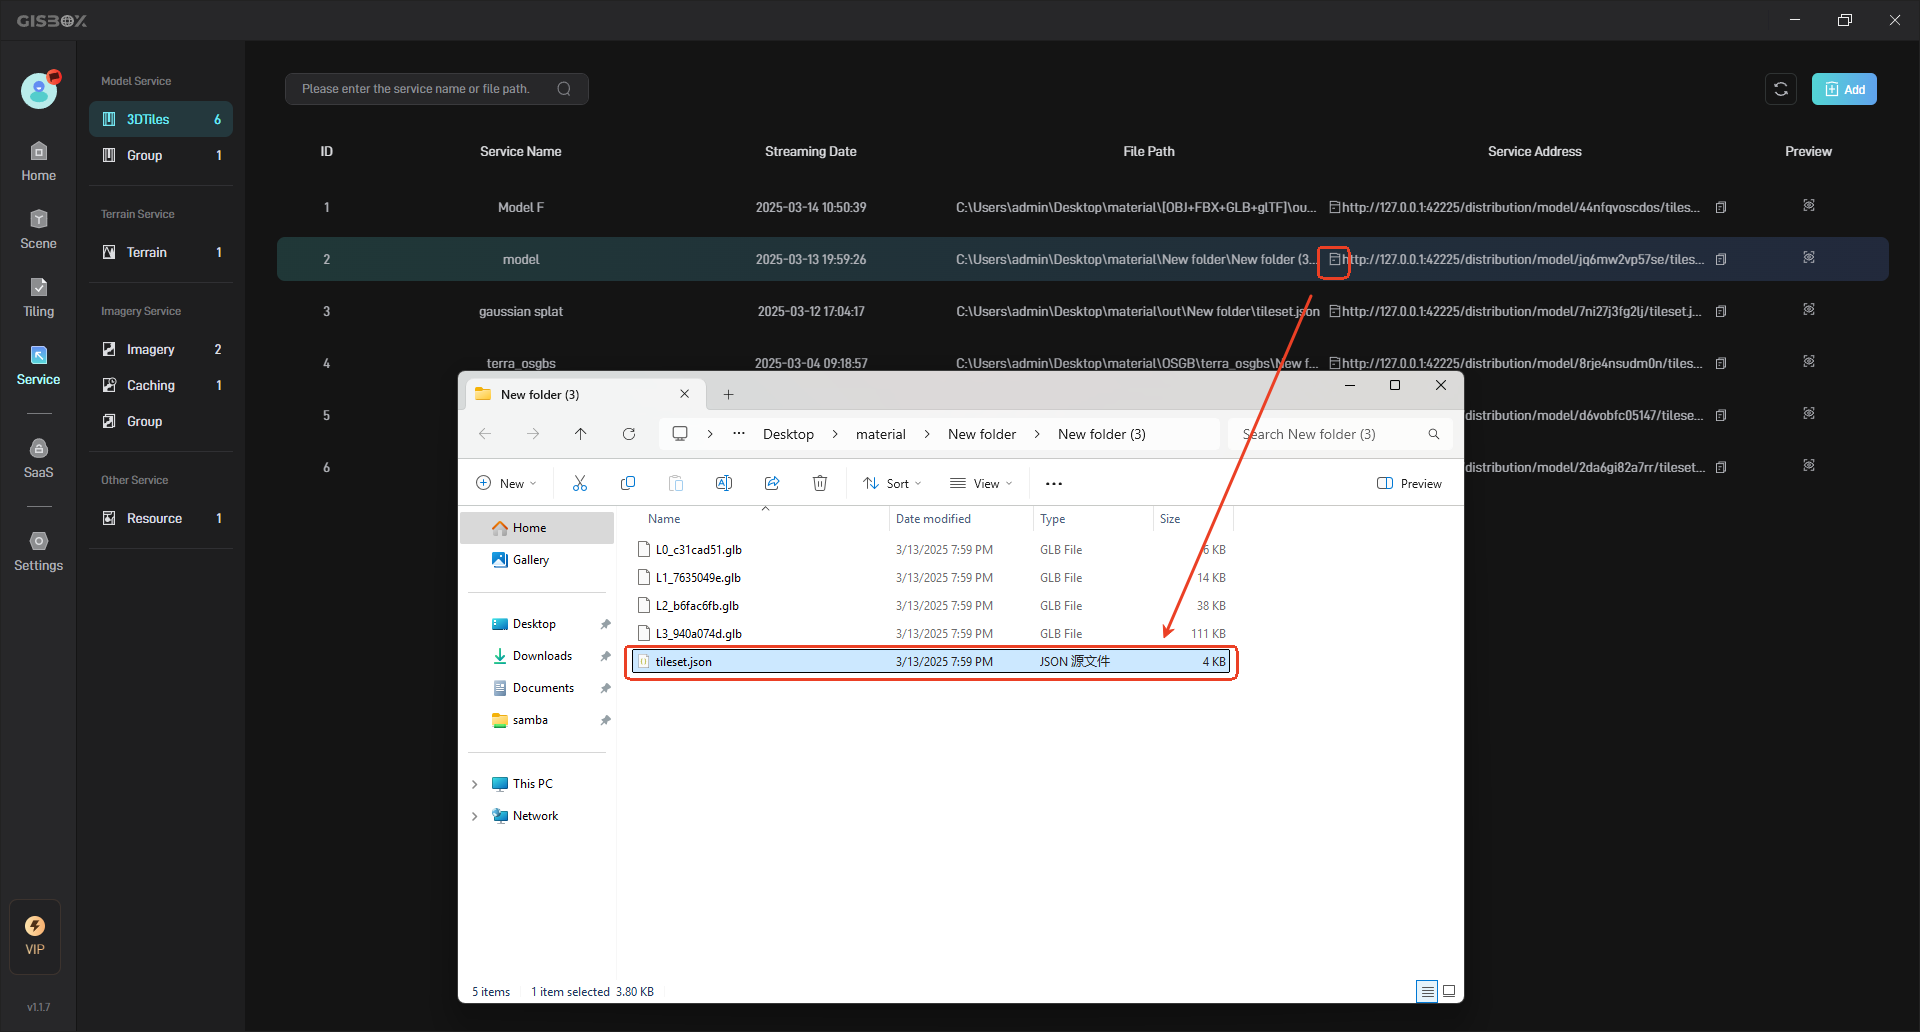
2.4 View File Path
Click the “Open Folder” button in the file path to view the local file path of the model service, as shown in the following figure:
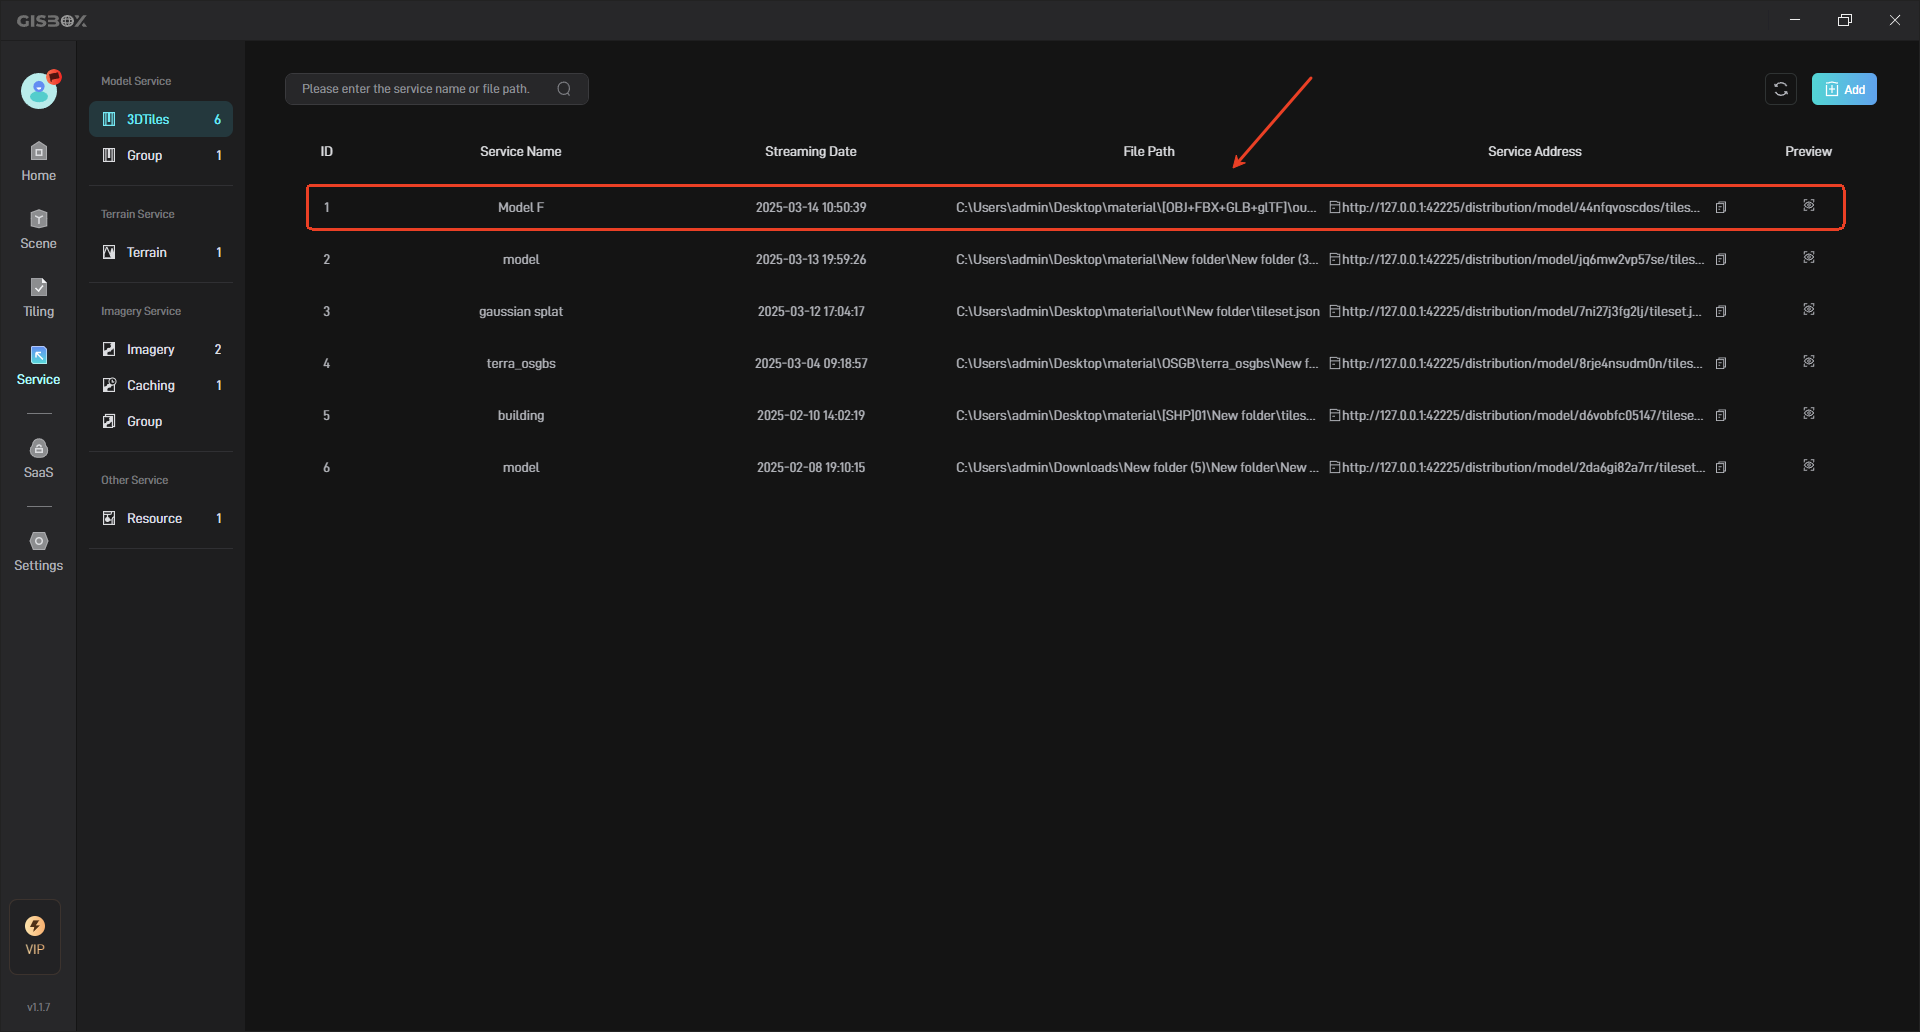
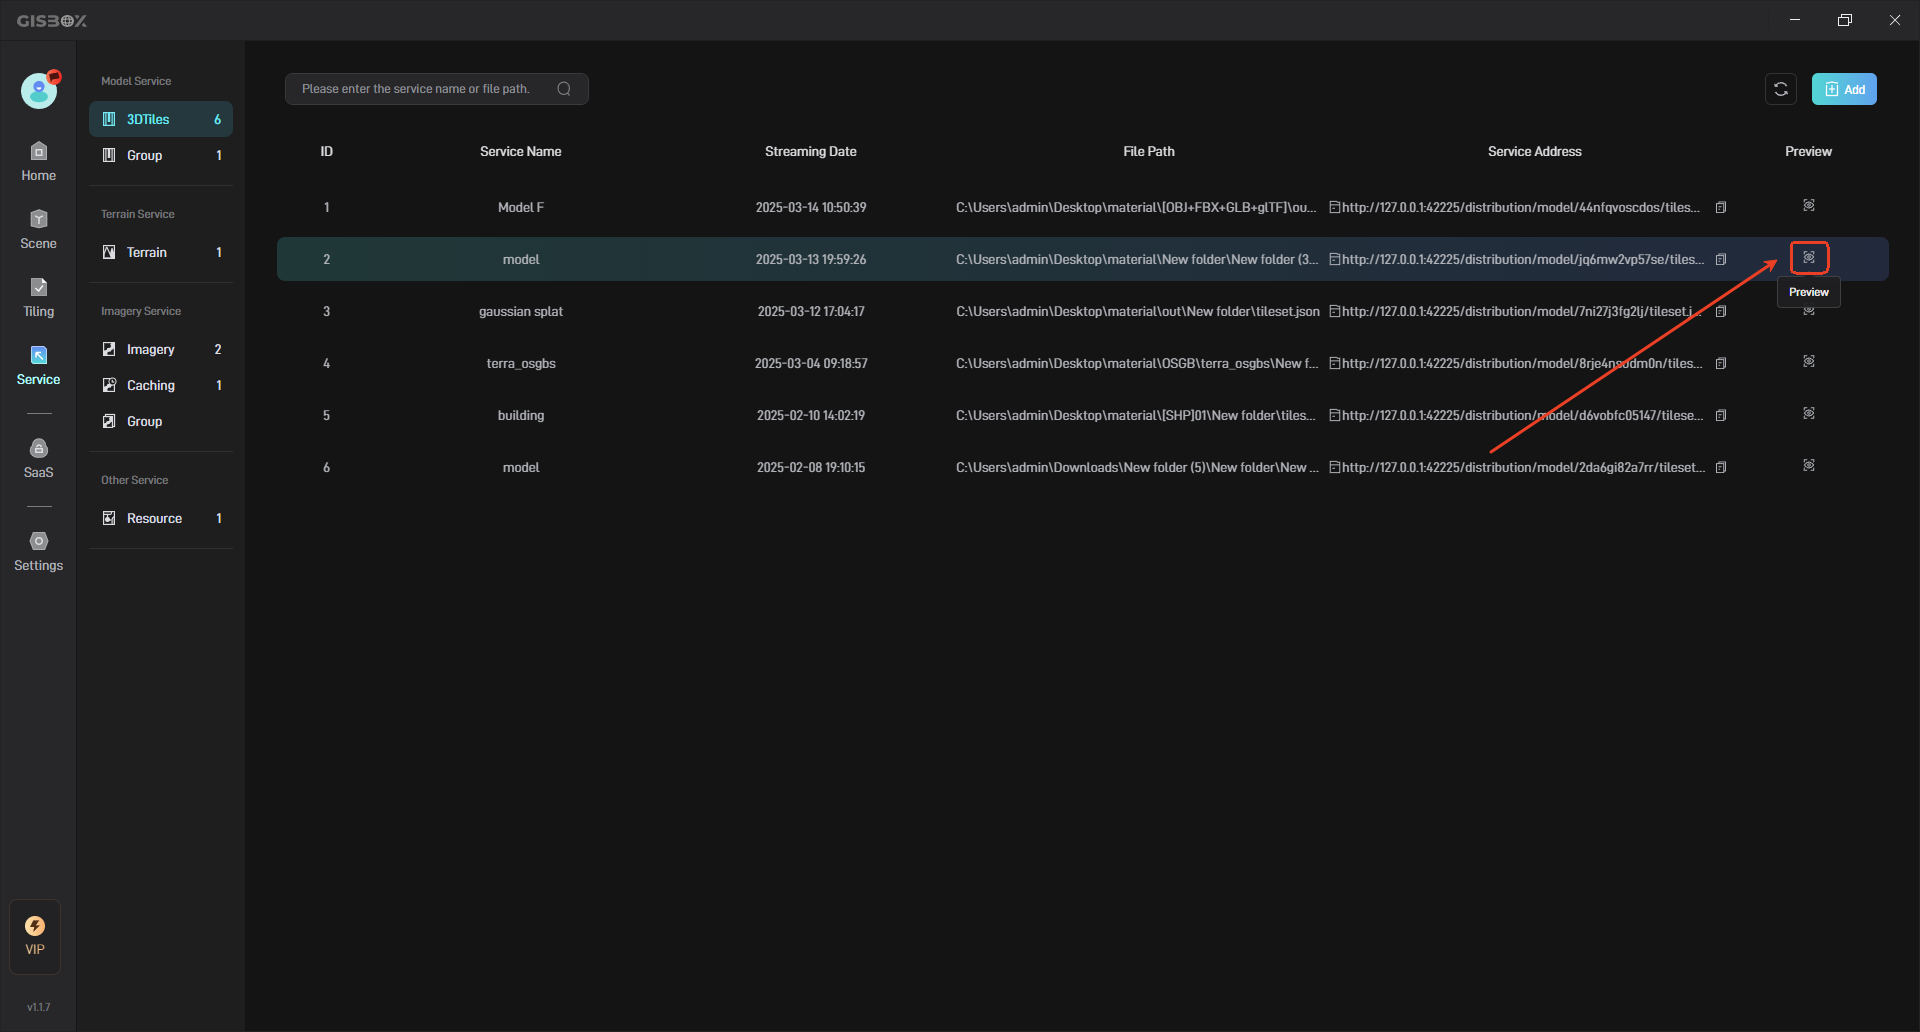
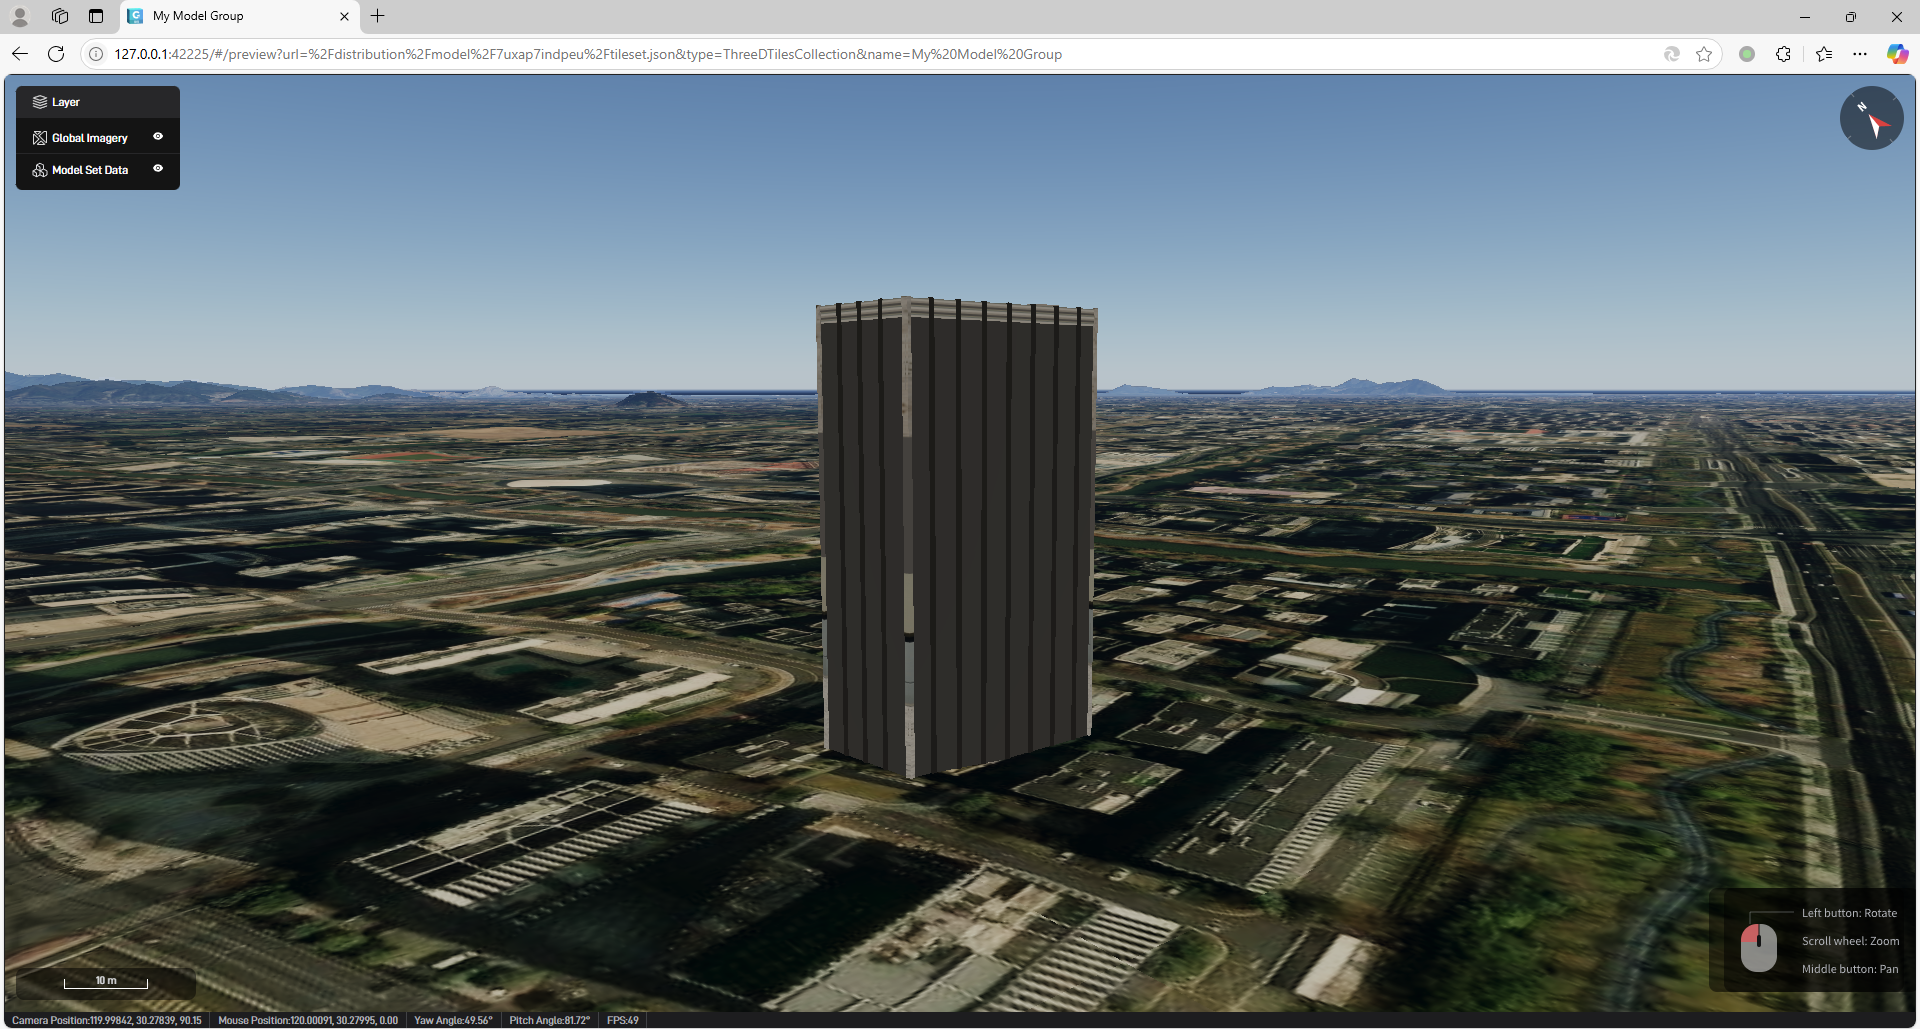
2.5 Preview Model Service
Click the “Preview” button to open and view the model service in the browser, as shown below:
The model service opened in the browser is shown in the following figure:
2.6 Delete Service
Select the model service you want to delete, and then click the “Delete” button to delete the selected model service.
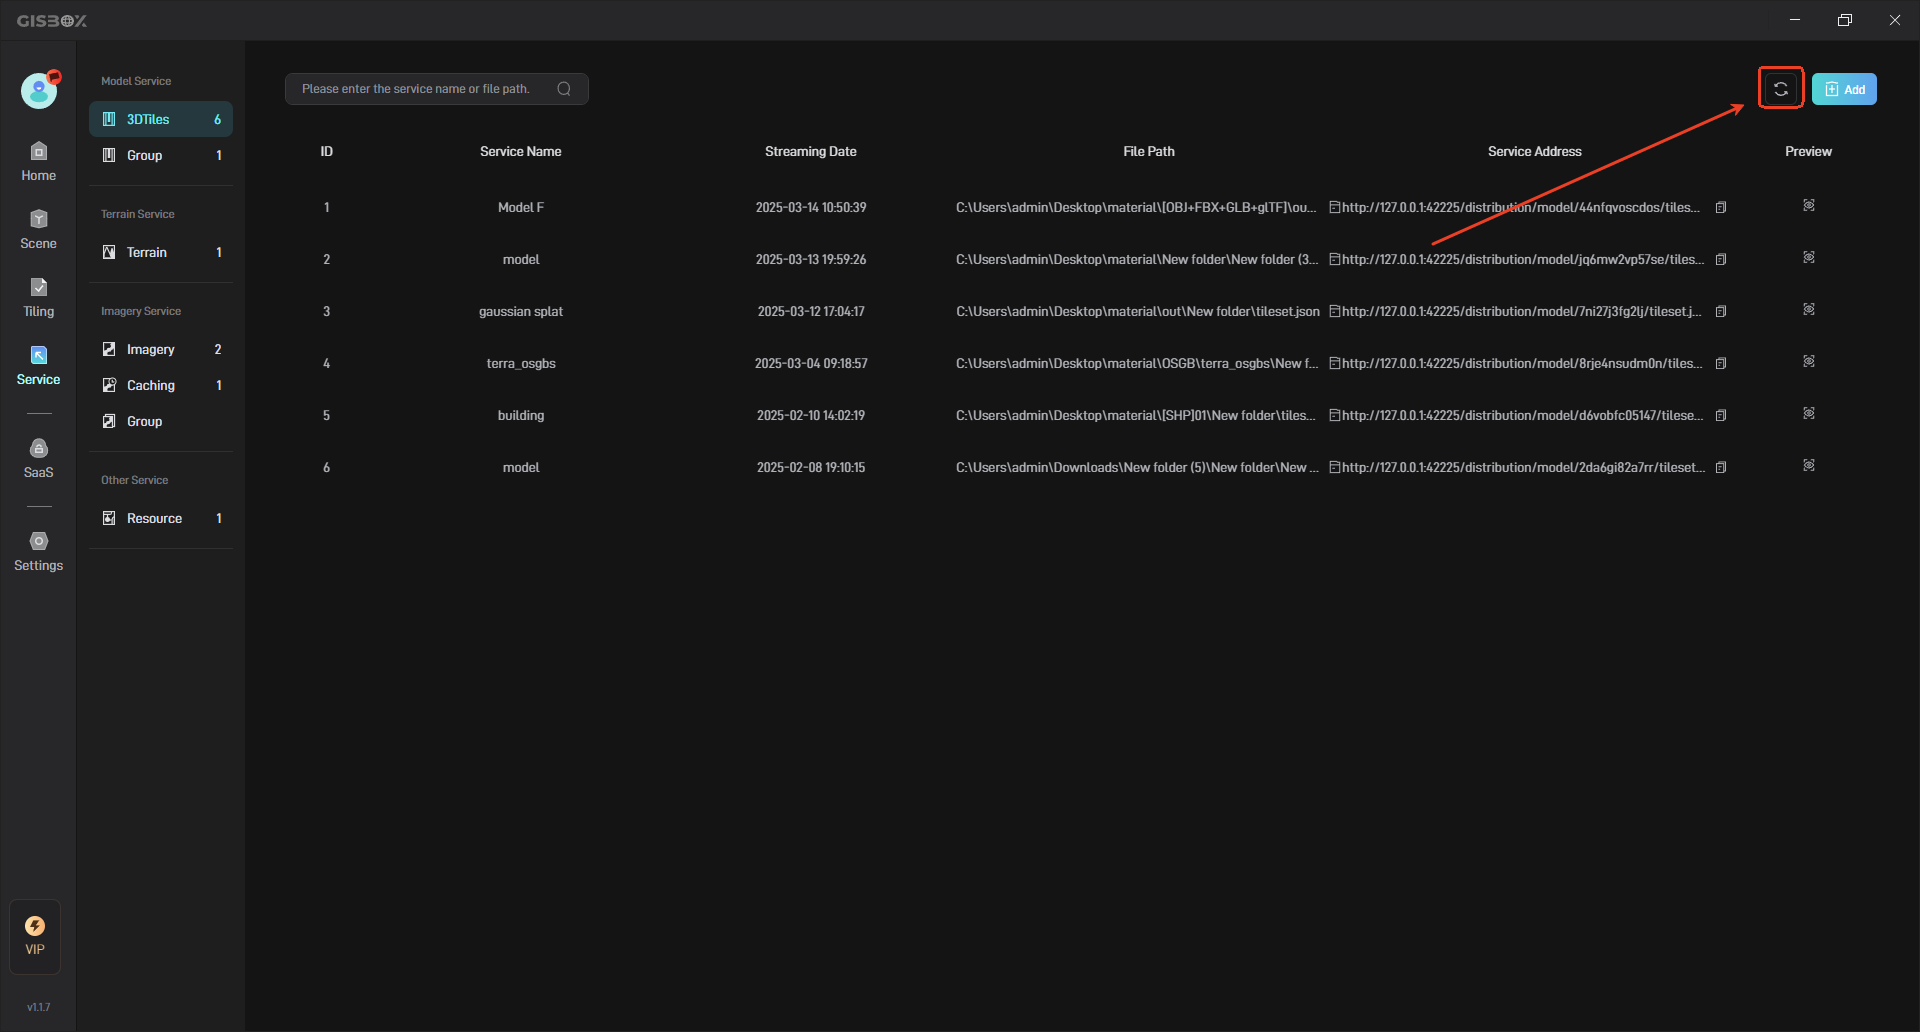
2.7 Refresh Service
When a new model service is added but is not displayed in the “3DTiles” interface, you can click the “Refresh” button in the upper right corner to load the newly added model service, as shown in the following figure: