How to convert GeoTIFF format to Cesium’s Terrain format? (Terrain Tiling)
In GISBox, we provide you with a one-stop conversion method for various GIS file formats. You only need to import local GIS files and tile them, and then distribute them to major GIS platforms or digital twin project building platforms.
GISBox supports converting formats such as “GEOTIFF” to Terrain format and publishing. Next, we will introduce the steps for setting up “terrain tiling”.
1. Create a new tiling task
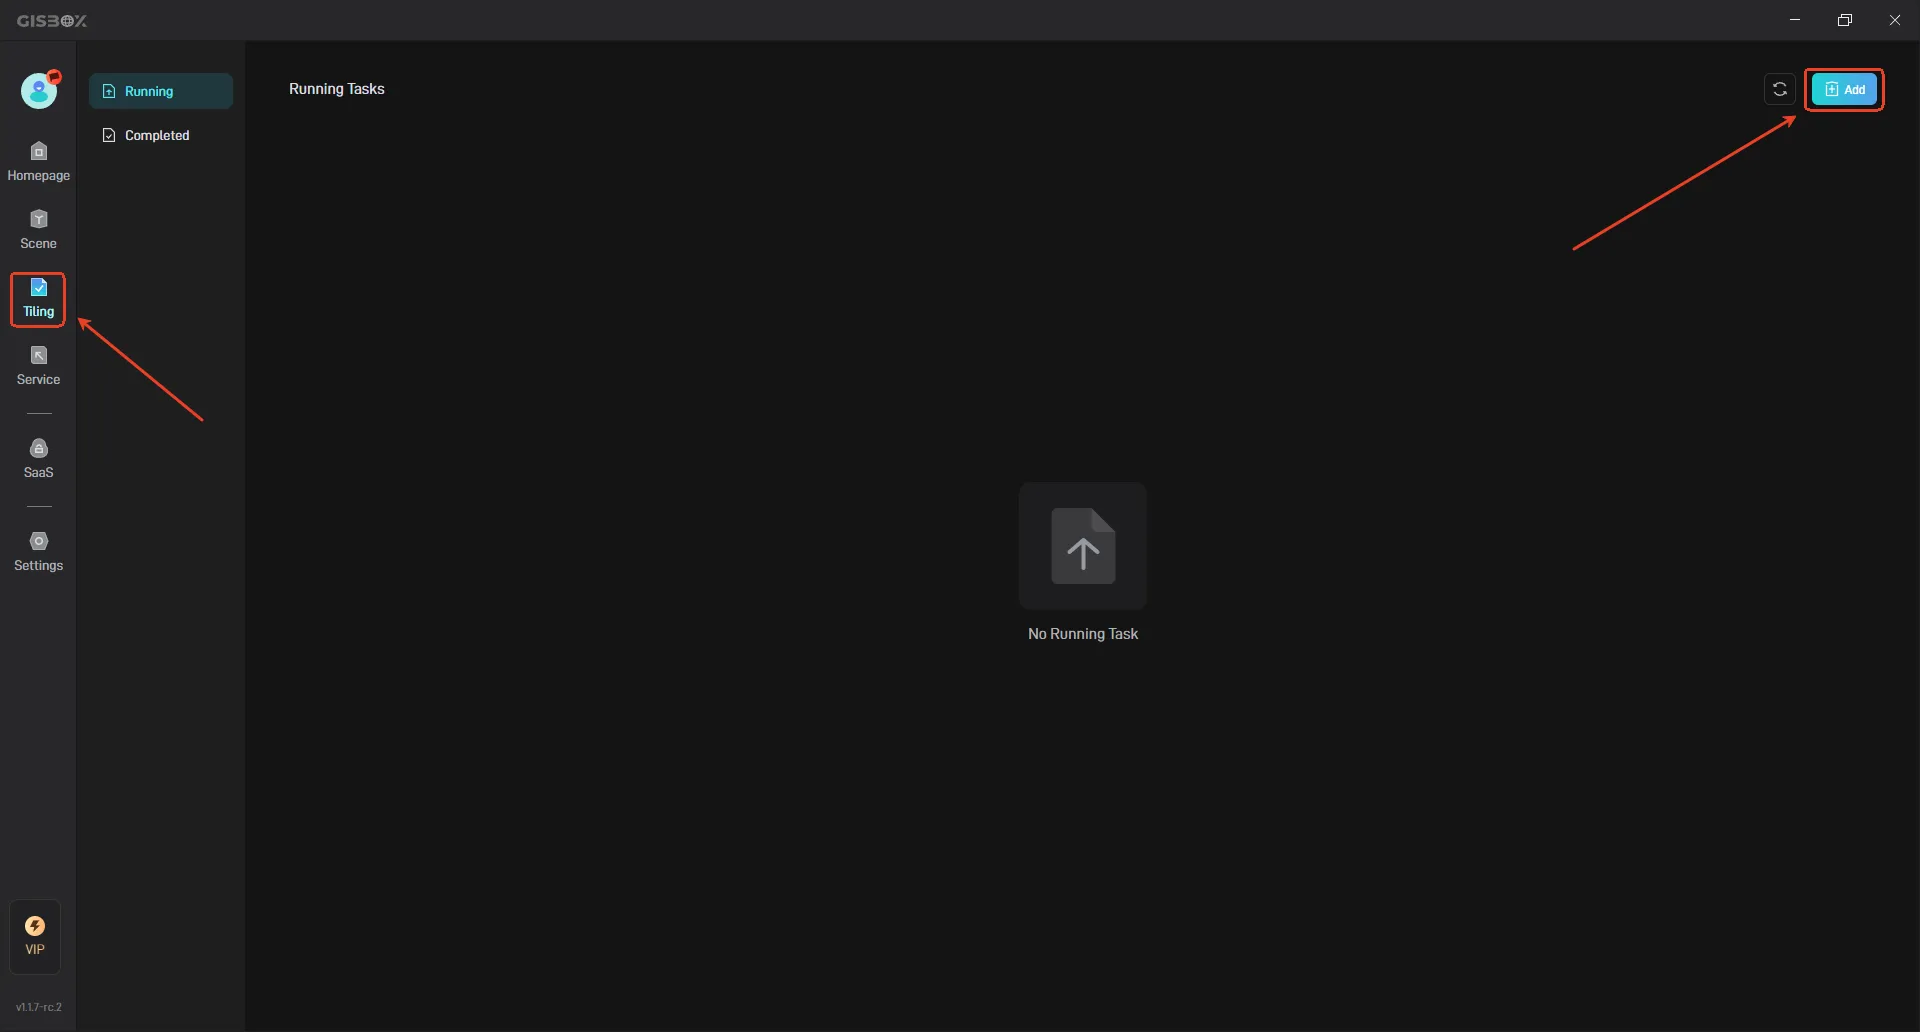
Open GISBox and click the “New” button in the upper right corner to create a tiling task.
Switch to “Terrain Tiling”, as shown below:
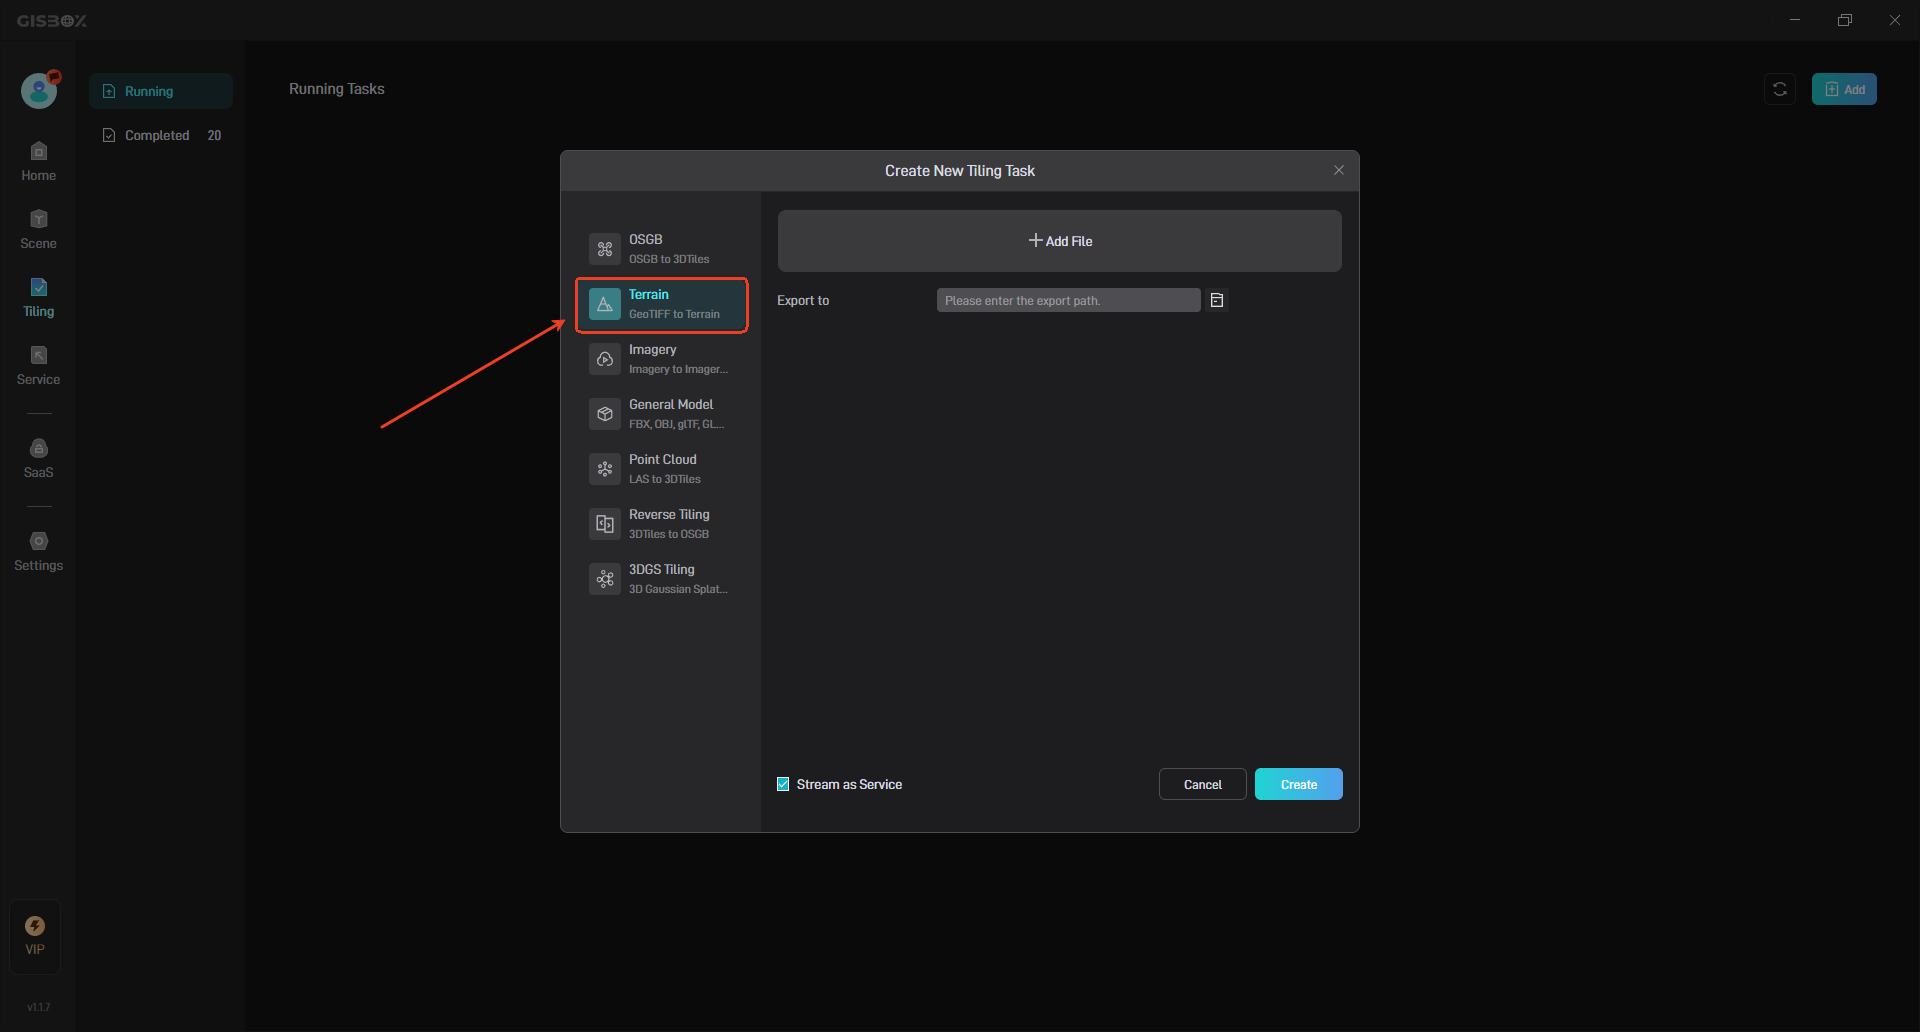
2. Tiling Task Settings
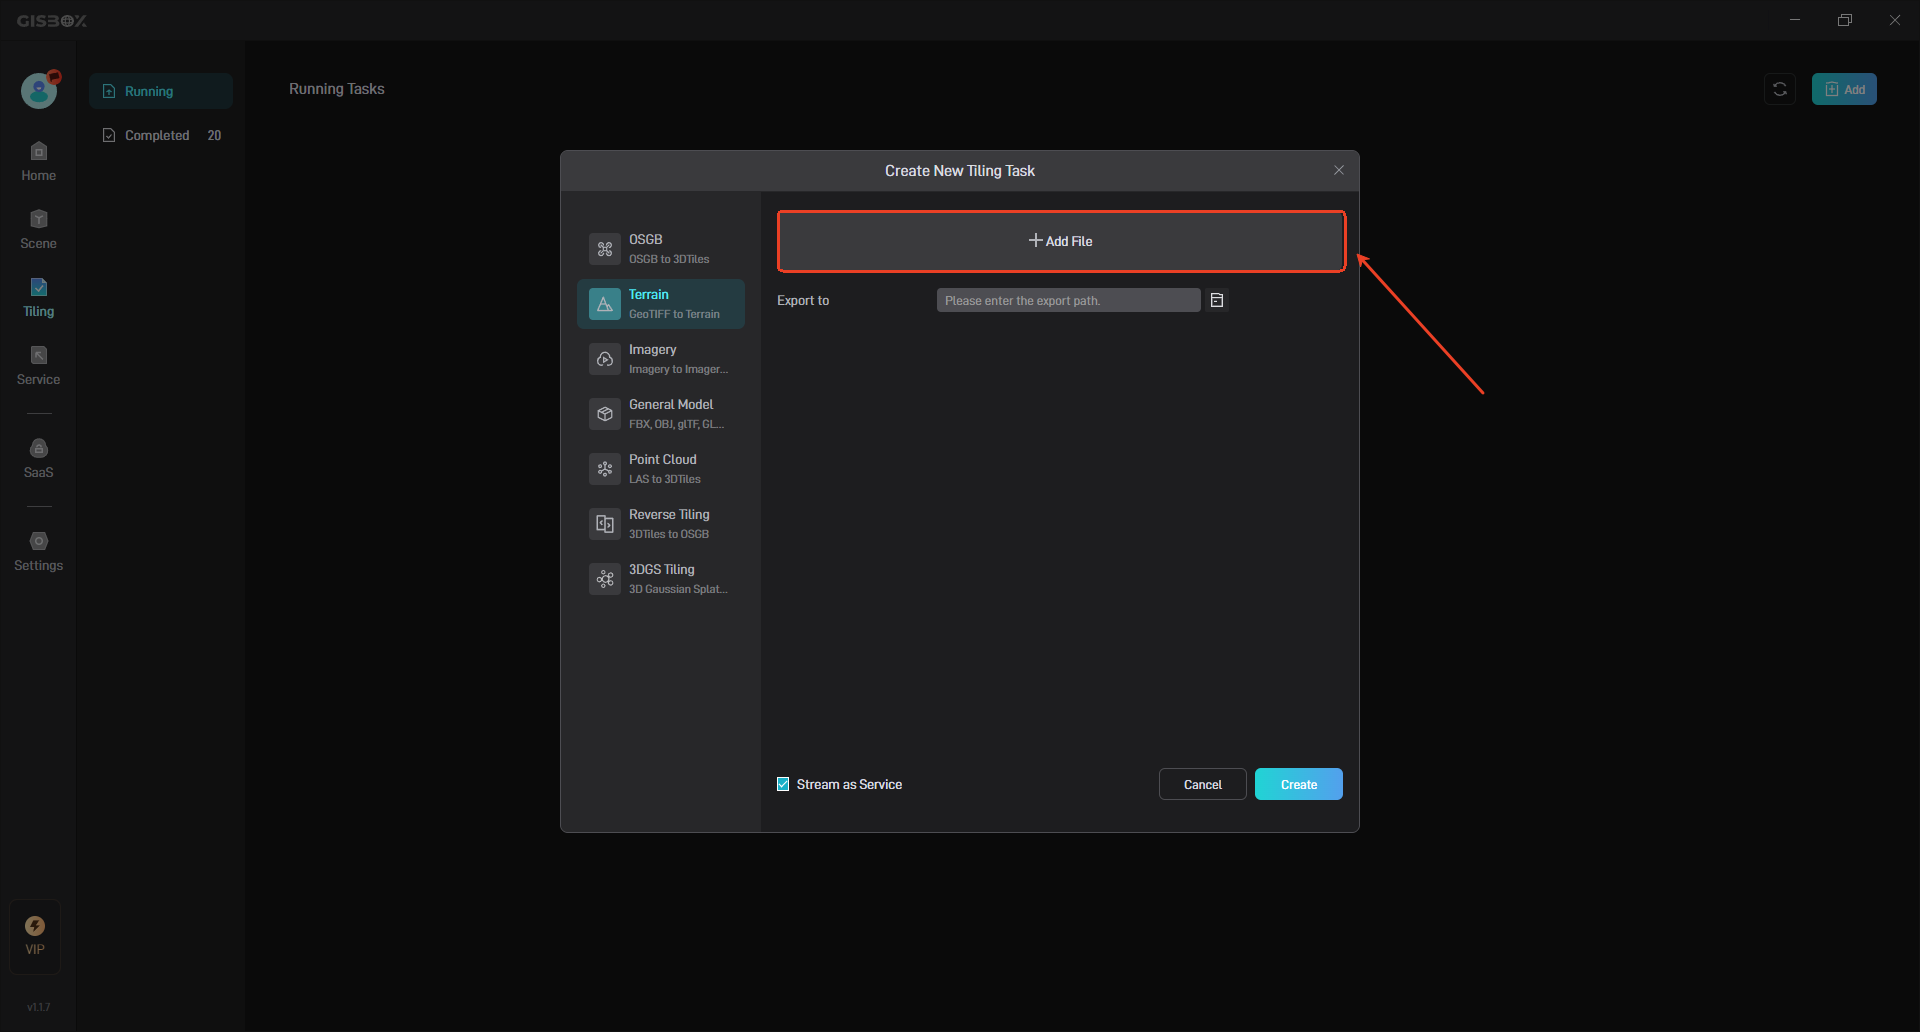
2.1 Add File
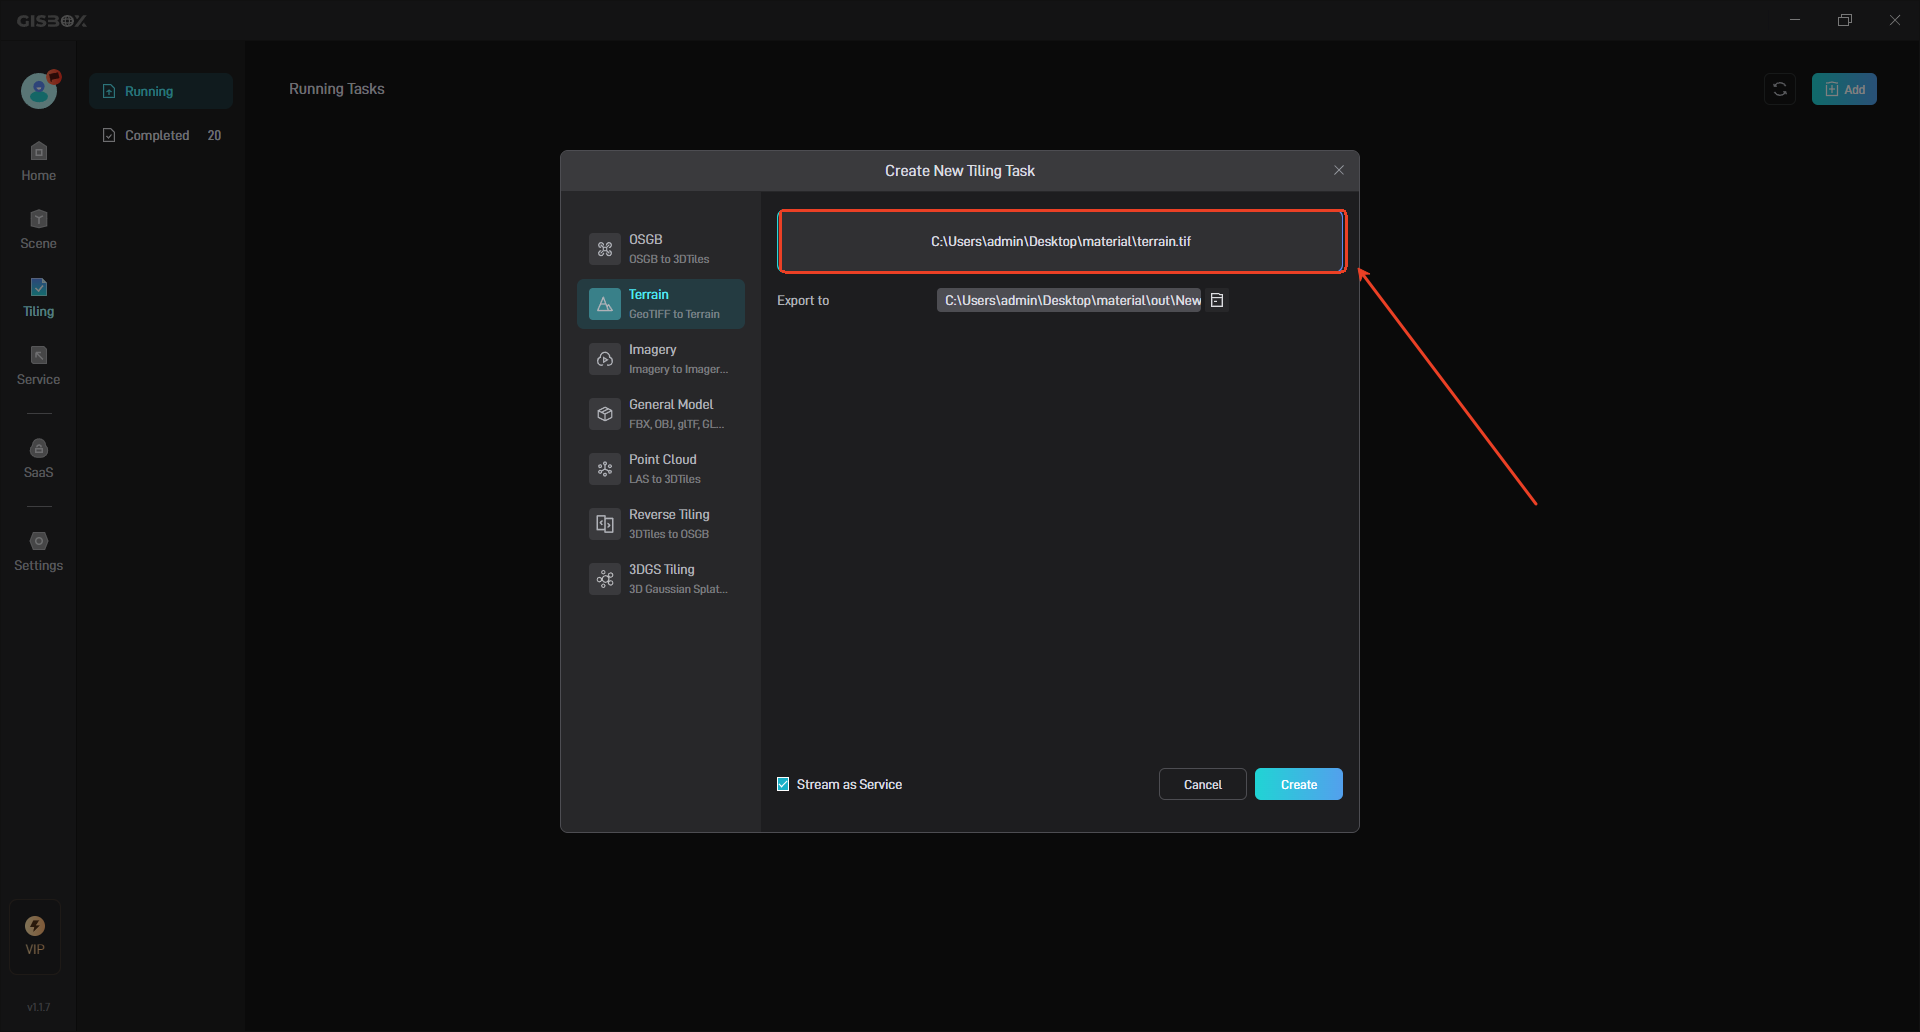
In the settings for creating a new tiling task, click “Add File” and select a file to add.
Add the local files we need to convert, as shown below:
2.2 Basic Parameters
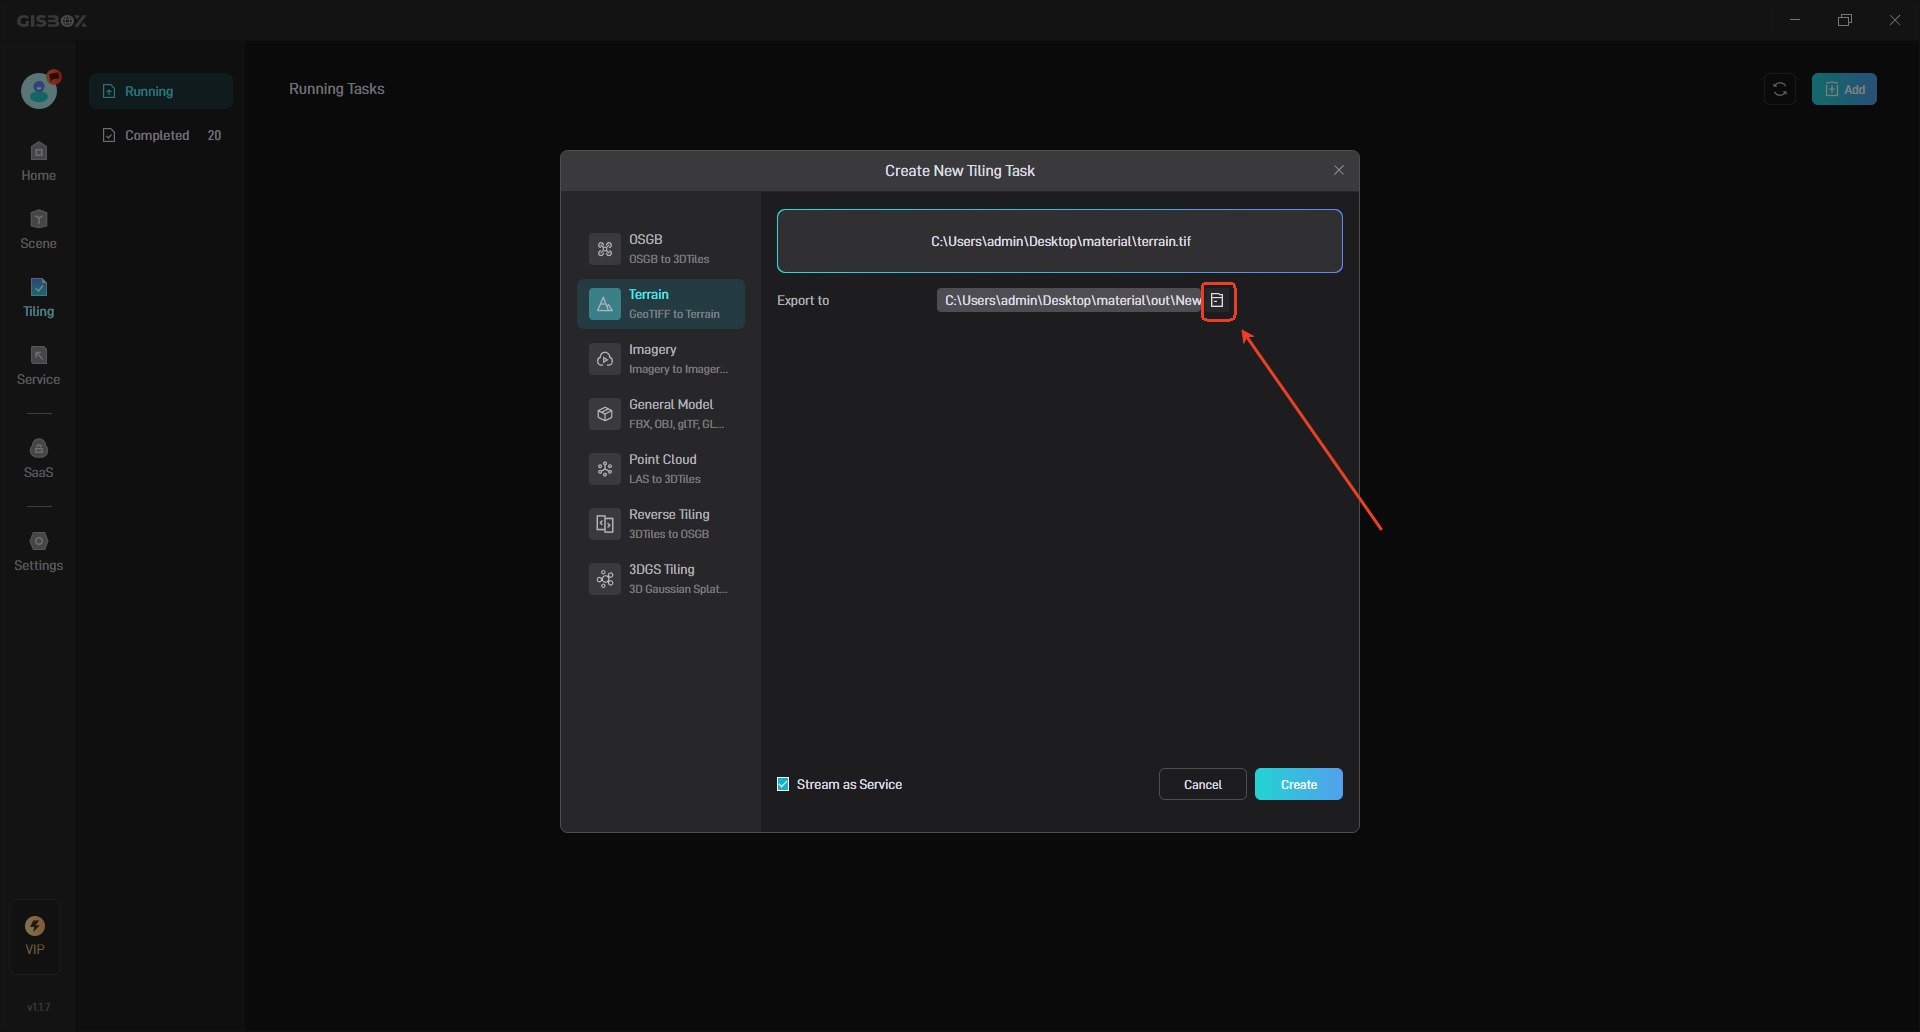
Click the folder icon on the right to set the path for file export. There is no special requirement for the export path, which is usually saved in a folder, as shown in the following figure:
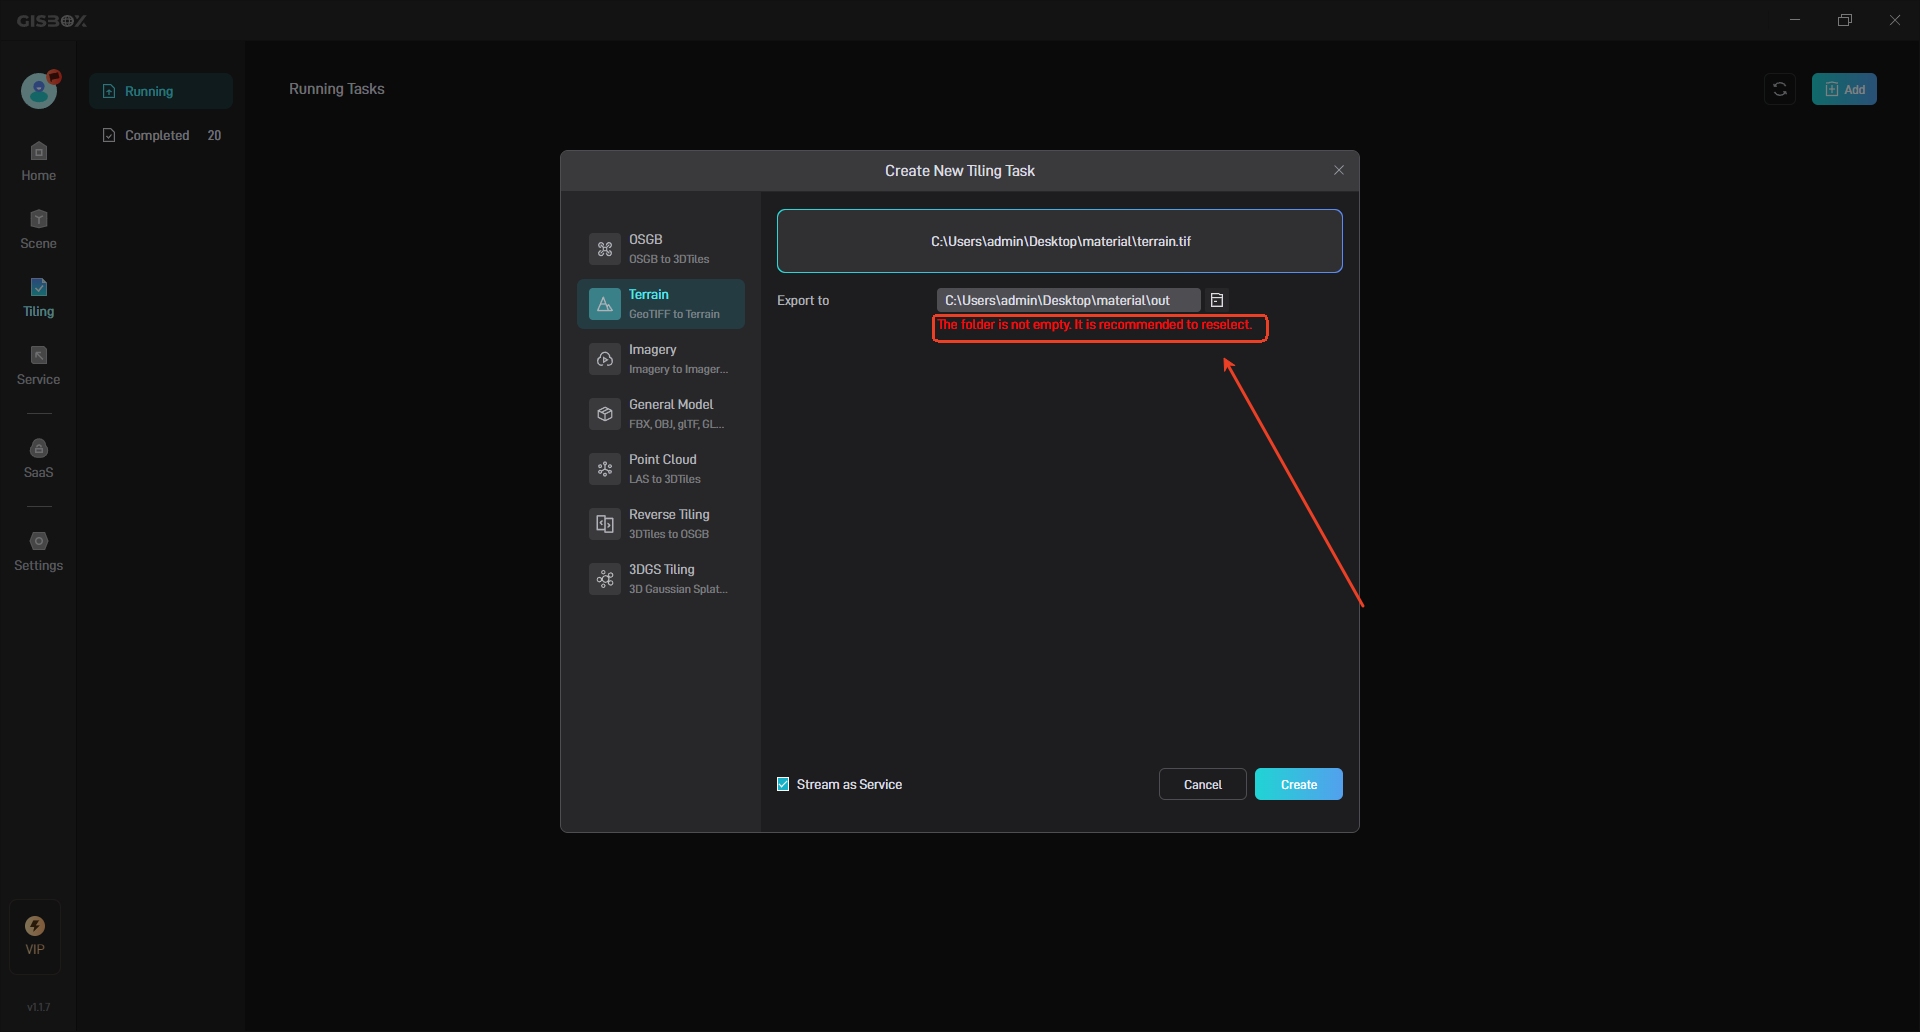
It is best to leave the save path empty, otherwise a prompt will pop up, as shown below:
3. Streaming Settings
When the terrain tile is successfully created, it can be published as a service at the same time, as shown in the following figure:
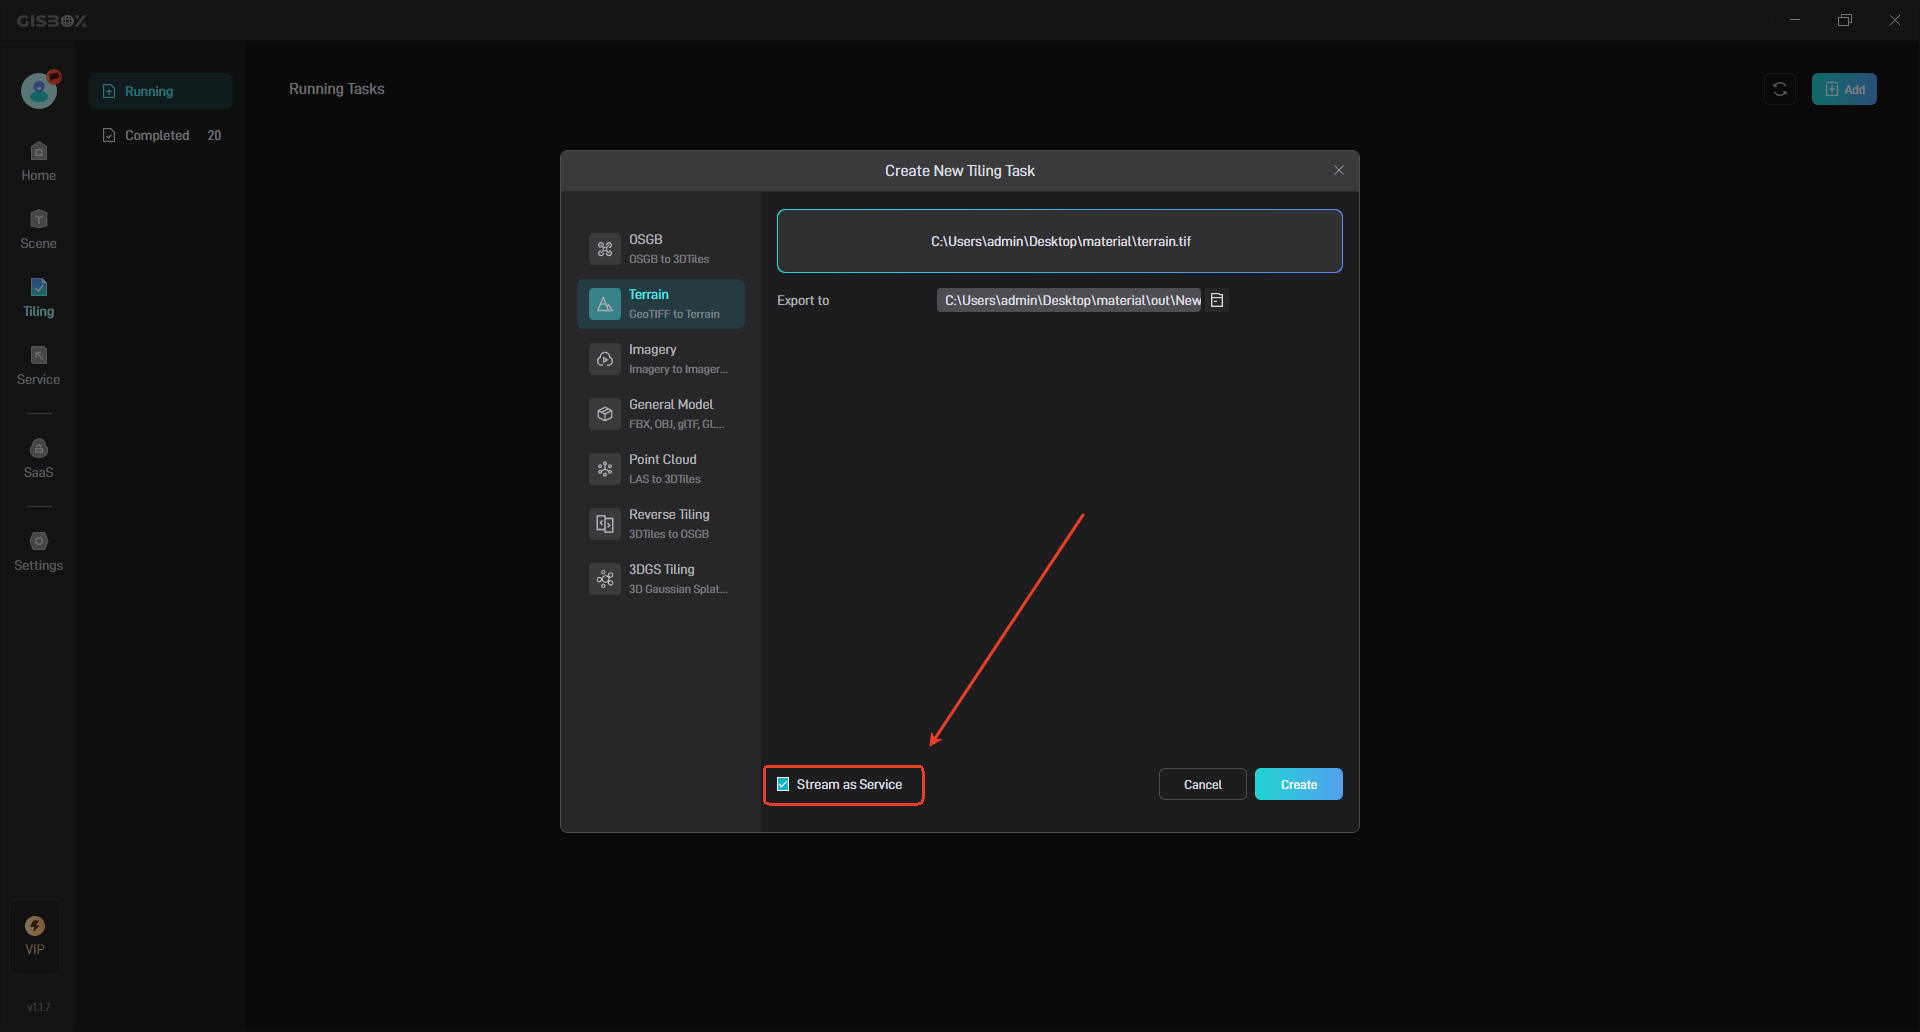
3.1 Stream as Service Simultaneouslyervice
When “Stream as Service” is enabled, a corresponding type of service will be added in “Service” after tiling is completed. You can click the “Jump to Service list” button to jump directly to the service list, as shown in the following figure:
3.2 Stream as Service Separately
When “Stream as Service” is disabled, no corresponding type of service will be added in “Service” after tiling is successful, and it will need to be added manually.
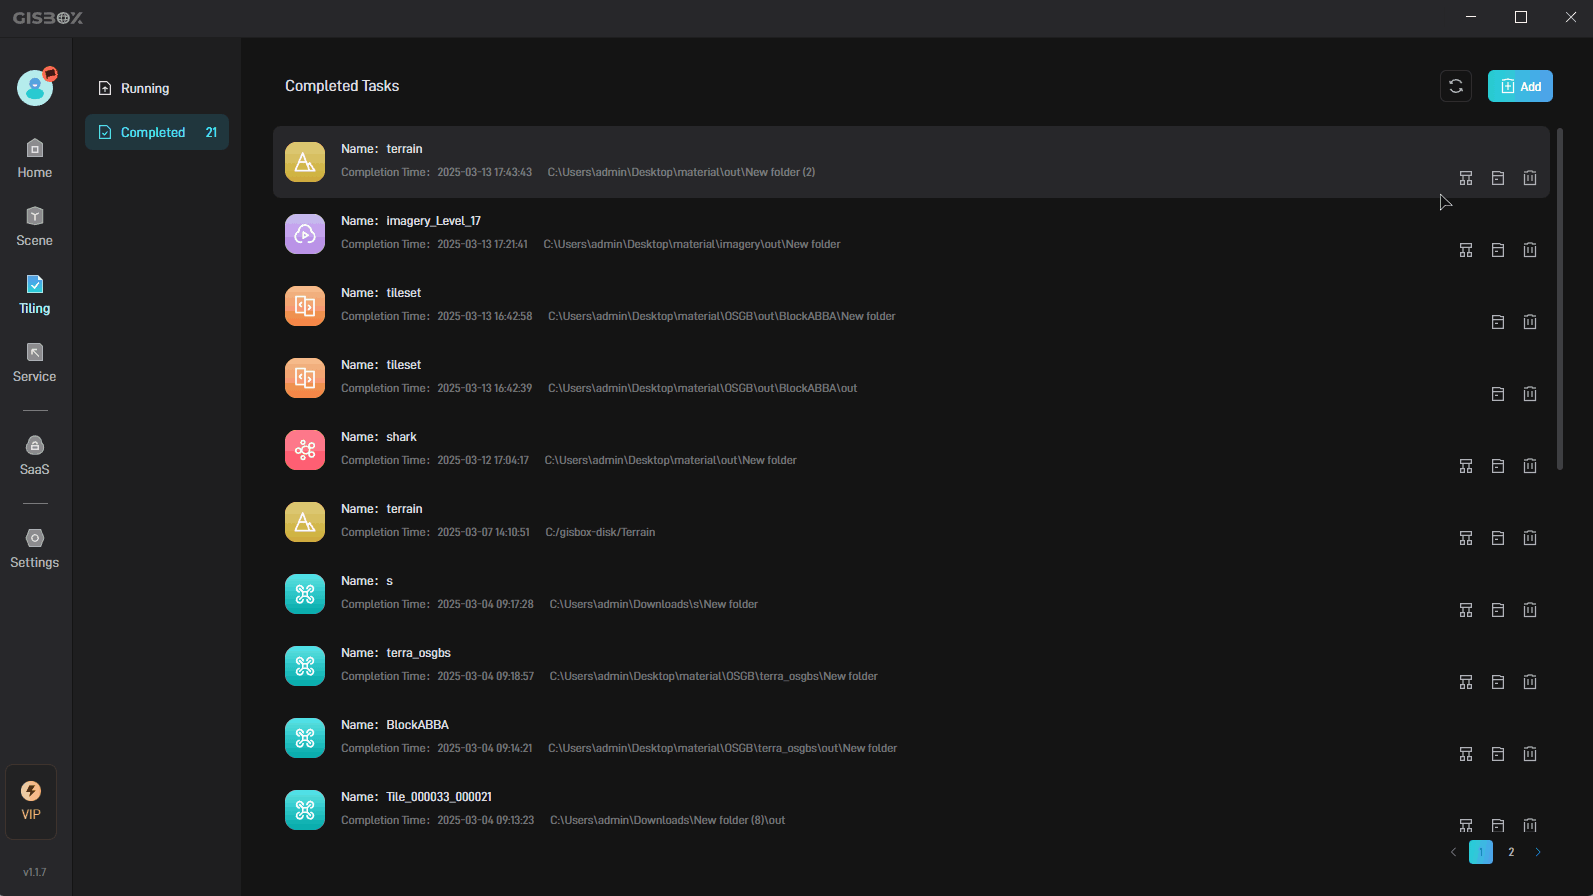
4. Edit Files
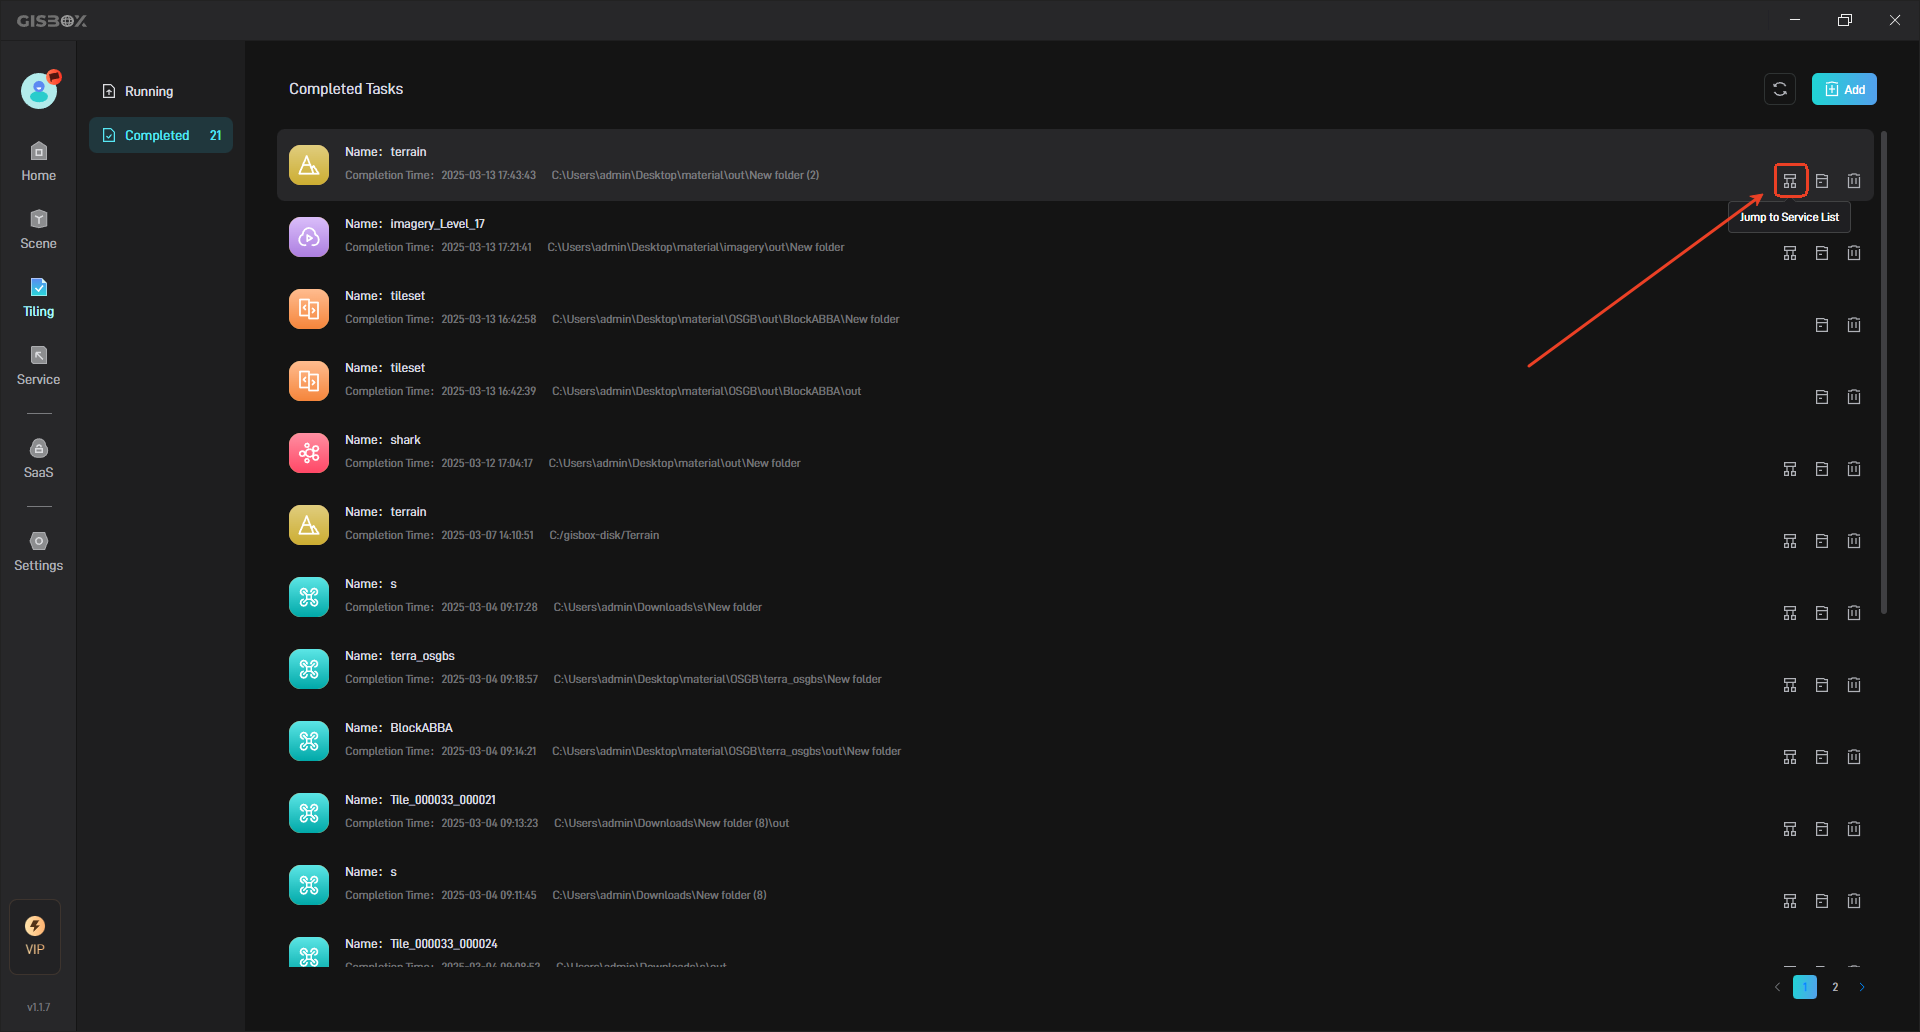
4.1 Jump to Service List
After the tiling task is processed, click the “Jump to Service List” button on the right to view the corresponding service.
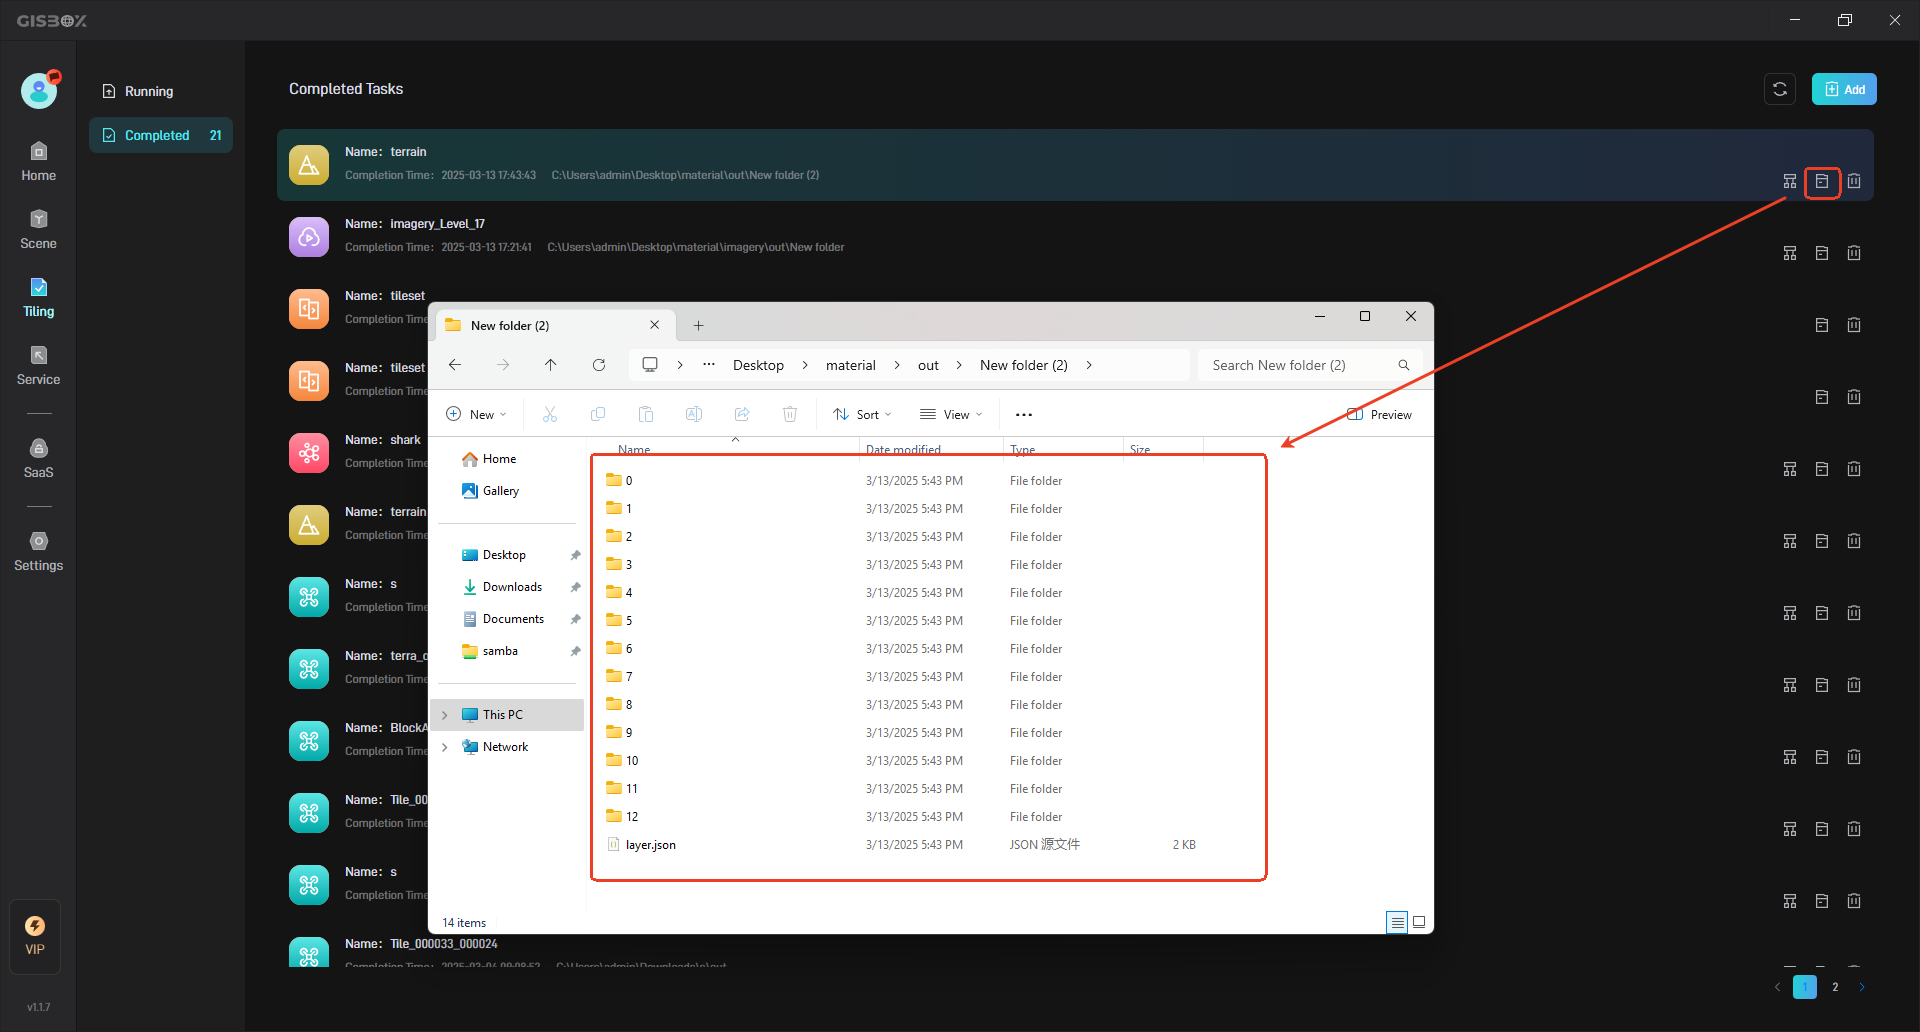
4.2 View Files
After the tiling task is completed, click the “Open Folder” button on the right to view the converted 3DTiles files.
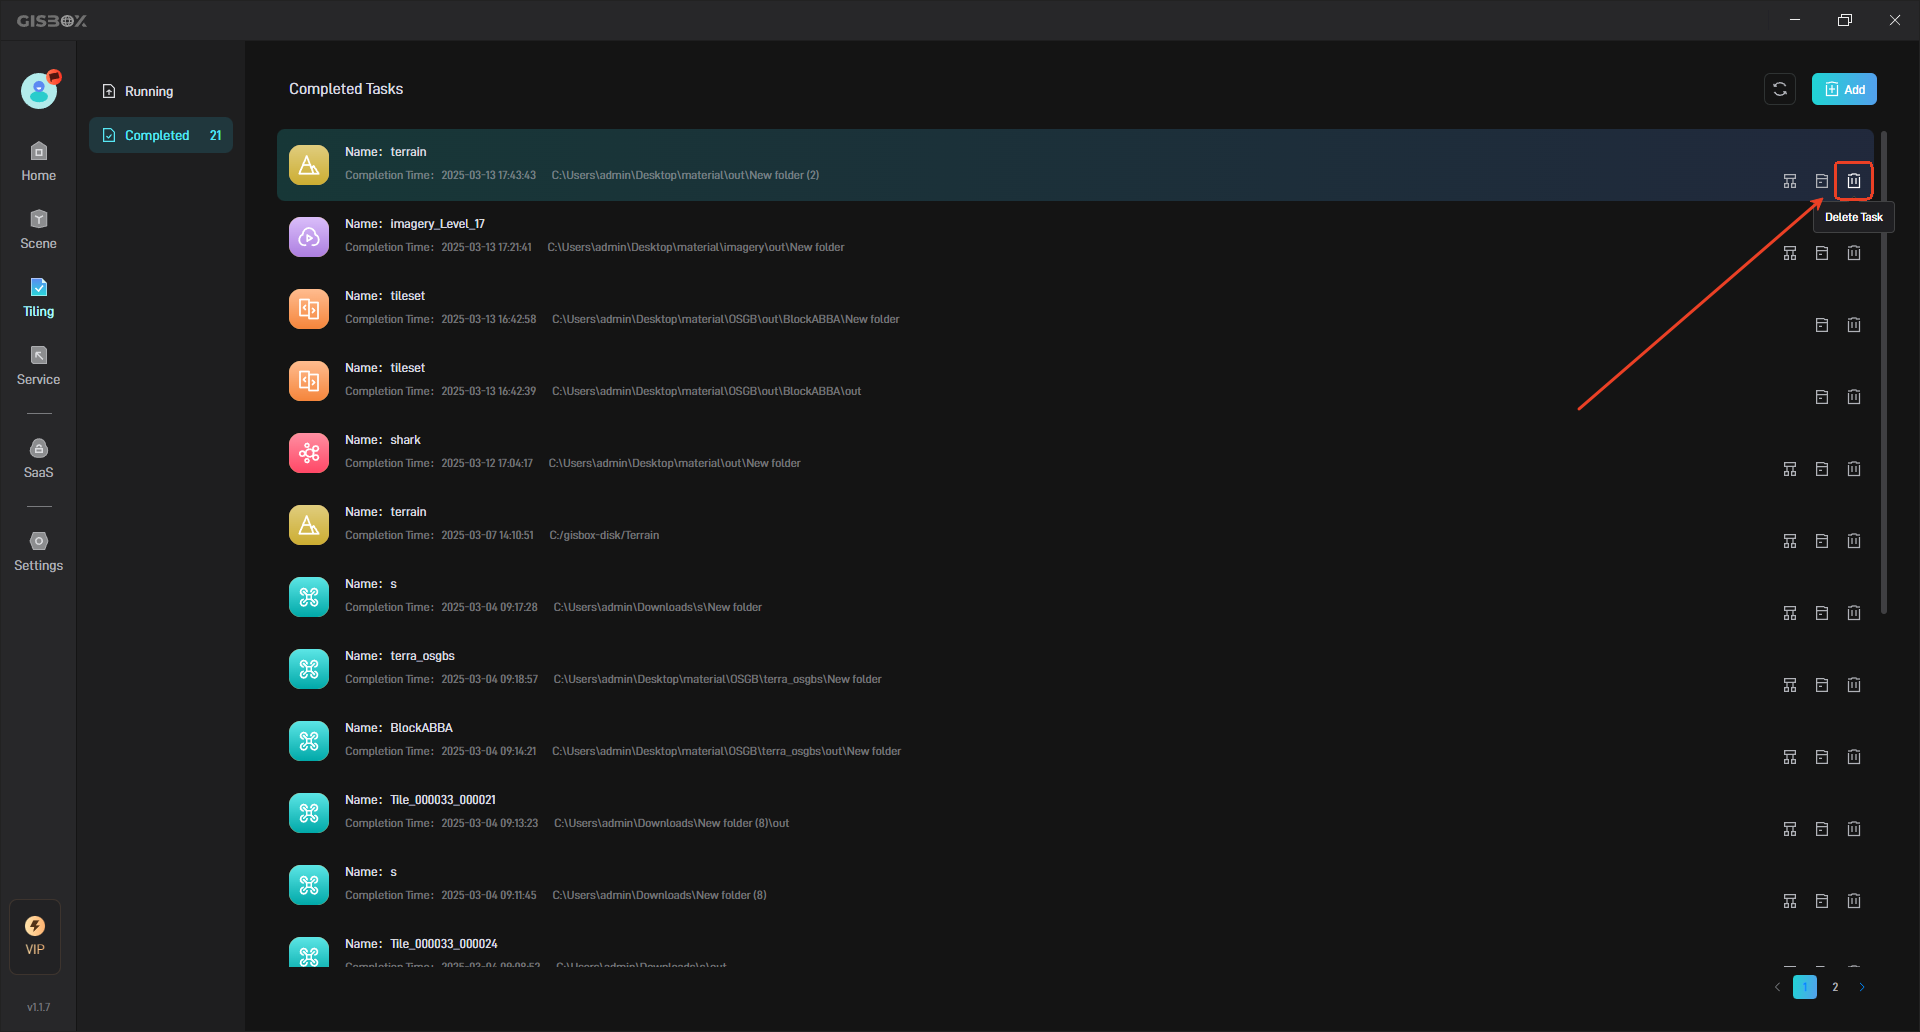
4.3 Delete Files
Click the “Delete” button on the right to delete the converted files.
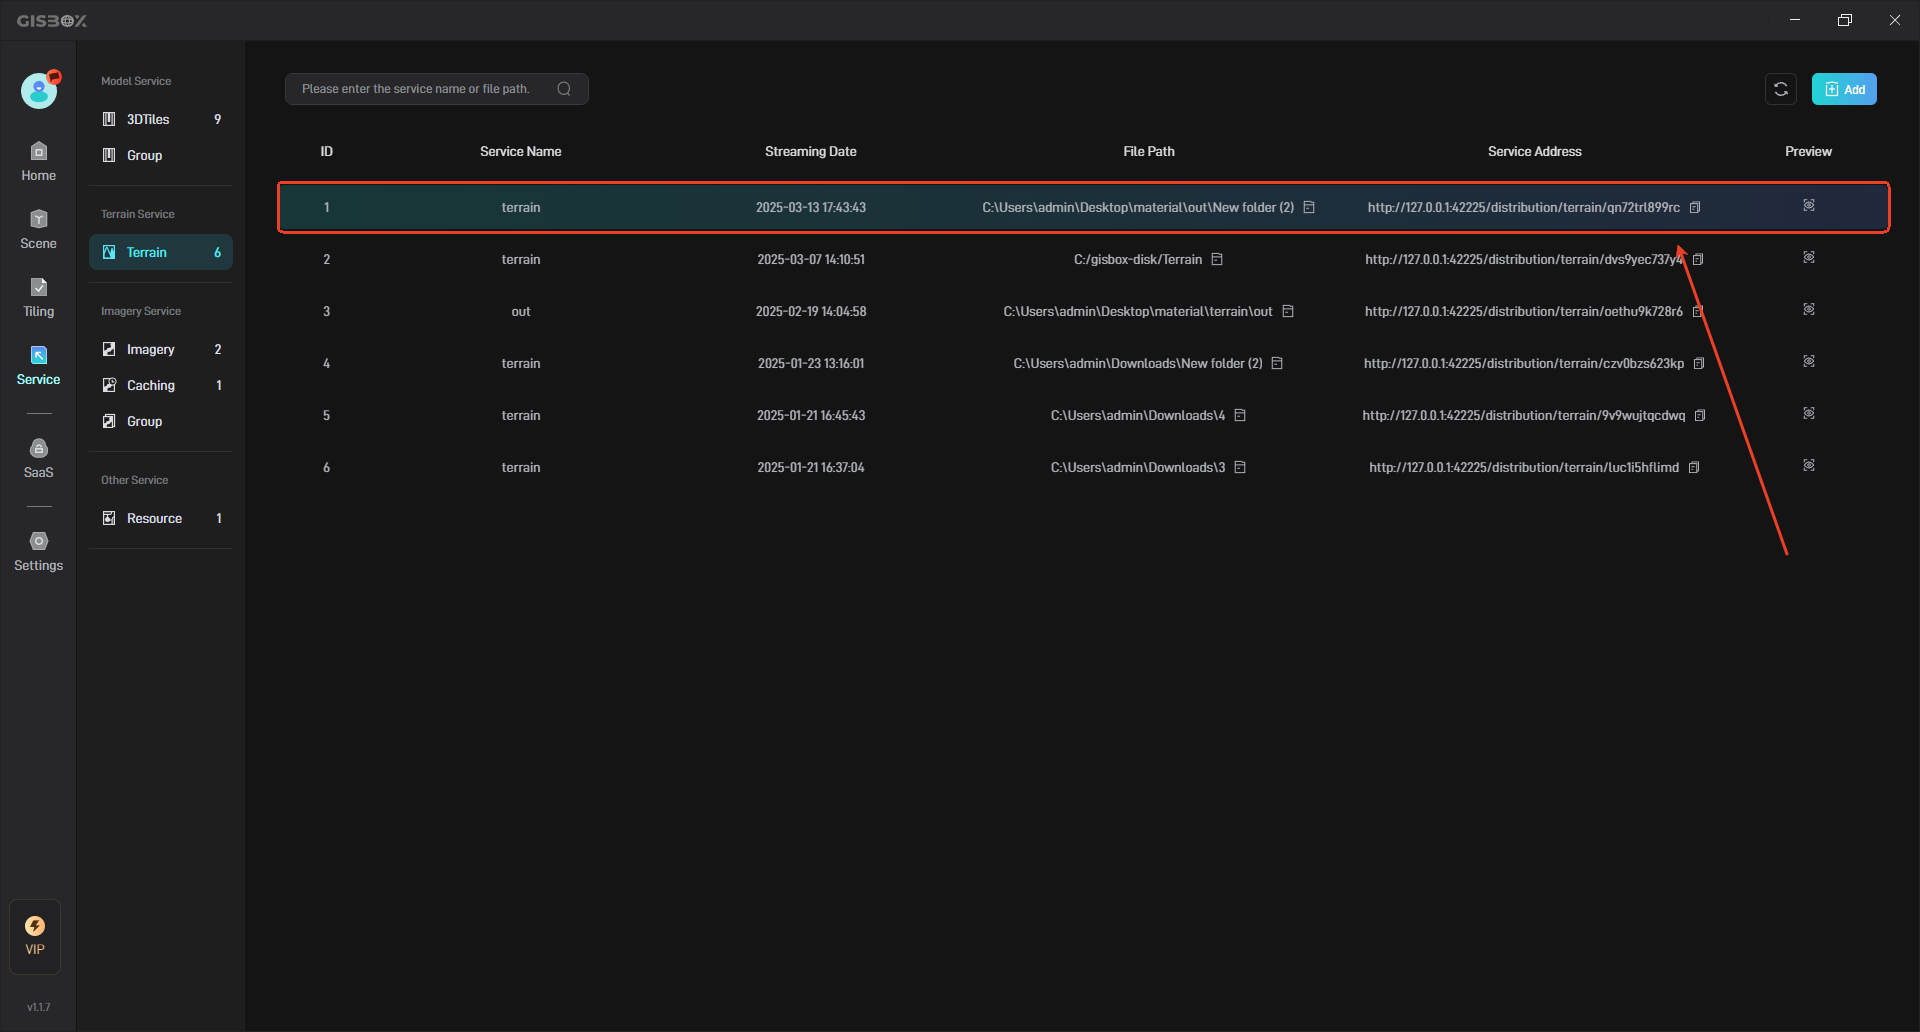
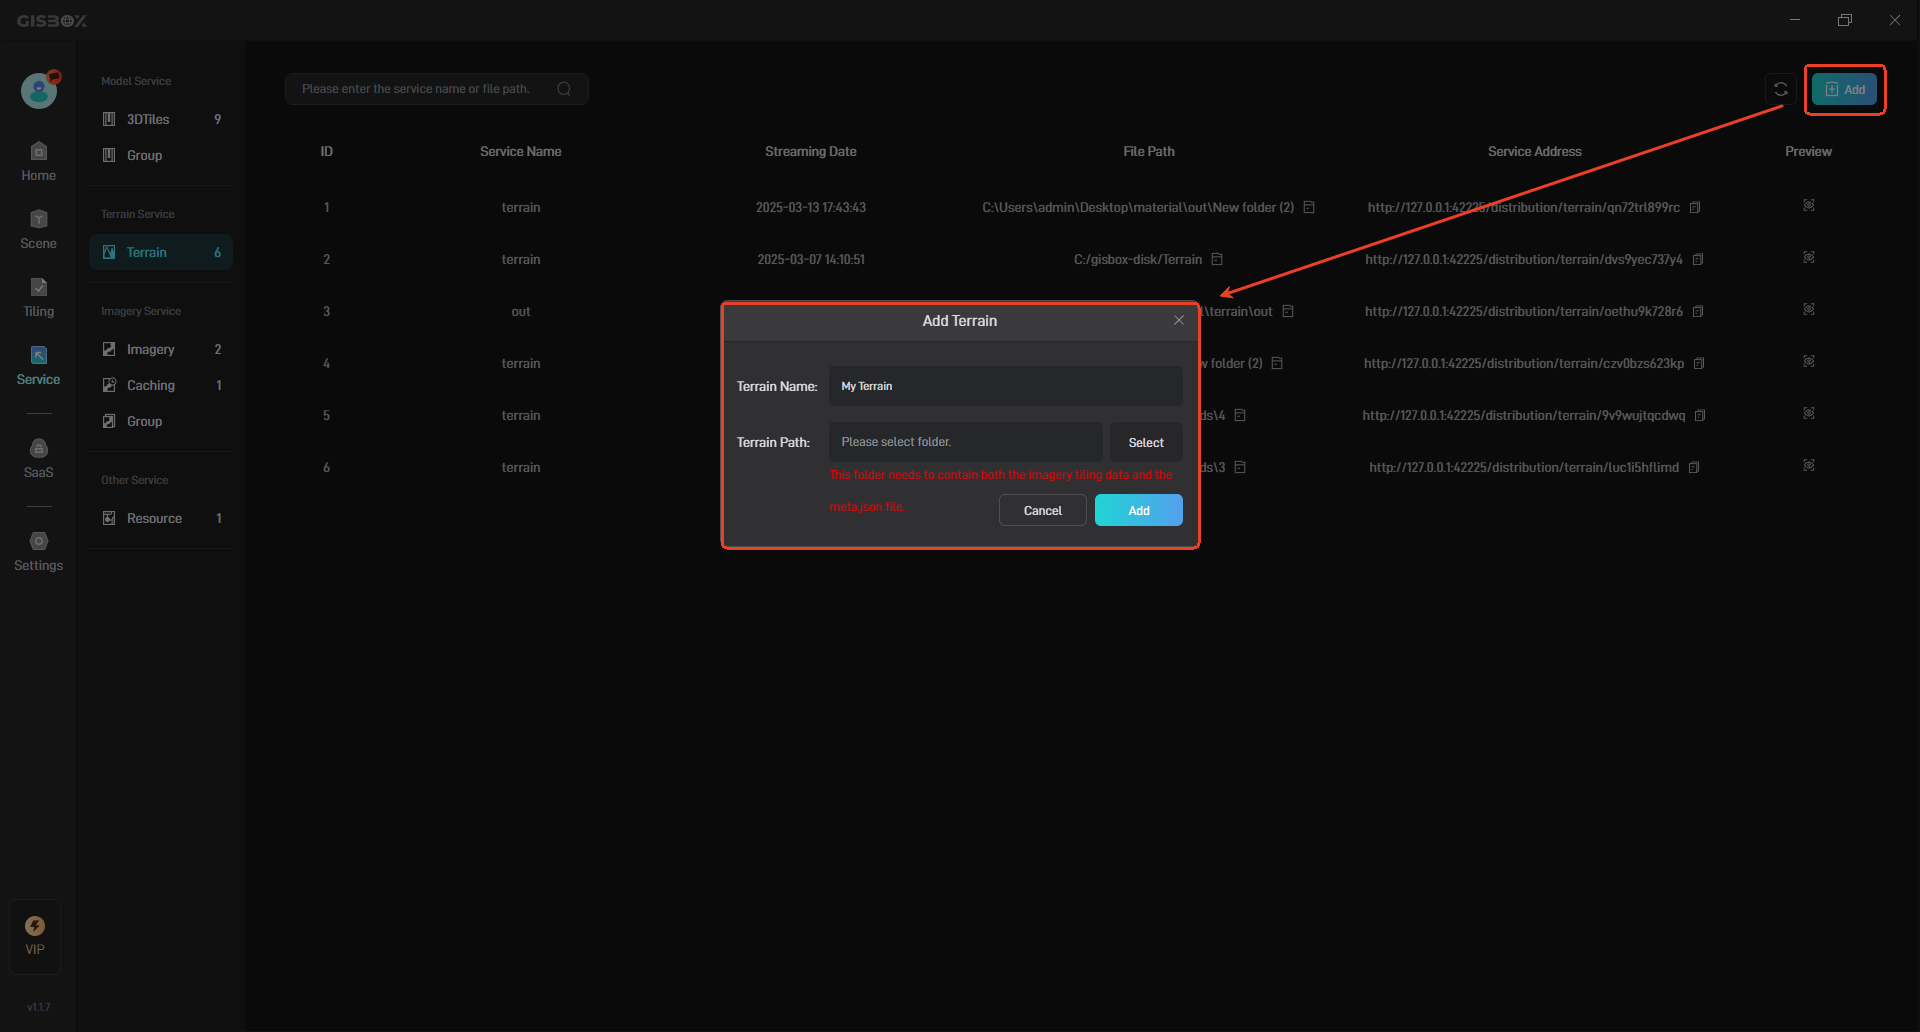
5. Use Service Address
If you check “Stream as Service” in the settings of the tiling task, the model will be automatically distributed after tiling is successful (the corresponding service address will be generated). We can click to open the corresponding service list, as shown in the figure below: (For more details, please refer to the tutorial: Model Service)

The generated service address can be applied to GIS platforms such as Cesium, and can also be applied to some digital twin project building platforms, such as Wings Engine.